


19
Quick Start
Power on/offDemo songPlaying
programs
Playing
combinations
Using
controllers
ArpeggiatorRPPRProgram
editing
Combination
editing
SamplingSong
Quick Start
Turning the power on/off
Before you turn on the power, make sure that the
desired connections have been made as described in
“Connections” (☞p.10).
1. Turning the power on
1 Press the rear panel [POWER] switch to turn on the
power.
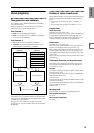
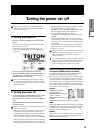
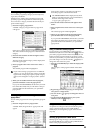
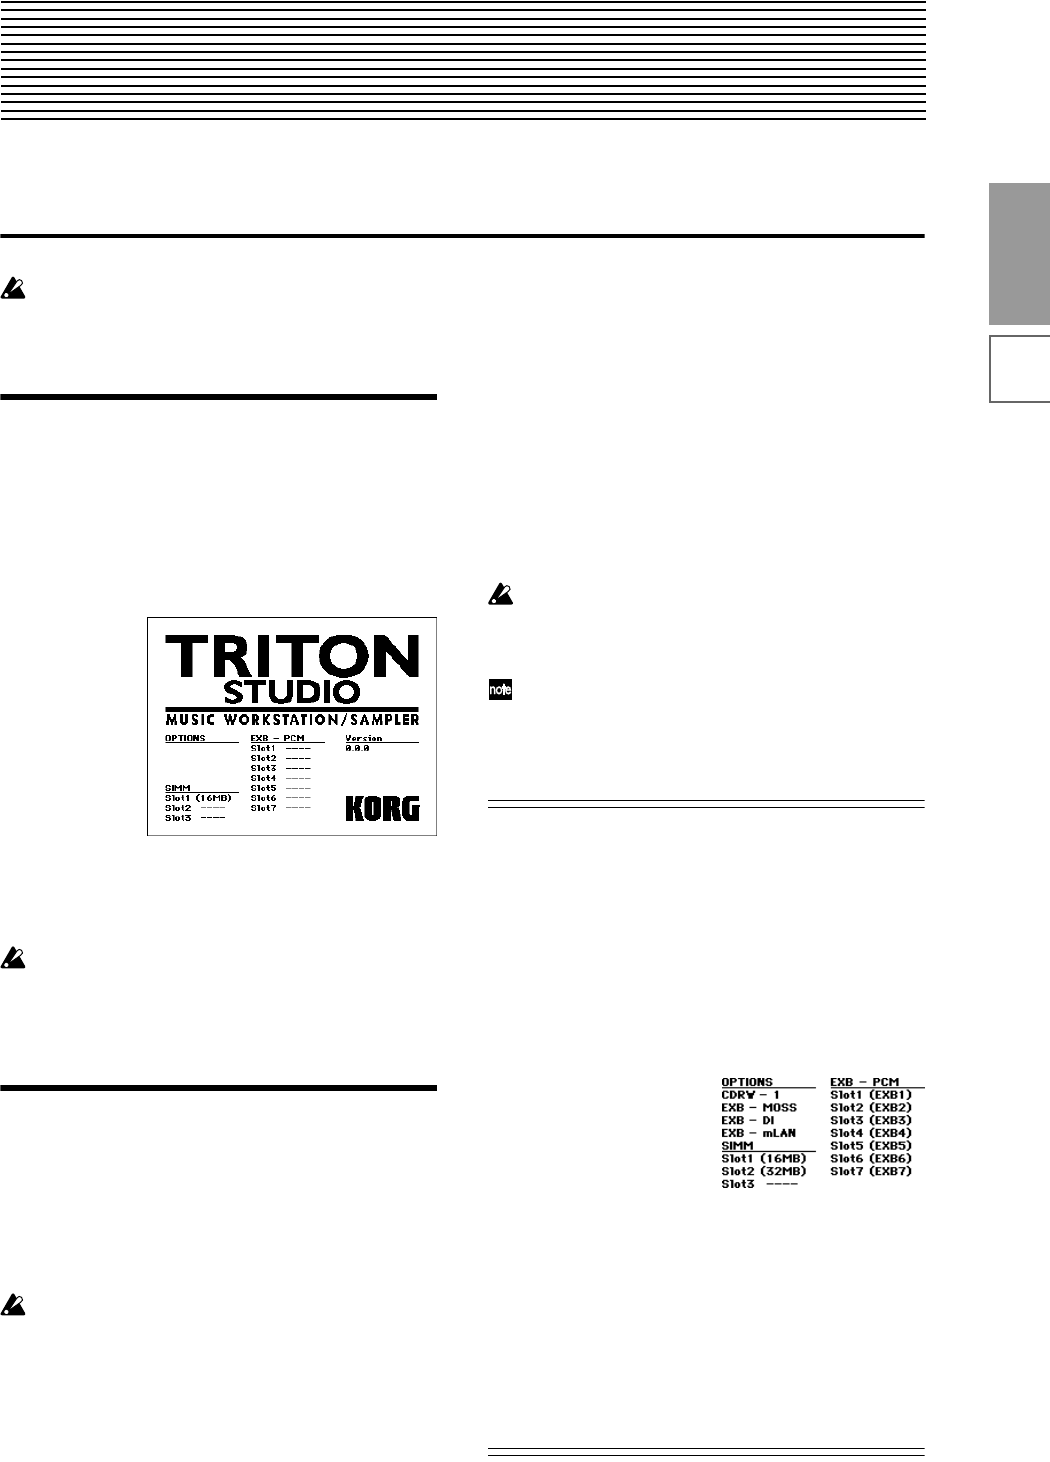
The LCD screen will display the name of your model,
and the software version.
(The following graphic shows the factory-set LCD
screen. The version number is subject to change with-
out notice.)
2 Turn on your powered monitors or stereo amp.
3 Raise the TRITON STUDIO’s [VOLUME] slider to an
appropriate level, and adjust the volume of your
powered monitors or stereo amp.
If an external SCSI device is connected, turn on the
power of the external SCSI device and then wait ten
seconds or longer before you turn on the power of the
TRITON STUDIO.
2. Turning the power off
1 Set the front panel [VOLUME] slider and the volume
of your powered monitor or stereo amp to zero.
2 Turn off the power of your powered monitor or stereo
amp.
3 Press the TRITON STUDIO’s [POWER] switch to
turn off the power.
Never turn off the power while data is being written
into internal memory.
If the power is turned off while processing is being
performed, memory write operations will not be
completed correctly. If this occurs, TRITON STUDIO
will automatically initialize its internal memory so
that it will operate correctly. This is not a malfunction.
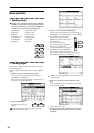
While data is being written, the LCD screen will indi-
cate “Now writing into internal memory.” Data is writ-
ten into internal memory by the following operations.
• Writing (updating) a Program, Combination, Global
Setting, Drum Kits, or Arpeggio Patterns
• Loading Program, Combination, Global Setting, Drum
Kit, or Arpeggio Patterns data in Disk mode
• Receiving a MIDI data dump for Program,
Combination, Global Setting, Drum Kit, or Arpeggio
Patterns
• When using Sampling mode page menu commands
(“Move Sample,” “Move MS,” “Convert To Program,”
“Time Slice,” etc.) to simultaneously modify programs
or drum kits.
• When sampling to RAM in Program, Combination, or
Sequencer mode, if you simultaneously convert the
sample to a program.
Never turn off the power while the hard disk or other
media is being accessed. If you turn off the power
while media is being accessed, the media may
become unusable.
You can set the “Power On Mode” (Global P0: System
Preference page) so that the mode and page that had
been selected when you turned the power off will
appear when the power is turned on. (
☞p.125
)
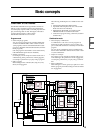
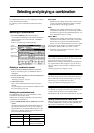
Information displayed in the LCD screen when var-
ious options or SIMM modules are installed
The TRITON STUDIO allows you to install separately
sold options or sample memory (RAM) boards.
When the power is turned on, the type of installed options
will be displayed. After installing an option, be sure to
check this display to verify that the option was installed
correctly. If the option is not displayed here even though it
was installed, it was not installed correctly. Turn off the
power and re-install the option. (☞For details on install-
ing an option, refer to PG p.286)
OPTIONS
CDRW-1: The CDRW-1
option is installed.
EXB-MOSS: The EXB-MOSS
option is installed.
EXB-DI: The EXB-DI option is
installed.
EXB-mLAN: The EXB-mLAN option is installed.
SIMM
Slot 1...3 (** MB): Sample memory (RAM)’s are installed
in SIMM slots 1–3. The capacity of each SIMM is shown in
parentheses. When shipped from the factory, a 16 MB
SIMM is installed in SIMM slot 1.
EXB-PCM
Slot 1...7 (****): PCM expansion boards are installed in
EXB-PCM series slots 1–7. The model number of each
board is shown in parentheses.