


110 Other Functions
01V96i—Reference Manual
• Routing ST Pair Link
When this check box is checked, paired channels’ routing
to the Stereo Bus will be linked.
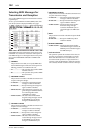
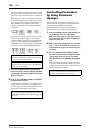
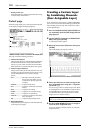
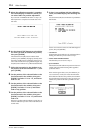
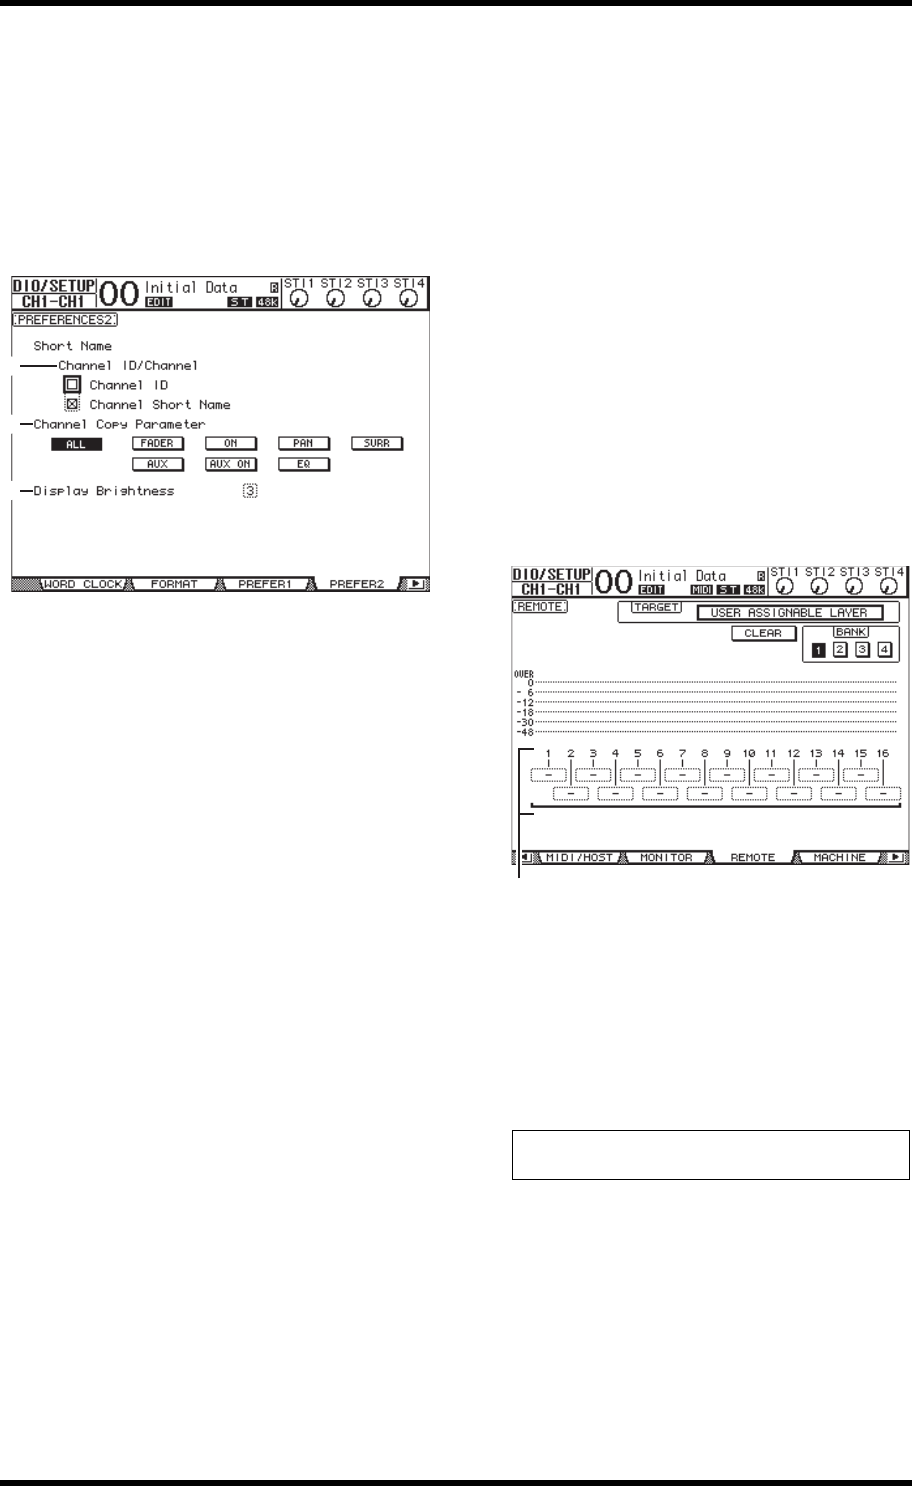
Prefer2 page
The Prefer2 page enables you to name the channel indicated
on the display, and adjust the display brightness.
This page contains the following parameters:
1 Channel ID/Channel
This parameter selects a style for the displayed channel. If
the Channel ID check box is selected, the Channel ID
appears (e.g., CH1, CH16, AUX1). If the Channel Short
Name check box is on, the Channel Short name appears.
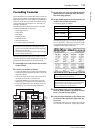
2 Channel Copy Parameter
This parameter selects the channel parameters to be cop-
ied when you assign the Channel Copy function to one of
the User Defined buttons. You can select multiple
options.
• ALL...........................This button selects all parameters
that can be copied. When you turn
on this button, all other options are
cancelled.
• FADER.....................Copies the fader values.
• ON.............................Copies the on/off status of the [ON]
buttons.
• PAN ..........................Copies the pan settings.
• SURR........................Copies the surround pan settings.
• AUX ..........................Copies the Aux Send levels.
• AUX ON ..................Copies the on/off status of the Chan-
nel to Aux signals.
• EQ .............................Copies the EQ parameter values.
3 Display Brightness
This parameter sets the brightness of the LED indicators
in the range of 1 through 4.
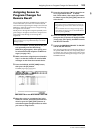
Creating a Custom Layer
by Combining Channels
(User Assignable Layer)
If you set the Remote Layer target to “USER ASSIGNABLE,”
you can create a custom layer by combining any 01V96i chan-
nels (excluding the Stereo Out). This custom layer is called
“User Assignable layer.”
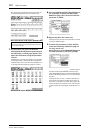
1. Press the DISPLAY ACCESS [DIO/SETUP] but-
ton repeatedly until the DIO/Setup| Remote
page appears.
2. Set the TARGET parameter to USER ASSIGN-
ABLE, then press [ENTER].
A confirmation window appears.
3. Move the cursor to the YES button, then press
[ENTER].
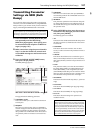
The 01V96i displays the page shown below.
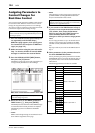
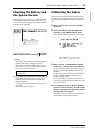
4. Select the channels you wish to assign to the
User Assignable layer using the 1–16 param-
eter boxes (
1).
You can store up to four 16-channel setups in four banks
by switching Banks 1–4 via the BANK 1–4 buttons. If you
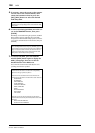
press[ENTER] before selecting the channels to assign,
you will still be able to select the channels you wish to
assign in the User CH Select window.
5. Use the LAYER [REMOTE] button to assign or
recall the User Assignable layer.
You can use the faders and [ON] buttons to control the
assigned channels.
1
2
3
Tip: You can reset the assignment to default by moving the
cursor to the CLEAR button and pressing [ENTER].
1