TASCAM GigaEditor 4 Manual 31
Now each velocity split is mapped to the correct sample.
When mapping unpitched samples such as most drums, use the same technique, but drag the samples with
the right mouse button. is will automatically turn o pitch tracking in the region, preventing the sample
from being pitch-shied at playback.
Hearing Your Work
At this point we’ve created the beginnings of a Giga instrument, but we haven’t yet heard what it sounds
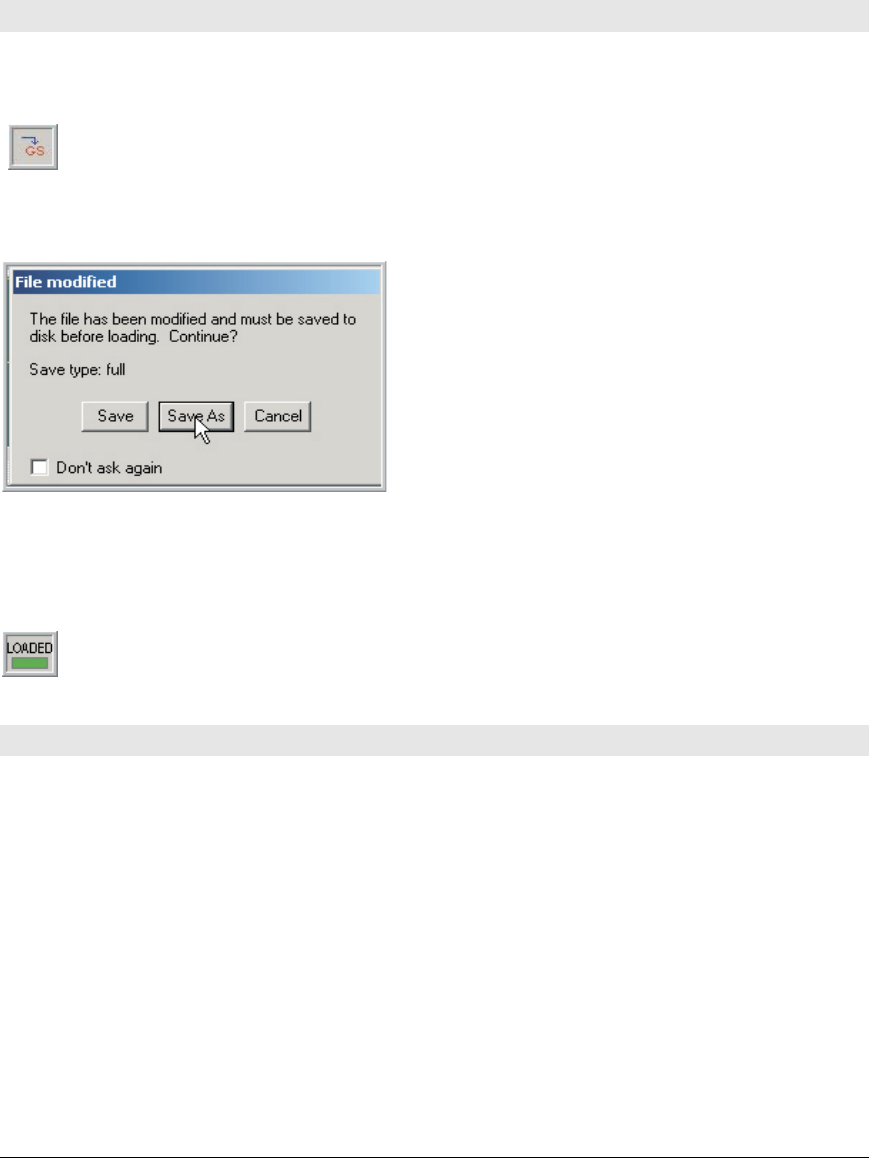
like. To hear your work, press the Download button on the .gig le’s toolbar.
You may be prompted to save your work before proceeding. is is because certain major edits to a .gig le
require that the le be re-written to disk and reloaded by the sampler.
Since adding instruments, regions, or splits to a le all require a reload, you’re more likely to encounter this
message in the early stages of constructing an instrument. Minor edits, such as changes to split points and
articulation parameters, are communicated directly to the instrument in memory and do not require a le
save.
When the instrument is loaded into memory, the LOADED indicator lights green, and the
instrument is ready to play.
A Faster Way To Work
Creating and mapping regions automatically
So far in this chapter we’ve seen how to create individual regions and map samples to them one by one.
While these techniques have their uses, they’re too labor-intensive to be suitable for creating a large
instrument from scratch. In this section we’ll look at a simple technique that can not only create a large
number of regions at once, but also map samples at the same time.
1. Grab one or more samples with the mouse and drop them into the Region Window. You can also
drop an entire sample folder (which is one reason we encouraged you earlier to organize your
samples into folders):


