58 TASCAM GigaEditor 4 Manual
Chapter 4: Tutorial: Advanced Drum Kit
In this lesson, we will create a full drum kit that will utilize many of the Editor’s advanced features. Since
this is a drum kit, all of the mapping will be “drag and drop” using the right mouse button (remember that
dragging with the right mouse button disables Pitch Tracking on the samples that you map). e drum kit
will illustrate:
• Multiple velocities
• Stereo and mono regions
• A MIDI controller dimension for hi-hat open and close
• A MIDI controller dimension for turning snares on and o
• Self-masking on the cymbals to save polyphony
• Lowpass velocity-controlled lters on the toms and bass drum
e rst thing to do is to create a new instrument.
Import all the Tutorial Drum Kit folders into the Sample
window. ese can found in the “Editor Tutorial Files”
directory for this chapter (How To Map Samples:
Advanced).
In the Instrument window you can name the instrument to
“Tutorial Drum Kit”.
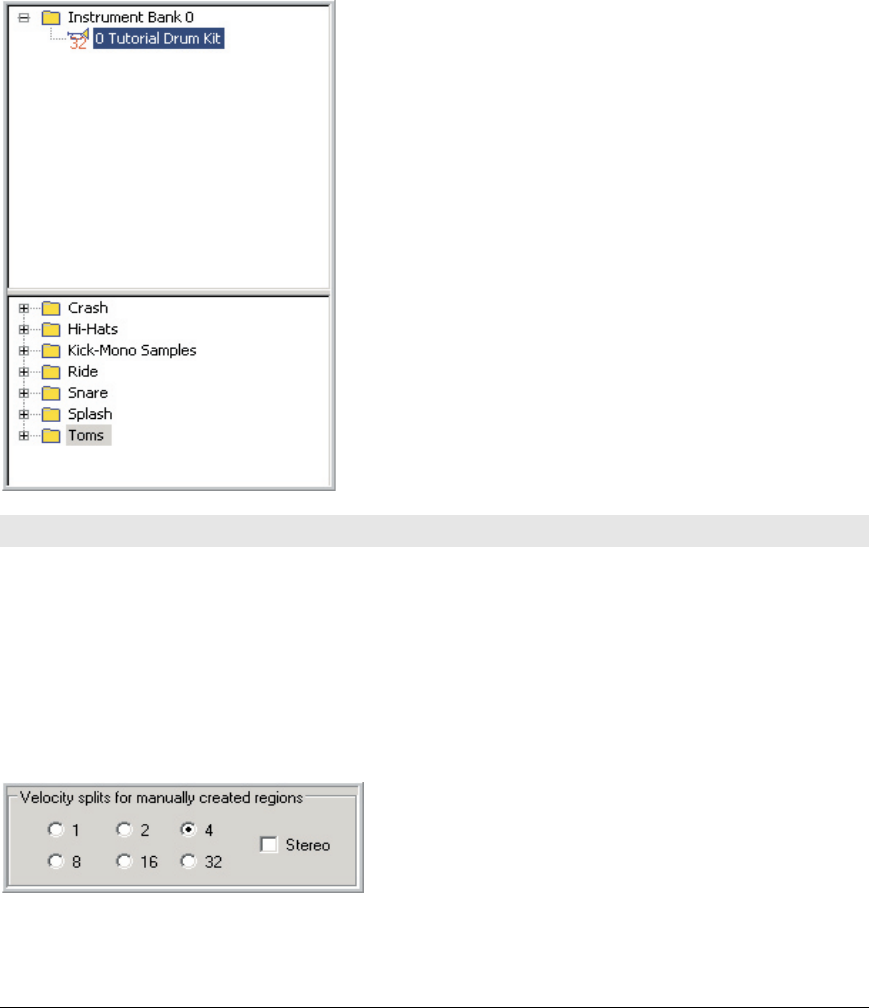
You can also delete the “Default Sample” folder to keep the
Sample window from getting too cluttered. e nal result
should look like the screen shot at le.
Now we are ready to start creating a drum kit.
Kick Drum
• e Kick Drum has four velocities of mono samples.
• We will create two identical regions of the Kick Drum for a le-right playing style (like a double
kick setup). To do this, we will complete the rst region and then copy and paste it to create the
second one.
• ere will also be a low pass lter controlled by velocity so that the tone is dark when played so
and gets brighter the louder it is played. is combined with the four-way velocity split makes for
a smooth and realistic transition from so to loud.
• We will also adjust the Release Time of the Kick Drum.
1. In the Preferences, set the velocity split count for
manually created regions to 4.


