TASCAM GigaEditor 4 Manual 37
More About Sample Mapping
Before we close this chapter we’ll mention a few last topics related to mapping samples.
Pitch Tracking
When you map a sample to a split, the Pitch Tracking parameter for that split will be enabled or disabled,
depending on which mouse button you use when dragging the samples to the Velocity Map. (To view the
Pitch Tracking parameter, click on the Articulation Window’s header bar and select the Mix/Layer
category. Articulation parameters are explained in detail in a later chapter.)
1. Pitch Tracking Disabled: Drag With Right Mouse Button
When Pitch Tracking is disabled, the sample will not transpose at all: it will always play at its natural
pitch wherever you put it. This is good for drums and percussion or sound effects.
2. Pitch Tracking Enabled: Drag With Le Mouse Button
When Pitch Tracking is enabled, the sample will be transposed up or down from its unity note (root note or
natural pitch) depending on what unity note is assigned and where it is mapped on the keyboard. is is
good for melodic multi-sampled instruments.
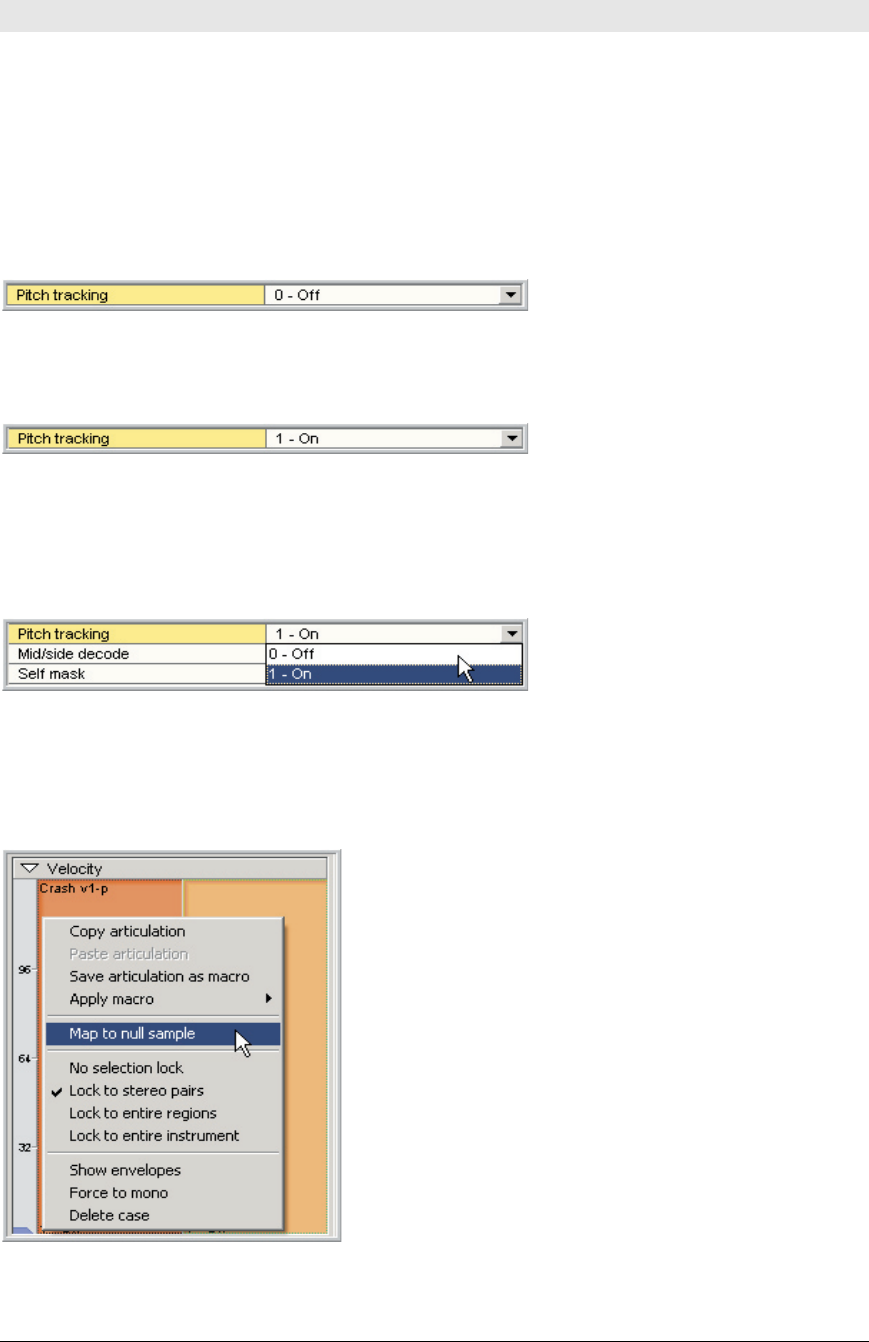
3. If you make a mistake or change your mind, you can also change the Pitch Tracking in
the parameters page.
Map to Null Sample
A split can be mapped to the “null sample”. is allows you to have the equivalent of a silent sample
without having to actually map a silent sample to the region.
1. Right-click on the Velocity Map and choose “Map
to null sample” from the menu.


