73
After performing one of the operations listed below,
you can use the Undo function to return to the state
prior to the operation. The Redo function lets you
return to the state before you performed Undo.
• Recording
• Track editing
CopyTrack, InsertTrack, EraseTrack, DeleteTrack,
SwapTrack, ReverseTrack, OptimizeTrack, ExpC-
mpTrack, CopyWholeTrack, SwapWholeTrack
Undo can be used repeatedly to step back through the
previous 99 operations.
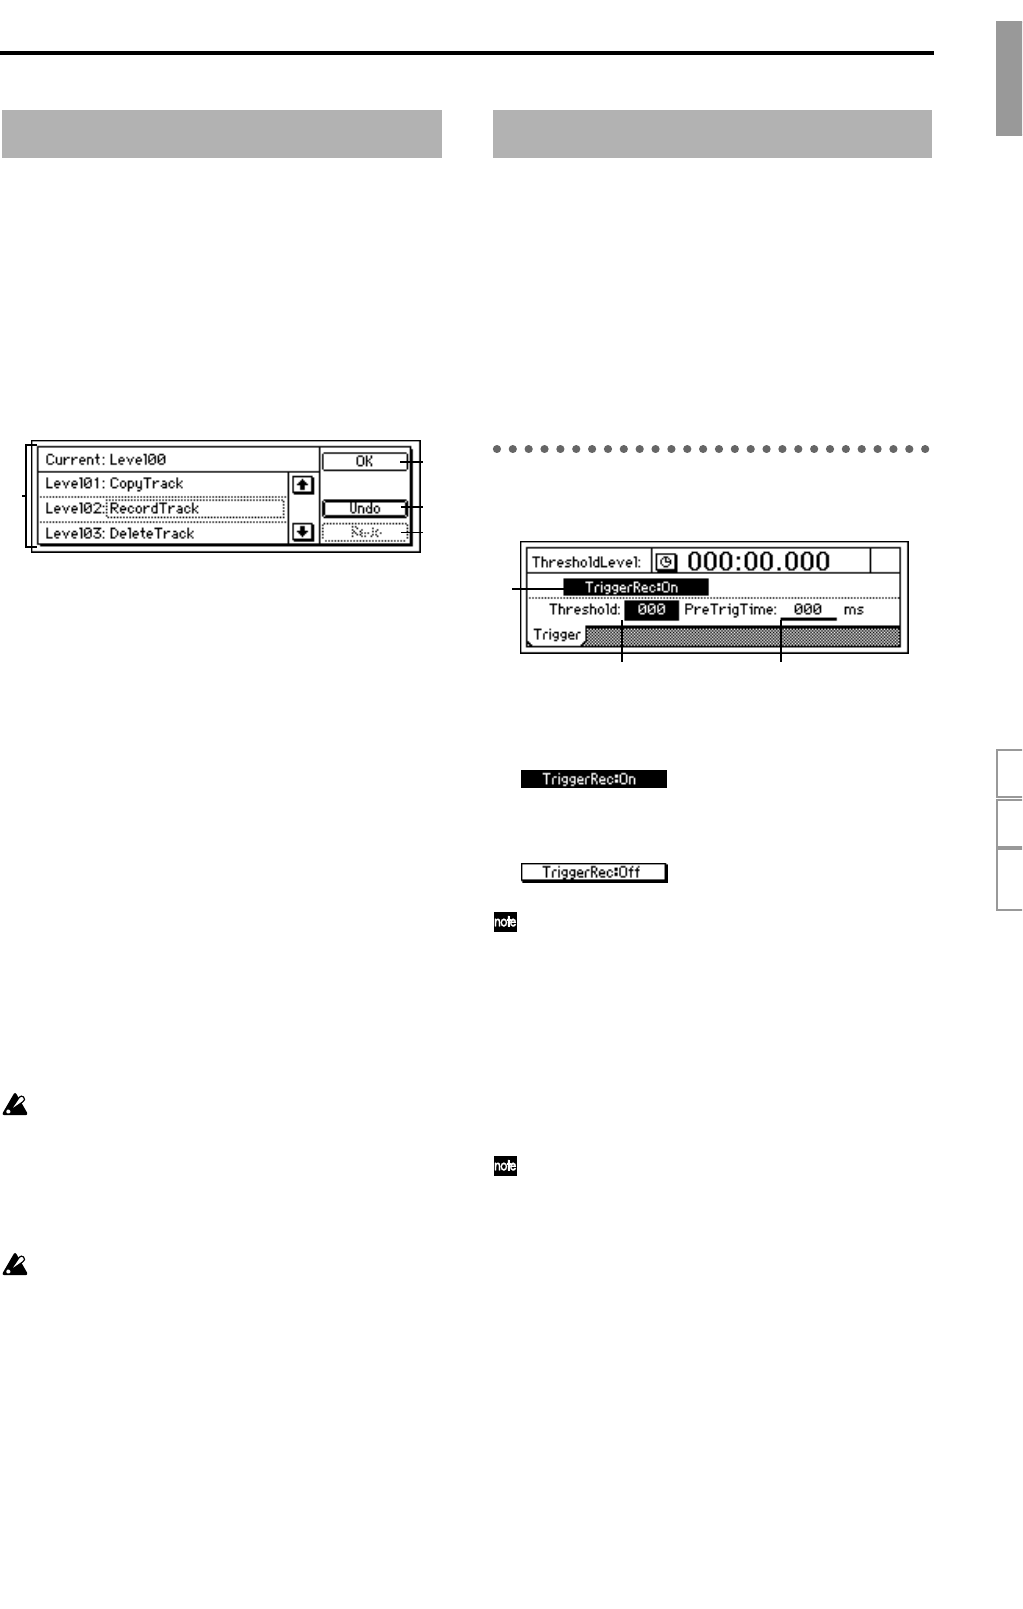
1. UndoList ............................. [Level 00, 01…99]
You can select the operation that will be undone. By
selecting “01”–“99” (the number of prior operations
executed) and executing Undo, you can return to
the state before the operation was executed.
Current: The current undo level
Level 00: The most recent operation executed
Level 01…99: The previous operation executed –
the operation executed 99 times ago
2. OK .................................................................
Return from this page to the page in which you last
were.
3. Undo..............................................................
Execute the Undo. You will return to the state that
followed the last operation selected in the
“UndoList.”
4. Redo...............................................................
Execute Redo. You will return to the state of “Level
00.”
The contents of the list are maintained until the next
recording or track editing operation. When you
record or edit, the data following the level for
which Undo was last executed will be deleted. The
contents of the list will also be deleted when you
select a different song and record or edit. Please use
caution.
The hard disk recorder of the D16 preserves a his-
tory of up to the last 99 recordings, edits, or opera-
tions so that you can use the Undo function to
return to an earlier state of your work. This means
old data that no longer exists in a track will remain
on the disk without being deleted. Such data will
consume disk capacity, and may cause the available
recording time to appear shorter. In such cases, you
can recover the disk capacity by turning off the
power of the D16 to delete the Undo history.
Trigger Recording is a function that automatically ini-
tiates (triggers) recording when the input volume
exceeds a specified level.
After setting “TriggerRec” “On,” press the [REC] key
(the LED will blink) to enter record-ready mode. Then
when the input sound of the channel whose [TRACK
STATUS] is set to REC exceeds a specified volume (the
threshold level), recording will begin automatically.
When in record-ready mode, you can press the [STOP]
key or [REC] key to exit record-ready mode.
P1 Trigger: Settings to start trigger
recording
1. TriggerRec..........................................[On, Off]
Turn the trigger recording function on/off.
On: When in record-ready
mode, input sounds that exceed the threshold level
will initiate recording. When this is “On,” the
[TRIGGER] key will light.
Off: Trigger recording will not
occur.
When this is “On,” recording will not begin if the
input sound fails to reach the threshold level (the
“Threshold” setting) in record-ready mode.
If recording does not begin as you expect, press the
[STOP] key or [REC] key to cancel trigger record-
ing, and re-adjust the “Threshold” level.
2. Threshold.......................................[000…100]
When trigger recording is used, this sets the input
level at which recording will begin. Recording will
begin when the input level exceeds this setting.
Normally, you should set this to as low a level as
possible without allowing noise to trigger record-
ing. The appropriate level will differ depending on
the input source. If recording begins too early or too
late, re-adjust this level.
3. PreTrigTime............................... [000…700ms]
When trigger recording is used, the D16 can record
the sound that was heard immediately before
recording actually started.
Trigger recording will initiate recording when the
input signal exceeds the “Threshold” level, but this
can mean that the initial attack of the first note may
be lost. In such cases, you can increase the “PreTrig-
Time” so that the earliest part of the sound (the part
that is lower than the threshold level) will also be
included in the recording.
13. UNDO
1
2
3
4
14. TRIGGER
1
2 3
Reference
LOOPUNDOTRIGGER


