56
RPPR playback
Let’s use the RPPR you created to perform in the
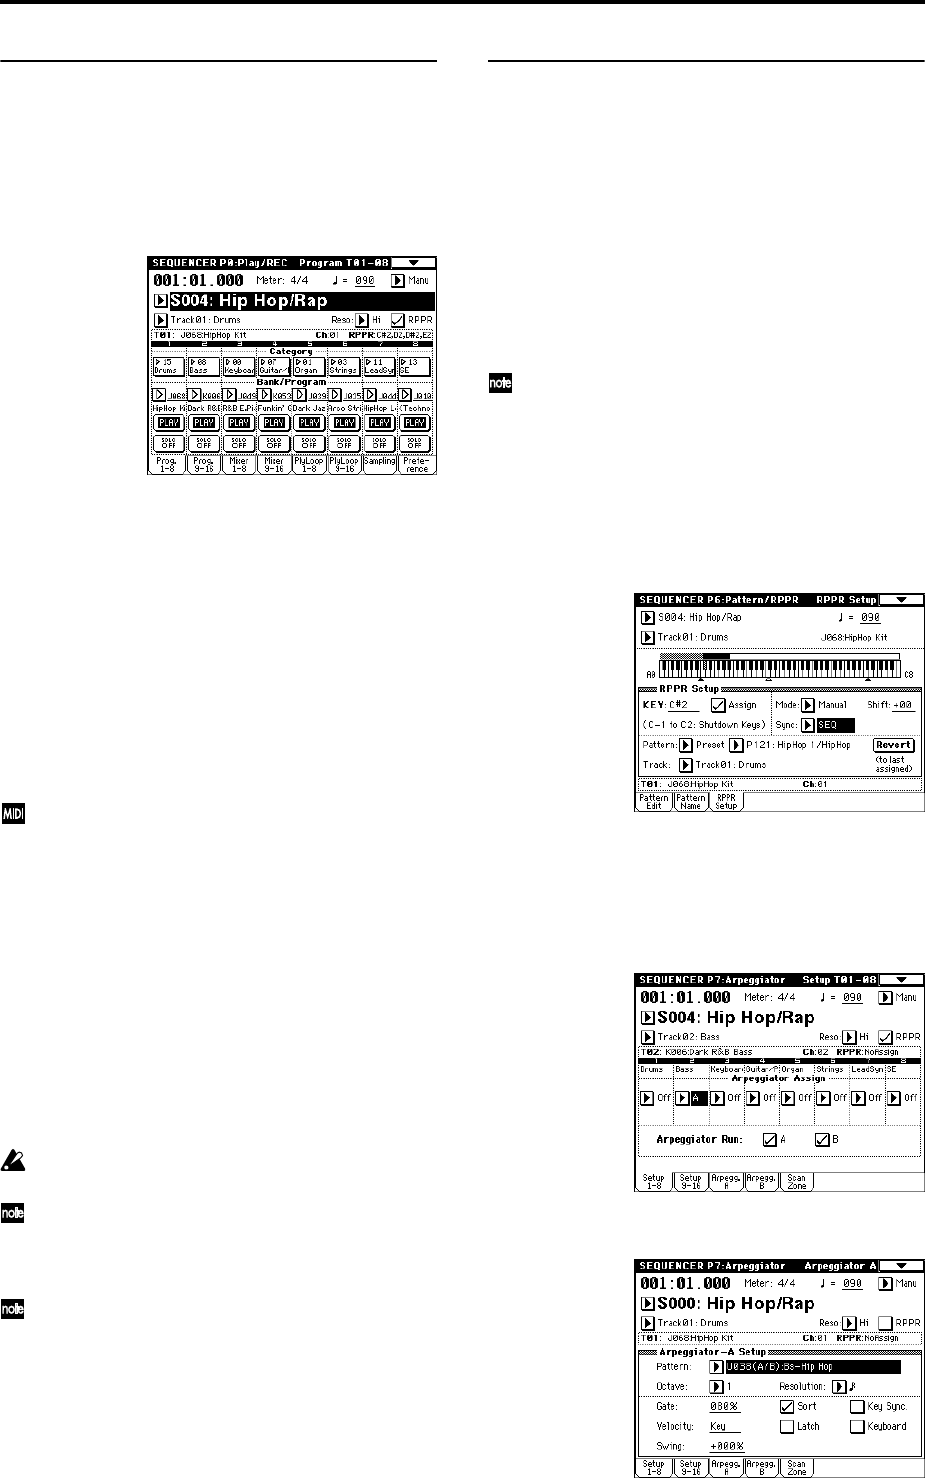
Sequencer P0: Play/REC page.
1 Select Sequencer P0: Play/REC.
2 Check the “RPPR” check box.
The RPPR function will be turned on. Set the on/off for
each song.
3 Play the keyboard, and patterns will begin playing
according to the RPPR settings.
• Pattern playback for a key with a “Sync” setting of
Beat or Measure will sync to the playback of the first
pattern. (☞PG p.92 “Sync”)
• If you are playing the pattern in synchronization
(when “Sync” is Beat, Measure, or SEQ), the pattern
will start accurately if you play the note slightly ear-
lier than the timing of the beat or measure. Even if you
play the note slightly later than the beat or measure
(but no later than a 32nd note), it will be considered to
have started at the beat or measure, and the beginning
of the pattern will be compressed so that the remain-
der of the playback will be correct.
If you wish to trigger the RPPR function from an
external MIDI device, use the MIDI channel that is
selected for “Track Select.”
4 To turn off the RPPR function, uncheck the RPPR
check box.
Play RPPR while a song plays back
RPPR can be played in synchronization with the playback
of a song.
Pattern playback for a key with a “Sync” setting of SEQ
will synchronize to the playback of the song. (☞PG p.92
“Sync”)
Start the song playback, and then press the key. The pat-
tern playback will start in synchronization with the mea-
sures of the song.
Synchronization will be lost if you use the [<< REW]
or [FF >>] keys while a song is playing.
If you want RPPR pattern playback to begin at the
moment that song playback begins, it is a good idea
to insert an empty measure containing no musical
data before the song playback begins.
If the song is stopped, the pattern will synchronize to
the timing of the arpeggiator function.
Realtime-recording an RPPR performance
An RPPR performance can be recorded in realtime. If you
are using only one track (Track01: Drums) as in “Creating
and recording RPPR” (☞p.55), set “Track Select” to
Track01: Drums, and use single track recording in which
only one track will be recorded.
Even if RPPR uses only one track, use multi-track record-
ing if you will be selecting another track in “Track Select”
and recording its performance at the same time.
You should also select multi-track recording if you created
the RPPR data using multiple tracks rather than just a sin-
gle track, and want to simultaneously record the perfor-
mance of multiple tracks.
The RPPR pattern will be recorded as performance
data on the tracks used by the pattern.
Here we will explain how you can simultaneously record
a performance that uses both RPPR and the arpeggiator.
1 For each RPPR pattern, set “Sync” to SEQ.
With a setting of SEQ, patterns played by the RPPR
function while the sequencer is playing or recording
will start in synchronization with the measures of the
sequencer.
2 We will use the arpeggiator to play the bass pattern.
Follow these settings.
Set “Track Select” to Track02: Bass.
Select the Sequencer P7: Arpeggiator, Setup T01–08
page, and set the track 2 “Arpeggiator Assign” to A.
(Make sure that A is checked for “Arpeggiator Run.”)
Select the Sequencer P7: Arpeggiator, Arpeggiator A
page, and set “Pattern” to U038 (A/B).


