


68
Sampling only the stereo input sound from the
AUDIO INPUT 1 and 2 jacks while you listen to the
sound of the TRITON Extreme (arpeggiator etc.)
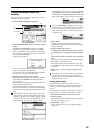
“Input”: Analog
Input1 “BUS Select”: 1/2, “Pan”: L000
Input2 “BUS Select”: 1/2, “Pan”: R127
“Source BUS”: Indiv.1/2
“Recording Level”: 0.0
“Auto +12dB On”: Off (unchecked) ☞PG p.6, 64
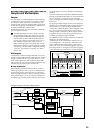
In this case, the sound that is input to AUDIO INPUT 1
and 2 will be output only to AUDIO OUTPUT (INDI-
VIDUAL) 1 and 2.
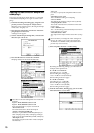
Using the metronome
It is convenient to use the metronome when you want to
play a program or combination at a specific tempo and
sample your performance.
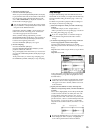
To access the metronome settings, use the Program or
Combination P0: Play, Sampling page menu command
“Metronome Setup.” We recommend that you set “BUS
(OUTPUT) Select” to either 3 or 4, and connect the (INDI-
VIDUAL) 3 or 4 jack to your mixer so that the metronome
can be monitored via your mixer.
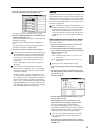
Automatically setting-up for the desired
sampling method (Auto Sampling Setup)
In each mode, Auto Sampling Setup automatically makes
the appropriate settings for the sampling-related parame-
ters so you don’t have to perform steps 1–4 described
above. For example in Program mode you can use this to
make the necessary settings for resampling your playing
on a program, or to make settings for sampling only an
external audio source while you monitor your playing on
a program. However, these automatic settings assume
typical situations, so you’ll need to adjust the parameters
to meet your situation.
This function is available in the following pages.
For examples of the settings, refer to p.80, 82, 83, QS p.18,
22. For a detailed explanation, refer to PG p.7, 42, 64, 112.
Sampling and editing in Sampling
mode
In Sampling mode, you can record samples, and edit sam-
ple data that you sampled or loaded from media (includ-
ing WAVE and AIFF formats). You can also assign the
edited samples to indexes (zones) to create a multisample.
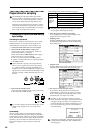
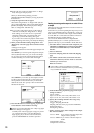
Sampling mode page structure
For details on how to access each mode and page,
refer to “Basic operation” (☞p.13).
Sampling can be performed in any page P0–P8 of
Sampling mode by using the [REC/WRITE] key and
the [START/STOP] key. Recording-related settings
such as input level are made by the parameters of P0:
Recording, and these settings are valid for the other
pages as well.
The selected multisample or sample can be played
from the keyboard in any page, allowing you to hear
the results of your editing in each page.
For an example of sampling, refer to ☞QS p.18–.
On the following page we will explain sampling opera-
tions that are specific to Sampling mode, and how to edit a
multisample or sample.
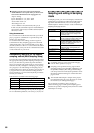
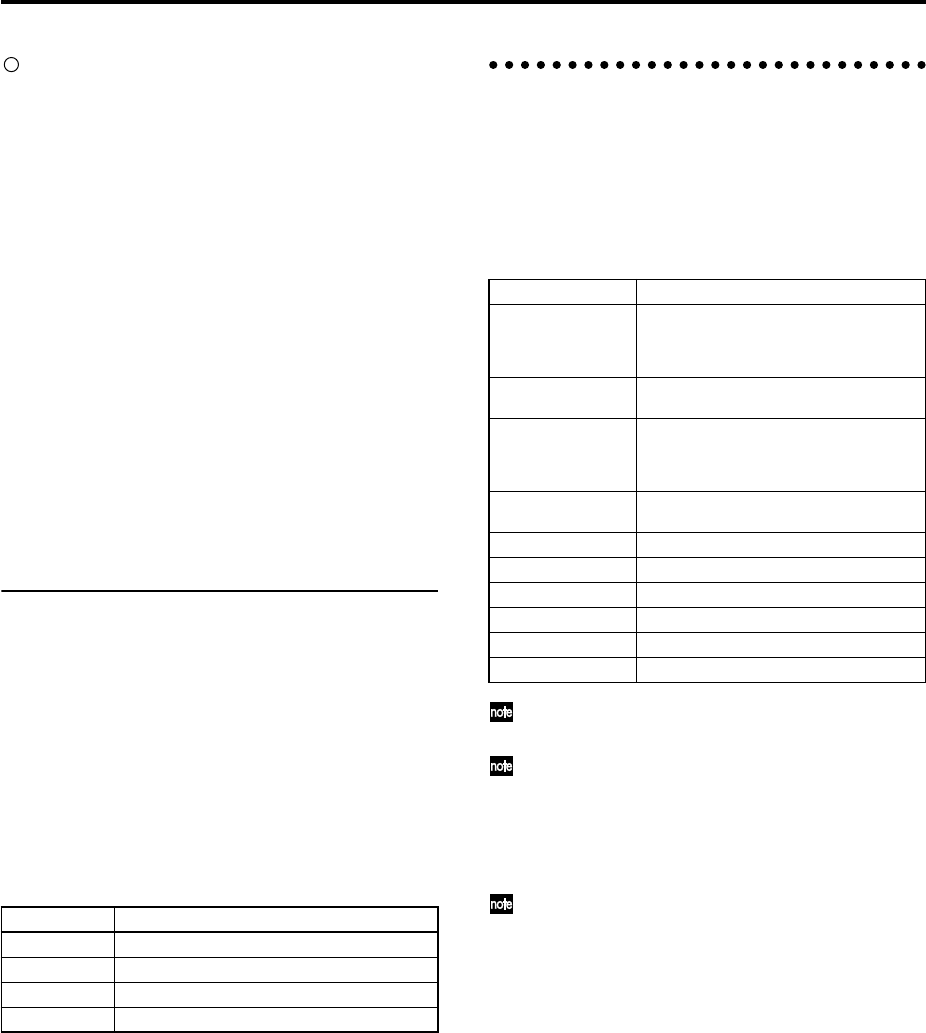
Mode Page
Sampling Sampling P0: Recording
Combination Combination P0: Play, Sampling
Program Program P0: Play, Sampling
Sequencer Sequencer P0: Play/REC, Sampling
Page Explanation
P0: Recording Record samples. Select the sample or multi-
sample to record, make various recording
settings and AUDIO INPUT settings. View
the memory status.
P1: Sample Edit Perform waveform editing etc. on samples
that were sampled or loaded in Media mode.
P2: Loop Edit Set sample playback parameters: Start,
Loop Start, End Address, Loop on/off, and
Reverse on/off. Editing operations such as
Time Slice and Time Stretch.
P3: Multisample Edit multisamples. Set and edit the sample
assignments, zone, and original key etc.
P4: Controller Setup Controller settings.
P5: Audio CD Audio CD playback and ripping.
P6: ---
P7: ---
P8: Insert Effect Select and make settings for insert effects.
P9: Valve Force Valve Force settings.