


84
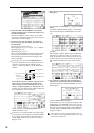
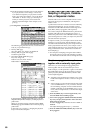
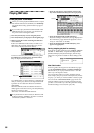
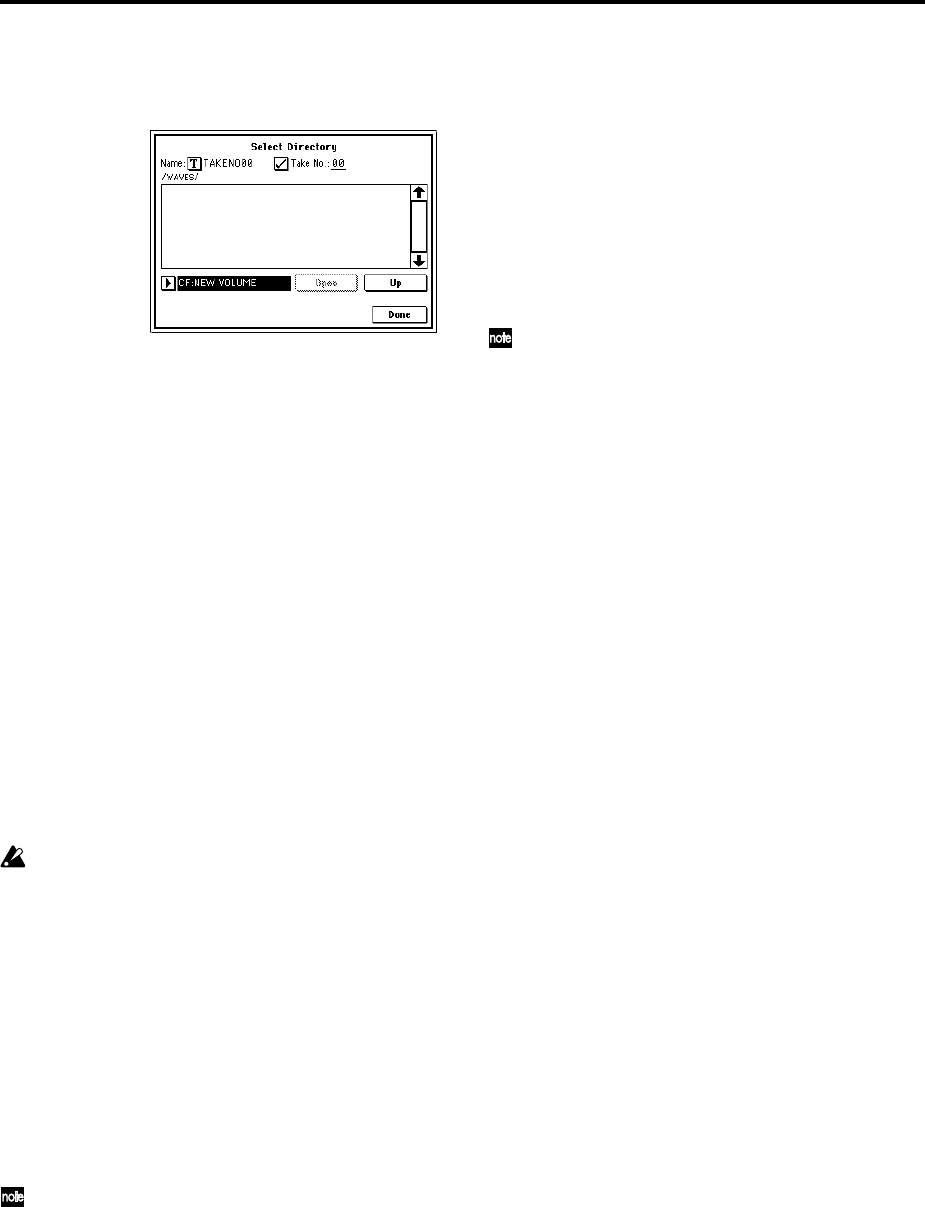
6 Select the page menu command “Select Directory,”
and specify the destination to which the WAVE file
will be written.
Use media select and the Open and Up buttons to
select the directory in which the WAVE file will be
saved.
If you want to create a new directory, access the Media
mode Utility page, and execute the page menu com-
mand “Create Directory.”
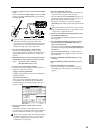
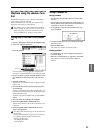
Press the text edit button to access the text edit dialog
box, and input a filename (up to six characters).
Leave “Take No.” checked. The number at the right of
“Take No.” will be input as the last two characters of
the filename.
This number will increment each time you sample,
ensuring that the filename will not be the same even if
you sample repeatedly.
After you have made the settings, press the Done but-
ton to close the dialog box.
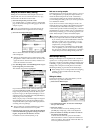
7 Set “Sample Time” to the length that you want to
sample.
Set this to a length slightly greater than the length of
the song.
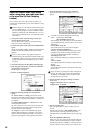
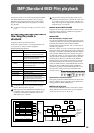
8 Set the recording level.
Press the SAMPLING [REC] key.
It will take between several seconds to nearly a
minute from the moment you press the SAMPLING
[REC] key until the TRITON Extreme enters standby
mode (i.e., until the SAMPLING [REC] key changes
from blinking to lit). This time is required in order to
allocate sufficient space on the media.
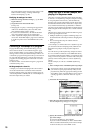
Press the SEQUENCER [START/STOP] key to play
back the song, and adjust the resampling volume while
you watch the level meters.
If the level meter indication is too low, use the VALUE
controller to raise the level from –12.0 as far as possible
without causing the “CLIP!!” indicator to appear. The
output volume will not change at this time, but your
adjustment will affect the data that will be sampled.
(☞p.67)
The power-on default setting is –12.0 dB. At the –12.0
dB setting, CLIP!! will not appear even if the song is
played back at the maximum level.
When you finish making adjustments, press the SAM-
PLING [REC] key.
Press the SEQUENCER [START/STOP] key to stop the
song playback. Then press the [LOCATE] key.
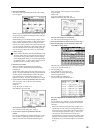
9 Start sampling.
Press the SAMPLING [REC] key and then the SAM-
PLING [START/STOP] key to enter recording-standby
mode.
Press the SEQUENCER [START/STOP] key to play
back the song. Sampling will begin at the same time.
0 When the song finishes playing back, press the SAM-
PLING [START/STOP] key to stop sampling.
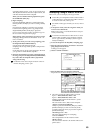
Use the page menu command “Select Directory” to
verify that the WAVE file was created. Select the file
and press the SAMPLING [START/STOP] key to listen
to the sound that was sampled.
The pickup level of a WAVE file is specified by the
“WAVE File Play Level” (☞PG p.158).