Using the mixer functions & effects
114
r
E-80 Music Workstation
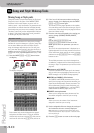
Using the Keyboard Mastering
Tools
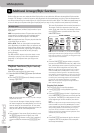
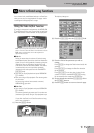
The E-80 contains two effects processors that apply to
all Keyboard parts (there is a second set for the Style
and Song parts).
These processors are collectively called the “Mastering
Tools”, because they allow you to perfect the signal mix
output by the E-80 so as to adapt it to the sound sys-
tem you are using. Though they are not meant to be
changed for every song you intend to play, switching
settings is relatively easy and could therefore be used to
great effect.
Note: The MASTERING TOOLS settings are global parameters that
are not saved to individual User Programs. You can, however,
archive them by saving the current User Program Set to the
internal memory or a memory card.
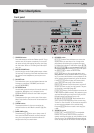
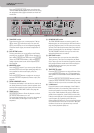
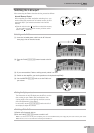
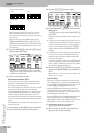
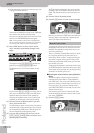
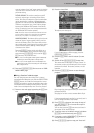
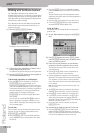
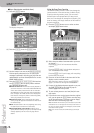
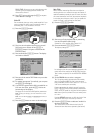
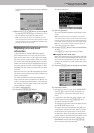
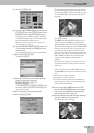
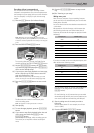
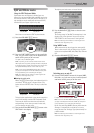
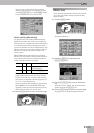
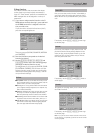
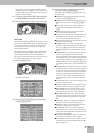
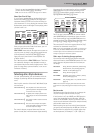
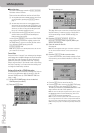
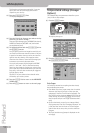
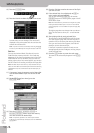
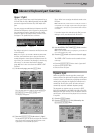
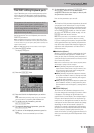
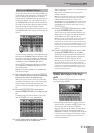
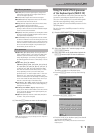
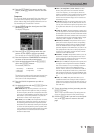
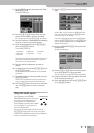
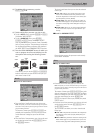
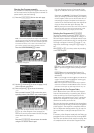
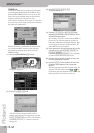
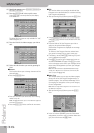
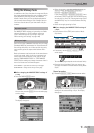
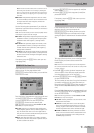
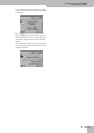
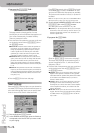
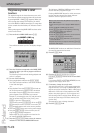
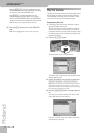
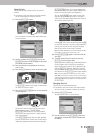
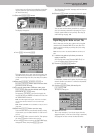
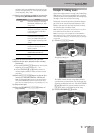
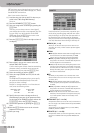
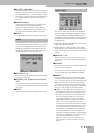
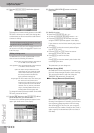
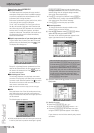
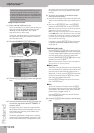
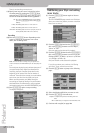
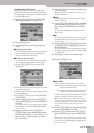
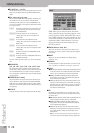
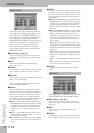
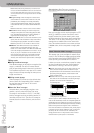
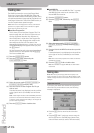
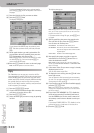
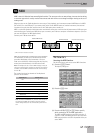
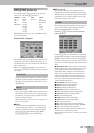
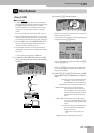
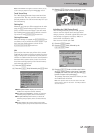
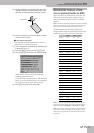
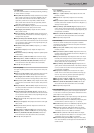
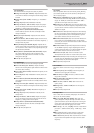
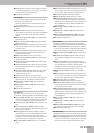
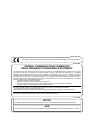
(1) Press the [EFFECTS] button to call up the following
page.
On this page, you can switch the KEYBOARD MAS-
TERING TOOLS processors on and off by pressing the
[OFF/ON] button icons to the right of the EQUALIZER
and COMPRESSOR “displays”.
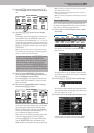
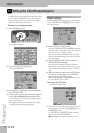
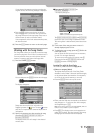
If you only need another effect type, press the
EQUALIZER or COMPRESSOR display and use the
[DATA÷ENTRY] dial or the [DEC]/[INC] buttons to select
it. If you also need to change certain aspects of that
effect…
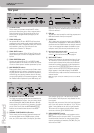
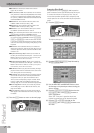
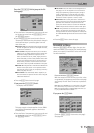
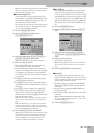
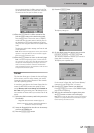
Equalizer
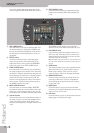
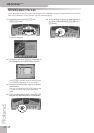
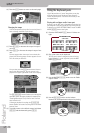
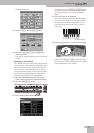
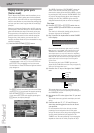
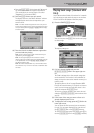
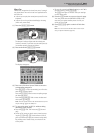
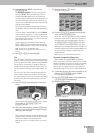
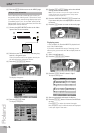
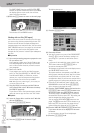
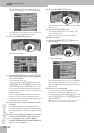
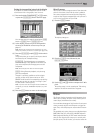
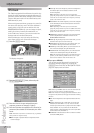
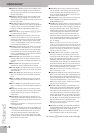
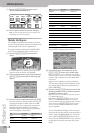
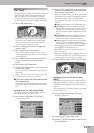
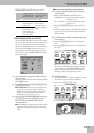
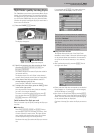
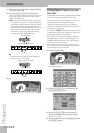
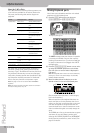
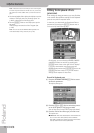
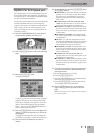
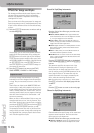
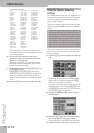
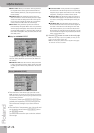
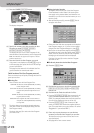
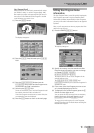
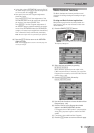
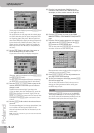
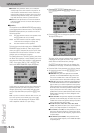
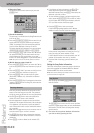
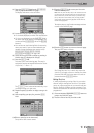
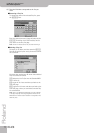
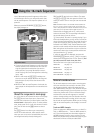
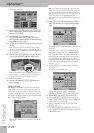
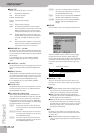
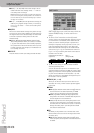
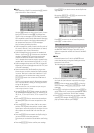
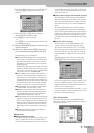
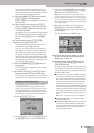
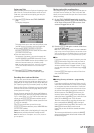
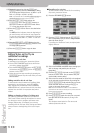
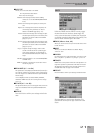
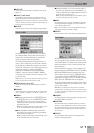
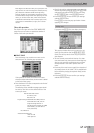
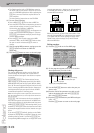
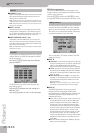
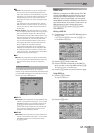
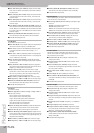
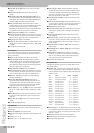
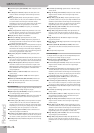
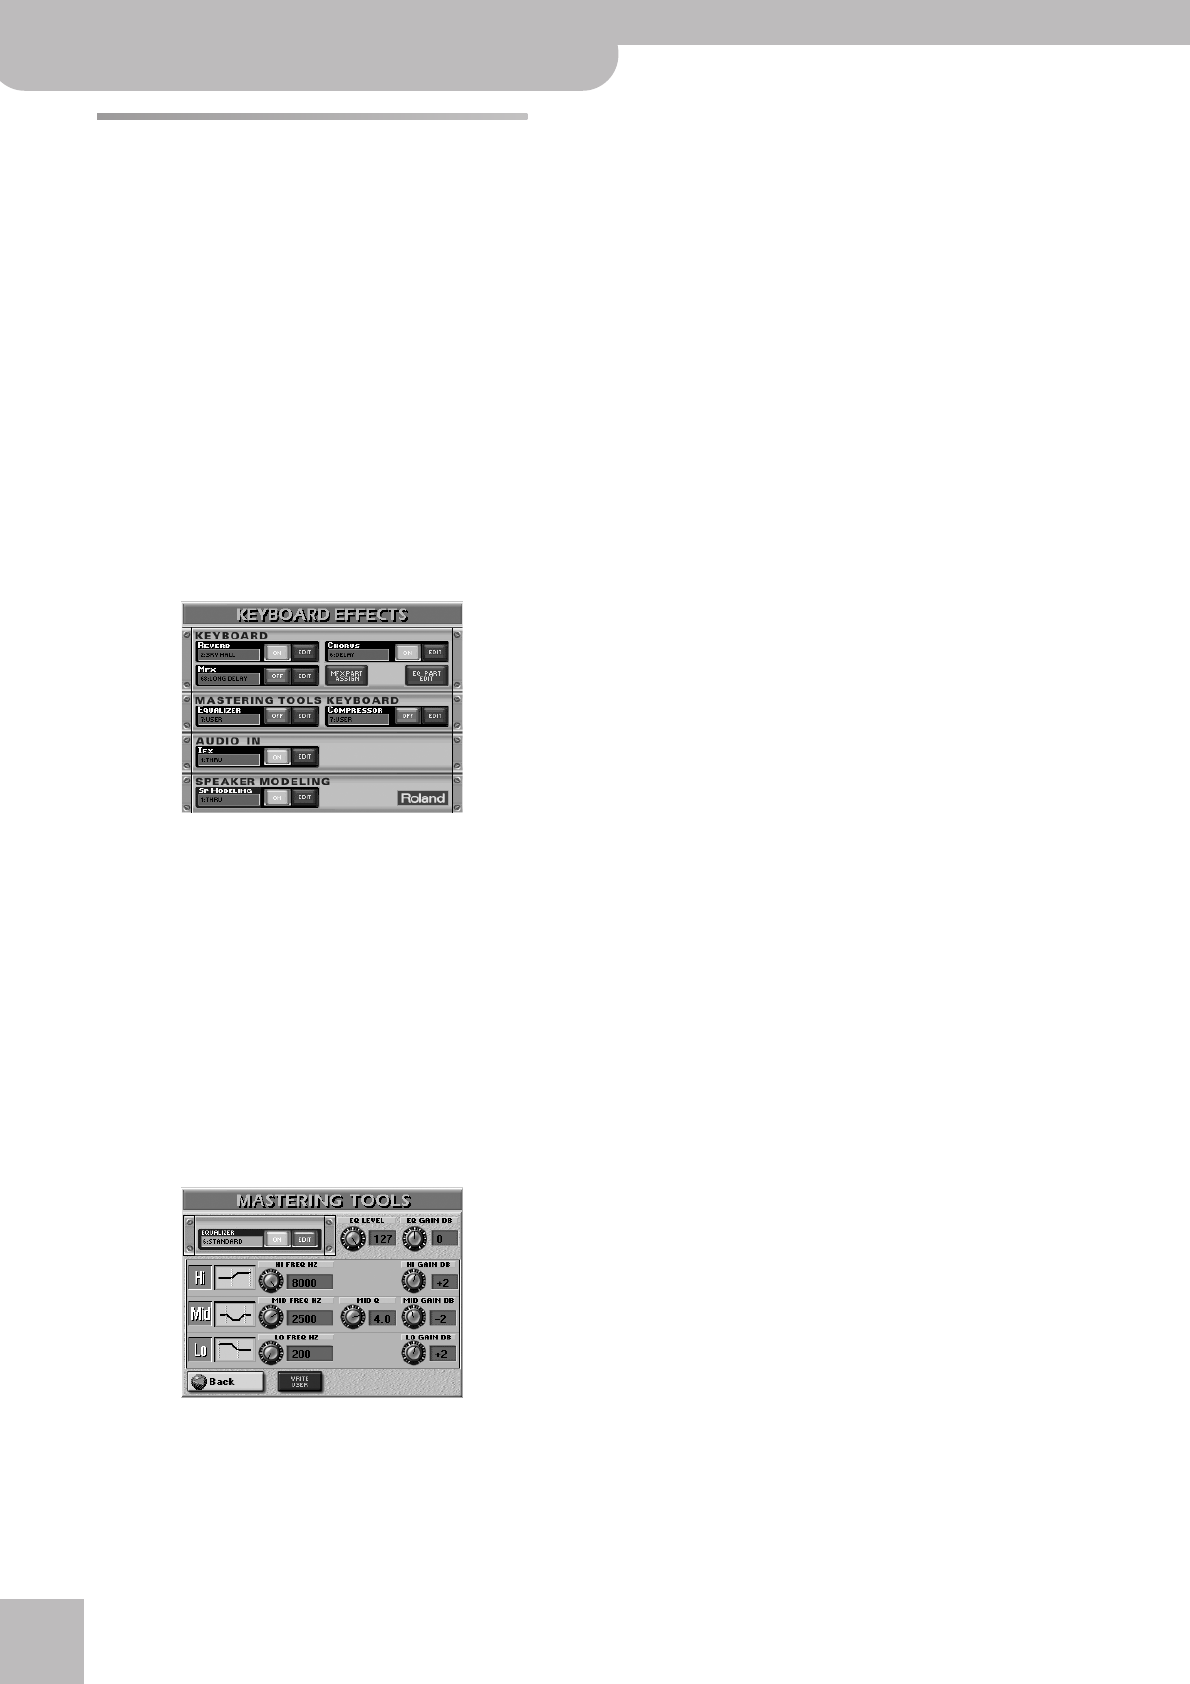
(1) Press the EQUALIZER [EDIT] field to access the
parameters of the Equalizer.
The display changes to:
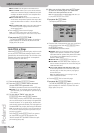
The equalizer has the same function as the BASS, MID
and TREBLE knobs on an amplifier: it allows you to
color the sound or to apply tonal corrections that
help you avoid saturating the speakers.
(2) Press the [ON] (or [OFF]) field to switch the equal-
izer on (icon lights) or off (icon goes dark).
You can also do so on the KEYBOARD EFFECTS page
(see above).
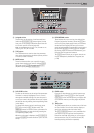
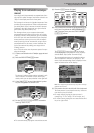
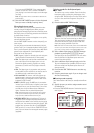
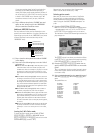
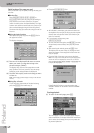
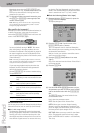
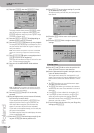
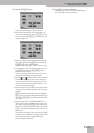
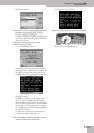
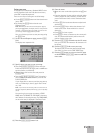
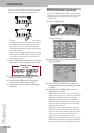
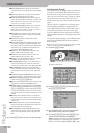
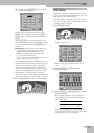
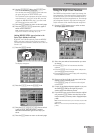
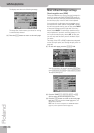
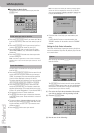
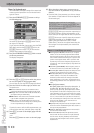
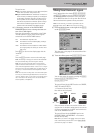
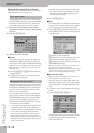
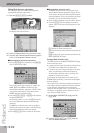
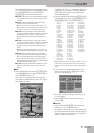
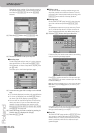
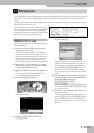
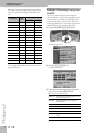
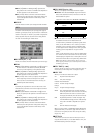
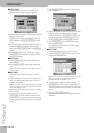
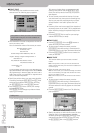
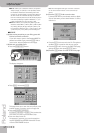
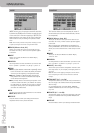
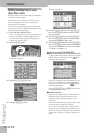
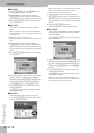
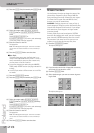
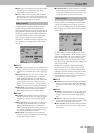
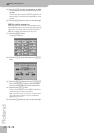
(3) Press the field below “EQUALIZER” that displays the
name of the currently selected preset.
(4) Select the desired equalizer preset with the
[DATA÷ENTRY] dial or the [DEC]/[INC] buttons.
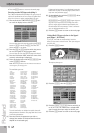
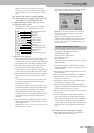
The available presets are:
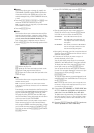
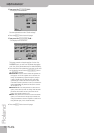
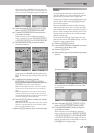
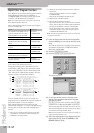
The settings you make on this page can be saved to a
User memory and recalled as and when necessary.
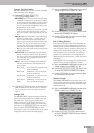
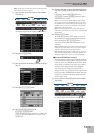
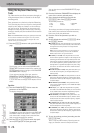
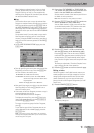
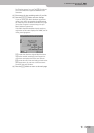
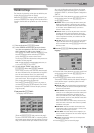
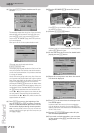
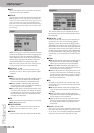
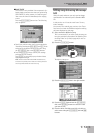
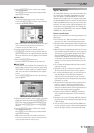
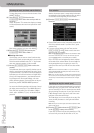
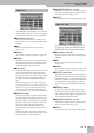
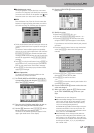
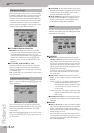
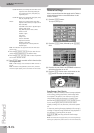
Here’s how to edit the parameters:
(5) Press the field of the parameter you wish to
change.
(6) Set the desired value with the [DATA÷ENTRY] dial or
the [DEC]/[INC] buttons.
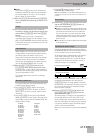
● EQ LEVEL (0~127)—Use this parameter to set the equal-
izer’s input level. This may be necessary when the level of
the signals sent to this processor is so high that the
sound distorts.
Note: Do not set this parameter to “0” if the equalizer is
switched on, because doing so means that the OUTPUT
MAIN sockets transmit no signal whatsoever.
● EQ GAIN (–9~0~9dB)—Use this parameter to correct
the level at the equalizer’s outputs. If the settings of the
remaining parameters lead to a significantly lower level
(which can be checked by switching the Equalizer on and
off for A/B comparisons), select a positive value. If your
settings lead to a significantly higher level, select a neg-
ative value. “0” means that the level is neither boosted
nor attenuated.
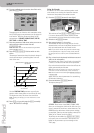
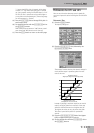
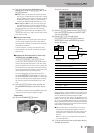
● HI FREQ HZ (2000~12000)—This parameter allows you
to set the cutoff frequency of the high band (this is a
shelving filter).
● HI GAIN DB (–15~15dB)—Use this parameter to set the
level of the selected HI frequency. Positive values boost
(increase the volume of) that frequency, negative values
cut (attenuate) it.
● MID FREQ HZ (200~8000Hz)—This parameter allows
you to set the cutoff frequency of the middle band (this
is a peaking filter).
● MID Q (0.5, 1, 2, 4, 8)—Use this parameter to specify
the width of the MID FREQ band that you want to boost
or cut. Smaller values mean that neighboring frequen-
cies above/below that value are also affected.
● MID GAIN DB (–15~15dB)—Use this parameter to set
the level of the selected MID frequency. Positive values
boost (increase the volume of) that frequency, negative
values cut (attenuate) it.
● LO FREQ HZ (50, 80, 100, 150, 200, 250, 300, 400)—
This parameter allows you to set the cutoff frequency of
the low band (this is a shelving filter).
● LO GAIN DB (–15~15dB)—Use this parameter to set the
level of the selected LO frequency. Positive values boost
(increase the volume of) that frequency, negative values
cut (attenuate) it.
(7) To save the settings you have just made, press the
[WRITE¥USER] field.
There is only one USER memory. By saving new set-
tings, you therefore overwrite the previous ones.
1. Flat
2. Rock
3. Pop
4. Jazz
5. Classic
6. Standard
7. User