


Using the 16-track Sequencer
198
r
E-80 Music Workstation
Using the Style Converter
(1) Select and load a (different) song.
This is not necessary if you want to use the song you
have just recorded or played back. Otherwise, see
“Working with the Song Finder” on p. 159 (or
page 42) for how to load a song.
In any case, you should listen to it and try to isolate
the eight tracks whose parts should be included in
your new Music Style.
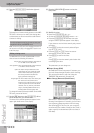
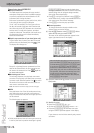
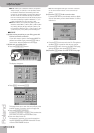
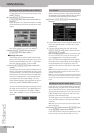
(2) Press the RECORDER [16-TRK¥SEQ.] button.
The display changes to:
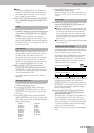
(3) Press the [STYLE¥CONVERTER] field in the right col-
umn.
(4) You may also have to press the [SETUP] button icon
to select the page shown above (if “CONVERT” is
currently active).
This page allows you to select the song tracks that
should become Style tracks. Remember that a song
may contain up to 16 tracks, while a Music Style
“only” provides eight.
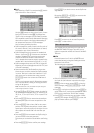
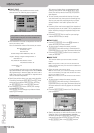
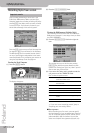
The default assignments of song tracks to the Style
tracks (see the illustration above, last column in the
list) are made automatically. Though based on com-
mon sense, they may not yield the desired accompa-
niment pattern. As a rule, you should always listen
carefully.
(5) To correct one or several of the default assign-
ments, proceed as follows:
• Press one of the green fields to select the Style track.
Those are the tracks that make up your Music style to
be.
• Next, use the [DATA÷ENTRY] dial or the [DEC]/[INC]
buttons to select a song track in the list to the left.
Note: See “Arranger parts” on p. 82 if you’re not sure what the
abbreviations in the “Trk” fields stand for.
Note: If you assign several song tracks to the same Style track,
a bullet (“●”) appears next to the Style track name in the table
to indicate that the Style track in question is already assigned
to another song track. (Though this is perfectly possible, the
result is usually not convincing.)
If necessary, press the [INIT¥VALUE] field to return to
the default assignments if that produces the best
result after all.
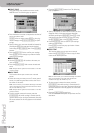
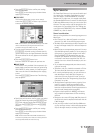
Auditioning the tracks
Press the [Jump≈to≈1st≈note] field to jump to the first
note of the selected song track (the one that appears
on a blue background). Playback starts automatically
from that point and you will hear all song tracks.
Press the RECORDER [PLAY÷STOP¥®÷ª] button to stop
playback (or to start it again).
Note: If the selected track contains no data at all, playback is
started from the very first song measure.
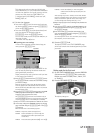
■Muting tracks
Sometimes, it may be necessary to mute certain parts
so as to concentrate on what the other tracks do, and
to decide which tracks should be converted into a
Music Style. To do so, press the [MUTE] field and then
the lines of the song tracks you don’t want to hear.
Such tracks are flagged with an “M”.
Press the [MUTE] field again to switch off the func-
tion of the same name.
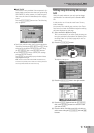
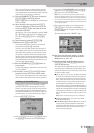
■Solo
To listen to one track in isolation, press the [SOLO]
field and the field of the track you want to solo, then
start playback. This mutes all other tracks, while the
selected track is flagged with an “S”.
Press the [SOLO] field again to switch off the func-
tion of the same name.
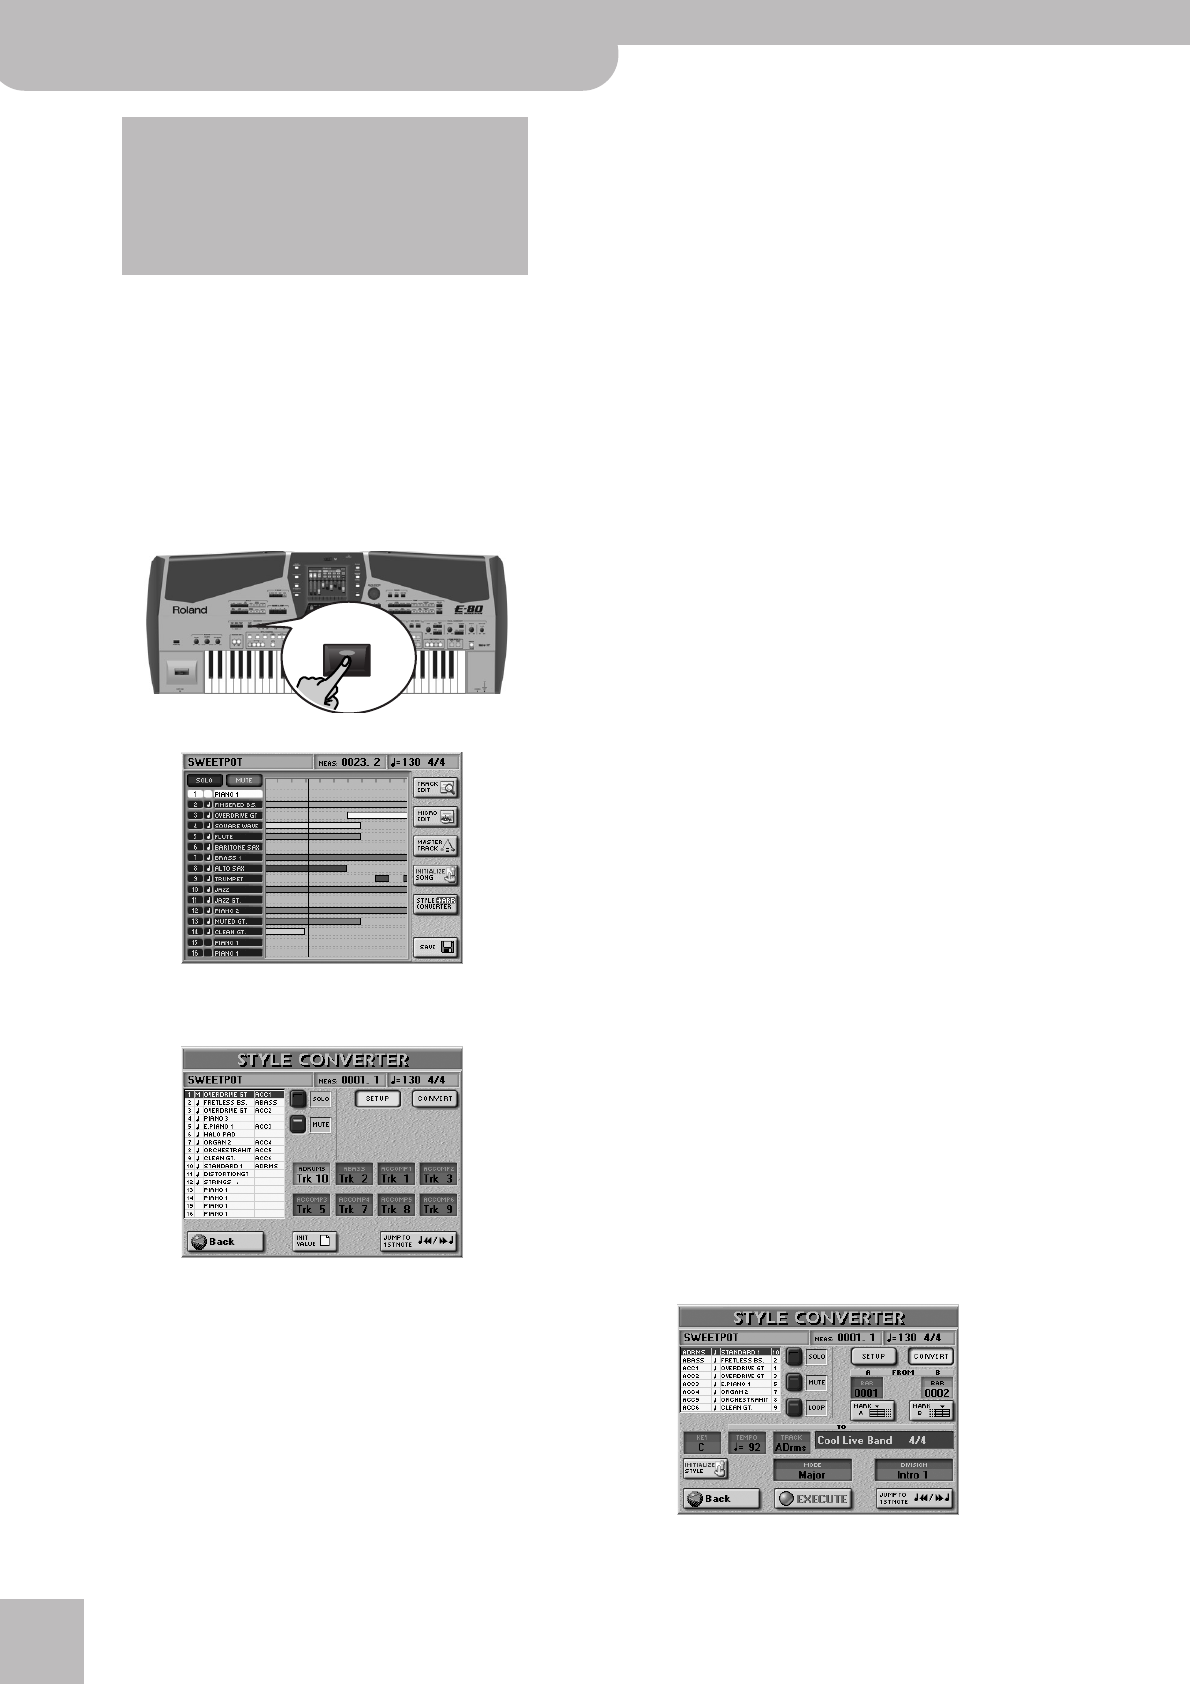
(6) Press the [CONVERT] field to jump to the following
page.
Commercially available Standard MIDI Files are pro-
tected by a copyright. Please note that the Style
Converter should only be used to create Music Styles
for private use. Roland assumes no responsibility for
copyright infringements that may result from the
use of the Style Converter.
16-TRK
SEQ.