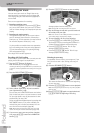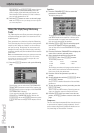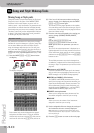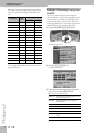
Programming Styles (Style Composer)
210
r
E-80 Music Workstation
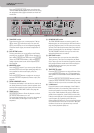
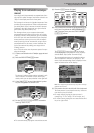
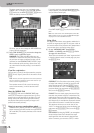
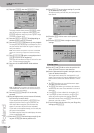
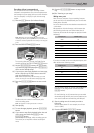
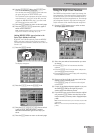
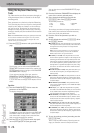
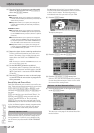
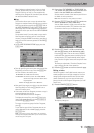
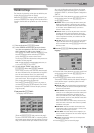
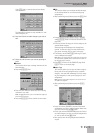
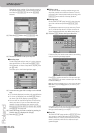
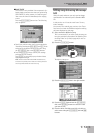
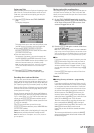
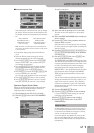
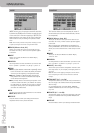
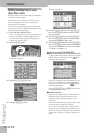
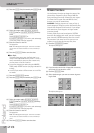
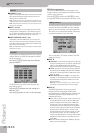
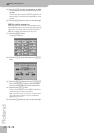
(13) Repeat this operation with the [MODE] and
[DIVISION] fields to select the Mode (Major, Minor,
7th, ALL) and the Division (Intro 1~4, Main 1~4, Fill
Dwn 1~3, Fill Up 1~3, End 1~4, ALL).
Note: If you selected “ALL” for SOURCE [MODE]/[DIVISION], this
[MODE]/[DIVISION] parameter is also set to “ALL”.
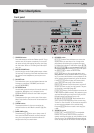
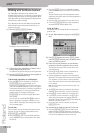
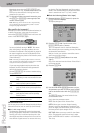
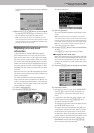
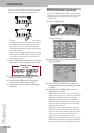
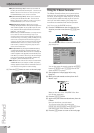
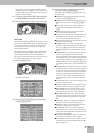
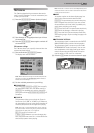
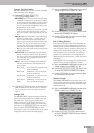
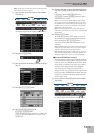
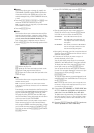
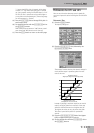
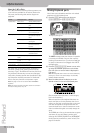
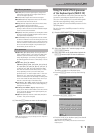
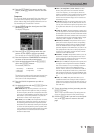
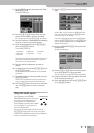
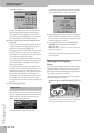
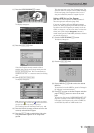
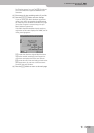
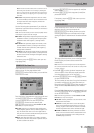
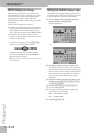
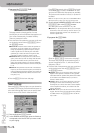
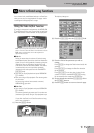
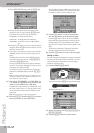
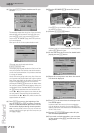
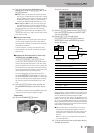
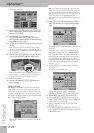
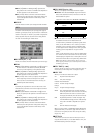
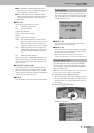
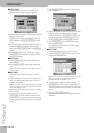
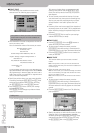
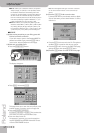
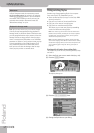
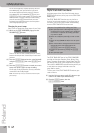
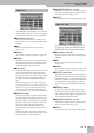
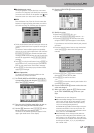
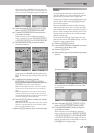
(14) Press the [COPY¥TIMES] field and use the
[DATA÷ENTRY] dial or the [DEC]/[INC] buttons to
specify the number of copies to be made. Select
“1” to copy the excerpt only once.
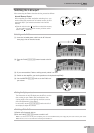
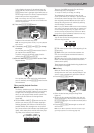
(15) Press the [LISTEN] field to listen to the destination
track.
The INTO position indicates where the beginning of
the source excerpt will be after the copy operation.
To copy the source data to the beginning of the des-
tination track, select BAR= “1”, BEAT= “1” and CPT=
“0”.
(16) Press the [BAR], [BEAT] or [CPT] field and use the
[DATA÷ENTRY] dial or the [DEC]/[INC] buttons to set
the target (INTO) position.
(17) Press the [EXECUTE] field to copy the data.
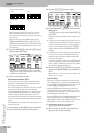
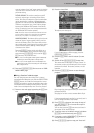
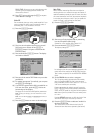
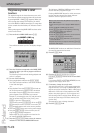
Editing Styles on the fly via
additional recordings
Adding notes in real-time
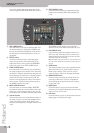
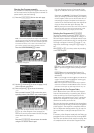
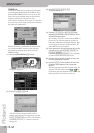
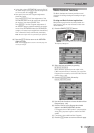
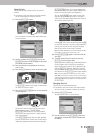
To add notes to an existing part, proceed as follows:
• On the STYLE COMPOSER page, select the Division
you wish to change (page 204).
• Press the RECORDER [REC¥∏] button, the [REC¥MODE]
field and use the [DATA÷ENTRY] dial or the [DEC]/[INC]
buttons to select “Mix”.
• Select the track and start recording by pressing the
[START÷STOP] button. Play the notes where you want
them to sound.
Adding controller data in real-time
To add controller data (modulation, Pitch Bend, Hold,
expression) to an existing part, select REC MODE=
“Mix”. Operate the performance function (BENDER/
MODULATION lever, optional footswitch for Hold data,
optional foot controller for expression data) where
needed.
Adding or changing settings of existing parts
The following operations require that you record in
“Mix” mode without touching the keyboard or control-
lers. Unless you want to program continuous value
changes (Panpot data, for example), you can stop
recording after the first beat. Static settings are indeed
always written at the beginning of the track in ques-
tion.
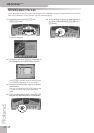
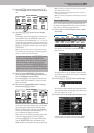
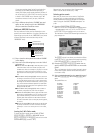
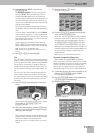
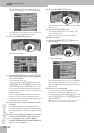
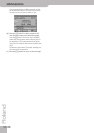
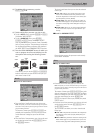
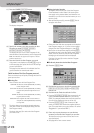
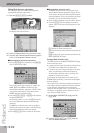
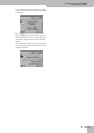
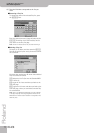
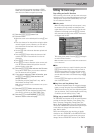
■Sound/Drum Set selection
To select another sound or Drum Set for an existing
Style track, proceed as follows:
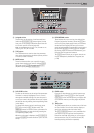
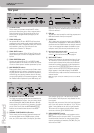
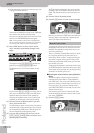
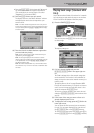
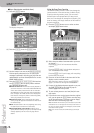
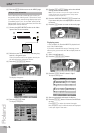
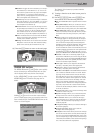
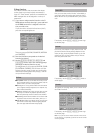
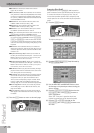
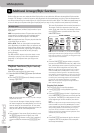
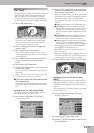
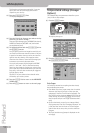
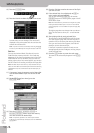
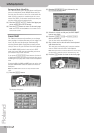
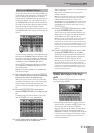
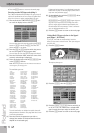
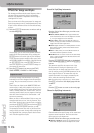
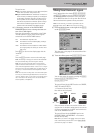
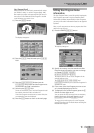
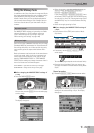
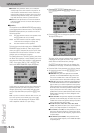
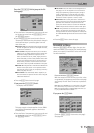
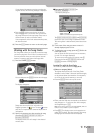
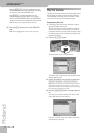
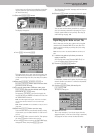
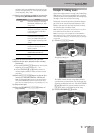
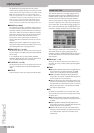
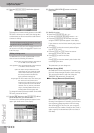
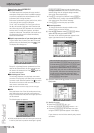
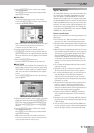
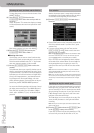
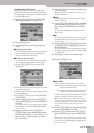
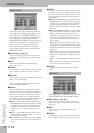
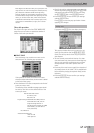
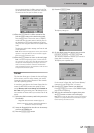
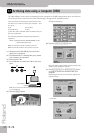
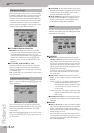
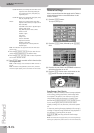
(1) Press the RECORDER [REC¥∏] button.
(2) Press the [TRACK] field and use the [DATA÷ENTRY]
dial to select the track you wish to assign another
sound (or Drum Set) to.
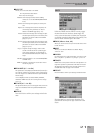
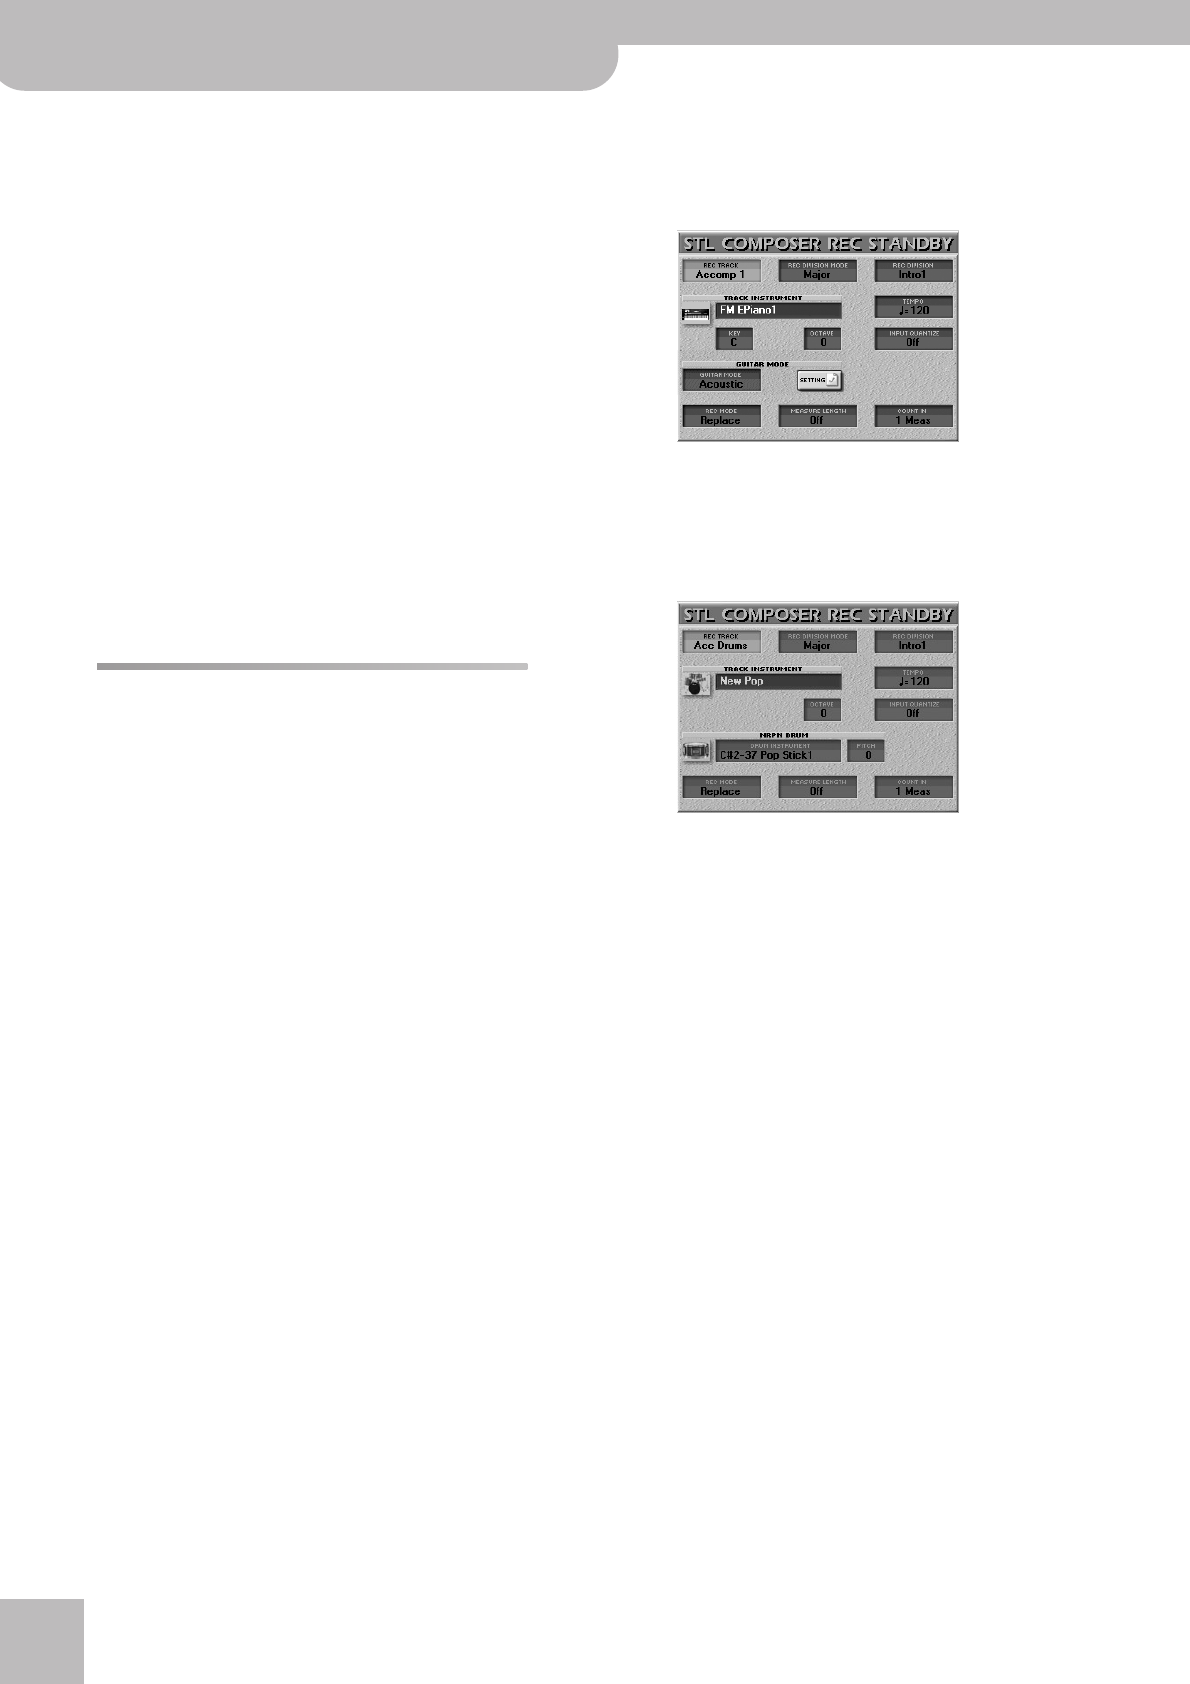
If you select the “AccDrums” track, the display looks
slightly different:
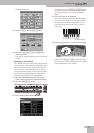
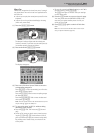
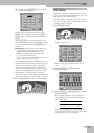
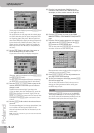
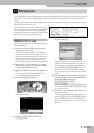
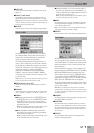
(3) Select the DIVISION and MODE whose settings you
wish to change and possibly also all clones
(page 204).
(4) Press the [REC¥MODE] field and use the [DEC]/[INC]
buttons to select “Mix”. (Let us assume that your
track already contains data.)
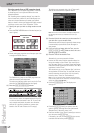
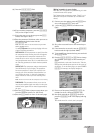
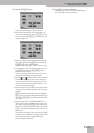
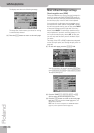
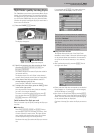
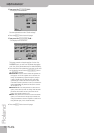
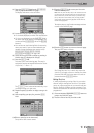
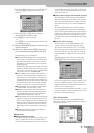
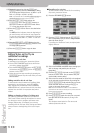
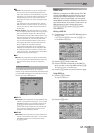
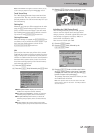
(5) Select the new sound (or Drum Set) to be assigned
to the selected track and division by pressing the
[TRACK¥INSTRUMENT] field and using the on-screen
fields and TONE buttons. Finally, press [EXIT] to
return to the page shown above.
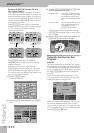
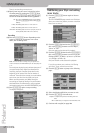
Note: See “Drum Instrument & Pitch” for the additional
parameters for the AccDrums track (you may want to set them
before performing step (6)).
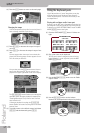
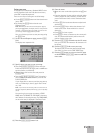
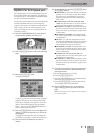
(6) Press [START÷STOP] to start recording.
(7) Press [START÷STOP] again after the first or second
beat (but wait until the count-in, if any, is fin-
ished).
This completes sound selection. The new sound
address replaces the old one.