


Quick Start
52
r
E-80 Music Workstation
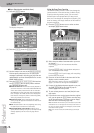
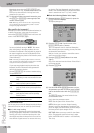
(4) Press the [TUNING], then the [SINGER¥KEY] field.
This page contains three presets: [ORIGINAL] means
that the song is not transposed, while [MALE] and
[FEMALE] adapt the song’s key to the “typical” range
of a male or female voice.
(5) Press the [MALE] or [FEMALE] field (depending on
whether you’re a man or a woman).
(6) Press the [PLAY÷STOP¥®÷ª] button to start playback.
The song may now be playing in a different key. If it is
not, the melody falls within the “typical” range you
have just selected.
Note: This automatic transposition only works if track/MIDI
channel “4” of the song you play back contains the melody
part.
(7) Press [PLAY÷STOP¥®÷ª] again to stop playback and
[TOP¥|√] to return to the beginning.
That may still have been too high or too low for com-
fort… So here comes the best part:
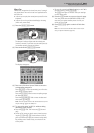
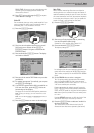
(8) Press one of the USER PRESET fields and then
[EDIT].
Note: The [EDIT] field only appears after pressing one of the
USER PRESET fields. The latter are four memories where you
can store your own range settings.
(9) Press the [HIGHEST] field (if it is not already
selected).
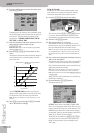
(10) Sing the highest note you can muster effortlessly
(you can sing it several times).
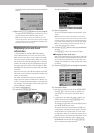
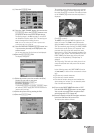
If you connected a microphone, a [CAPTURE] field
appears. Press that field to confirm the note you
want the E-80 to recognize. (This field does not
appear if you enter the pitch via the keyboard.)
If you have no microphone handy, you can also play
this note on the keyboard.
The E-80 recognizes the pitch and displays the name
of the corresponding note.
(11) Press the [LOWEST] field and repeat step (10), tak-
ing care to sing your lowest possible note.
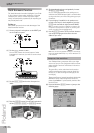
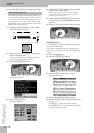
(12) Press [EXECUTE] to store these settings if you wish
to use them at a later stage.
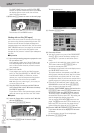
The display briefly confirms that your settings have
been stored:
(13) Press the [Back] field to return to the previous
page.
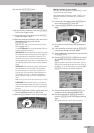
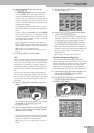
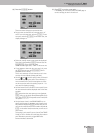
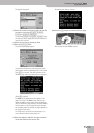
(14) Press the [RENAME] field to assign a name to your
settings.
(15) Use the [ø] and [˚] fields to select the position for
which you wish to enter a new character.
(16) Use the alphanumeric keypad in the right corner to
enter the desired characters.
This keypad works exactly like the keypad of a cell-
phone: you may have to press an alphanumeric field
several times to select the desired character or num-
ber.
• The [A/a] field allows you to switch between upper-
case and lowercase characters.
• The [Delete] field allows you to delete the character
indicated by the cursor. Press and hold it to clear all
characters.
• Press [Space] to insert a blank (or the number “0”).
• If you forgot to insert a character, use [ø] or [˚] to
select the position where the missing character
should be inserted. Then press [Insert], followed by the
character you wish to insert.
(17) If you’re happy with the name for your Singer Key
settings, press [EXECUTE].
Entering names