Recording your music
E-80 Music Workstation
r
61
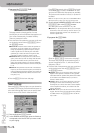
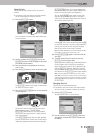
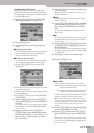
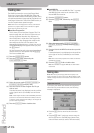
Recording without accompaniment
Let us now look at how to start recording without
automatic accompaniment. You can nevertheless start
the Arranger at a later stage (after your ad lib introduc-
tion, for example): it will play in sync with the song
tempo.
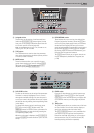
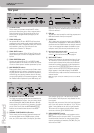
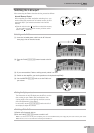
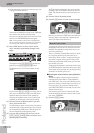
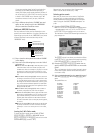
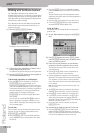
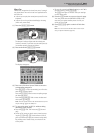
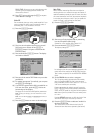
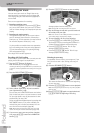
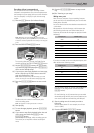
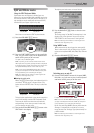
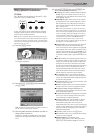
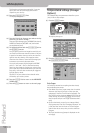
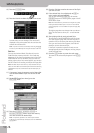
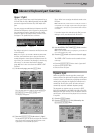
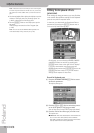
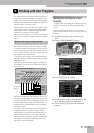
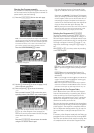
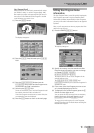
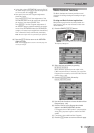
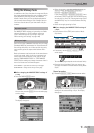
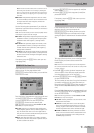
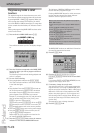
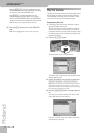
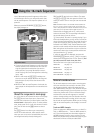
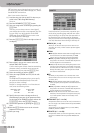
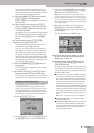
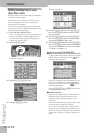
(1) Press the [REC¥∏] button (its indicator flashes).
Note: Whenever you press the [REC¥∏] button and start
recording (see below), the song RAM memory is erased. Be sure
to save the current song data before recording a new song (see
p. 63).
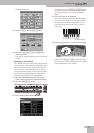
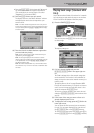
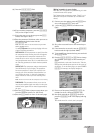
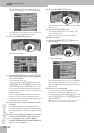
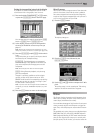
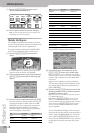
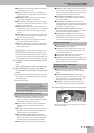
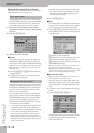
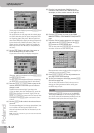
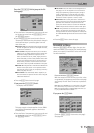
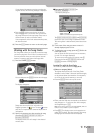
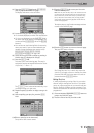
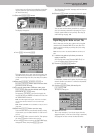
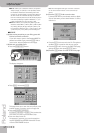
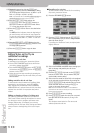
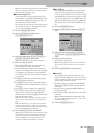
(2) Press the EASY SETTING [PIANO] button.
To record a guitar part, activate the E-80’s Guitar
mode by pressing the EASY SETTING [GUITAR] button.
(3) Use the [√SLOW][FAST®] buttons, the [TAP] button
or (if the main page is displayed), the [DATA÷ENTRY]
dial to set the desired tempo.
(4) If you want to start Style playback at a later stage,
select a Style (see p. 27). Also select a sound for
your solo playing (see p. 29).
Note: Rather than performing the above steps, you could
recall a User Program with the desired settings (page 126).
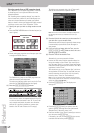
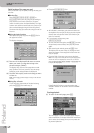
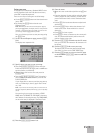
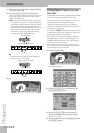
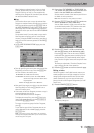
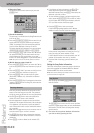
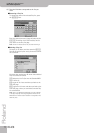
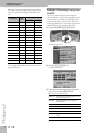
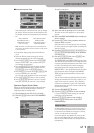
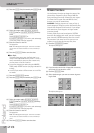
(5) Press the [PLAY÷STOP¥®÷ª] button to start record-
ing.
The Recorder now counts in one measure, after
which recording starts.
Note: See page 81 for setting the Count-In function.
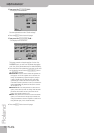
(6) Start playing.
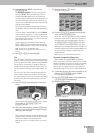
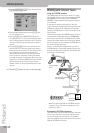
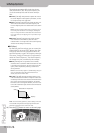
(7) To start Arranger playback, press the [START÷STOP]
button.
(8) If you want to stop Style playback before the end
of the song, press either the [END÷RIT] or the
[START÷STOP] button.
This will stop the Arranger, while recording goes on.
This allows you to improvise without accompani-
ment.
(9) Press the [PLAY÷STOP¥®÷ª] button to stop record-
ing.
(10) See “Listening to your song”.
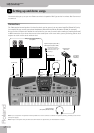
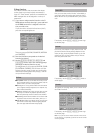
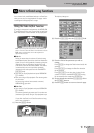
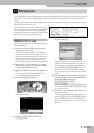
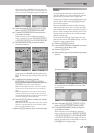
Adding more parts
Here is how to redo part of your recording (one part
you do not like) or to add additional parts to what has
already been recorded.
Let us first have a look at what has been recorded so far
– and where:
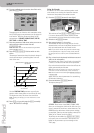
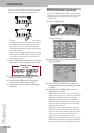
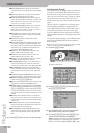
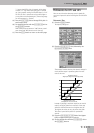
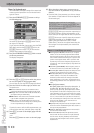
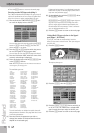
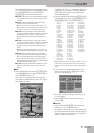
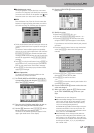
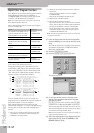
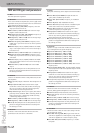
We started out with the Arranger, which means that
the following tracks may now contain data (not all
Styles use all 8 tracks the Arranger can play back simul-
taneously):
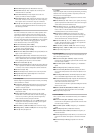
If you also recorded one or several Keyboard parts, their
data reside on the following tracks:
UP1/2/3 and/or LW1/2 can also be used as additional
drum part if you assign them a Drum Set (TONE
[DRUMS] button).
For the following, we will assume that you recorded
the melody using the UP1 part (track 4) and that you
now want to add some chords using the LW1 part.
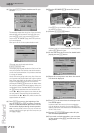
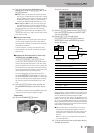
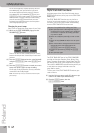
(1) Start by taking note of the track you wish to
(re)record.
See the tables above. For our example, we will use
track 11 (LW1).
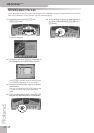
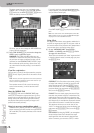
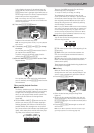
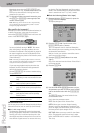
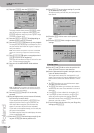
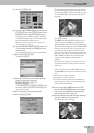
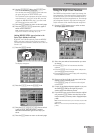
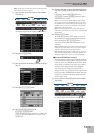
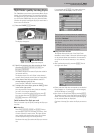
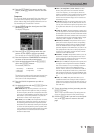
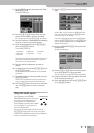
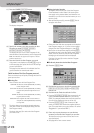
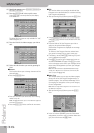
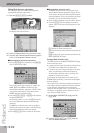
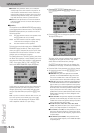
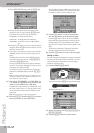
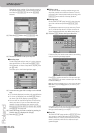
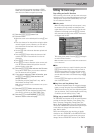
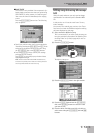
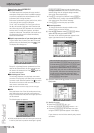
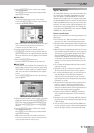
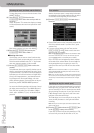
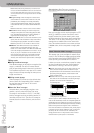
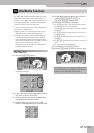
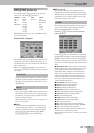
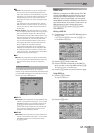
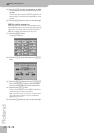
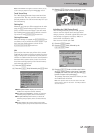
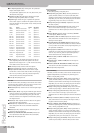
(2) Press the RECORDER [16-TRK¥SEQ.] button.
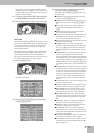
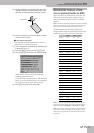
REC
●
GUITAR PIANO
PLAY/STOP
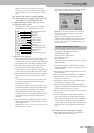
Arranger part Recorder track
ADR 10
ABS 2
ACC1 1
ACC2 3
ACC3 5
ACC4 7
ACC5 8
ACC6 9
Keyboard part Recorder track
UP1 4
UP2 6
UP3 13
LW1 11
LW2 14
MBS 12
MELODY INT 15
VOCAL HARMONIST 16
16-TRK
SEQ.