Using the 16-track Sequencer
200
r
E-80 Music Workstation
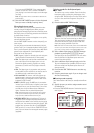
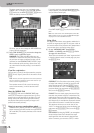
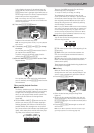
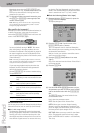
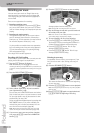
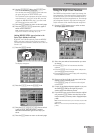
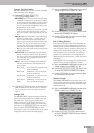
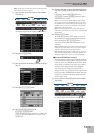
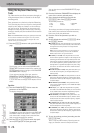
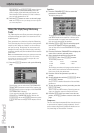
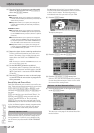
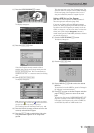
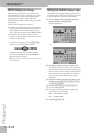
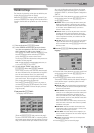
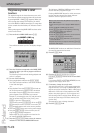
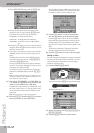
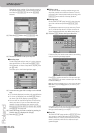
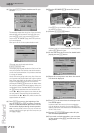
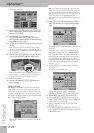
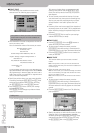
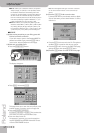
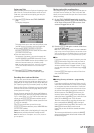
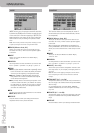
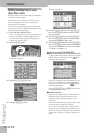
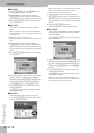
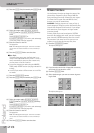
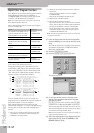
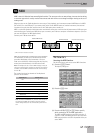
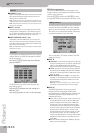
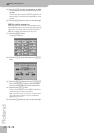
● Mode—Allows you to select the mode of your pattern:
“Major” (major), “m” (minor) or “7th” (seventh). Choose
the mode that matches the chord being used in the
excerpt. You can also decide to use the same phrase for
all three modes. The E-80 then attempts to transform
them in a musically useful way for the chords you play in
real-time. By selecting an option indicated by “=”, you
create several patterns at once, see also p. 204.
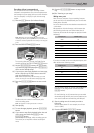
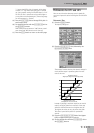
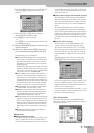
● Division—Allows you to specify the pattern type that
should be created: Main 1, Main 2, Main 3, Main 4, Main
ALL, Fill Up1, Fill Up2, Fill Up3, Fill Up ALL, Fill Dw1, Fill
Dw 2, Fill Dw 3, Fill Dw ALL, Intro 1, Intro 2, Intro 3, Intro
4, Intro ALL, End 1, End 2, End 3, End 4 or Ending ALL.
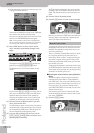
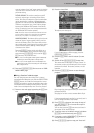
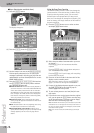
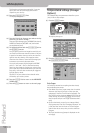
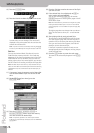
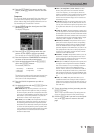
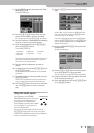
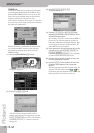
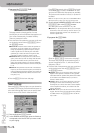
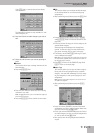
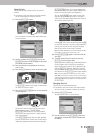
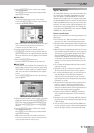
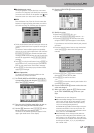
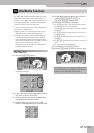
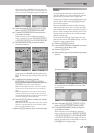
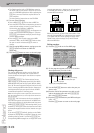
■EXECUTE
(15) After setting everything to your liking, press this
field to launch the conversion.
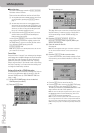
If you don’t want to convert the Standard MIDI File
phrases into a Music Style, press the [Back] field to
return to the 16-track Sequencer’s main page.
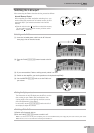
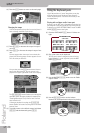
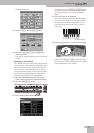
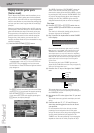
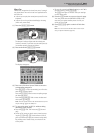
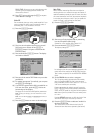
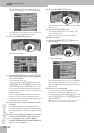
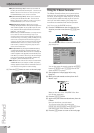
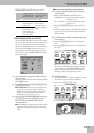
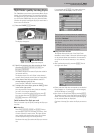
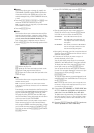
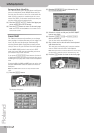
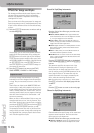
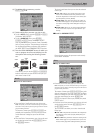
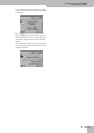
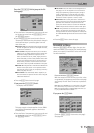
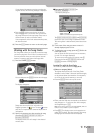
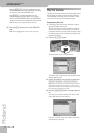
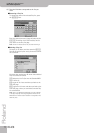
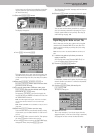
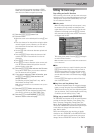
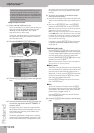
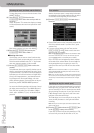
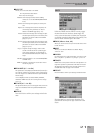
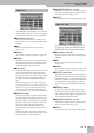
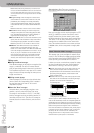
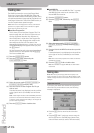
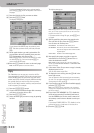
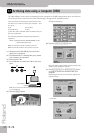
(16) Now save your Music Style:
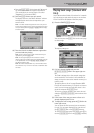
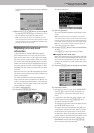
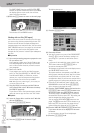
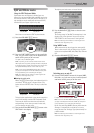
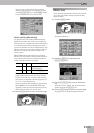
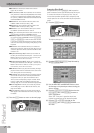
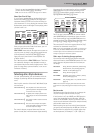
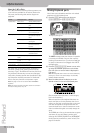
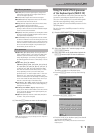
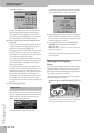
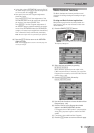
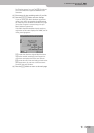
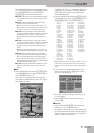
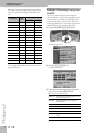
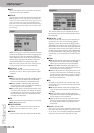
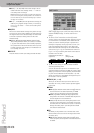
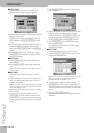
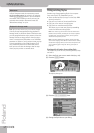
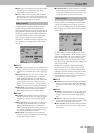
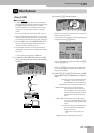
• Press the [DISK&MEDIA] button.
The display changes to:
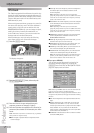
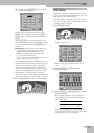
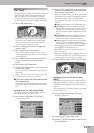
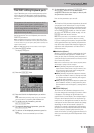
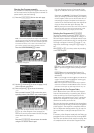
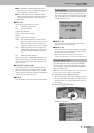
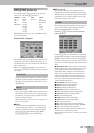
• Press [SAVE], followed by [STYLE].
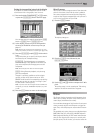
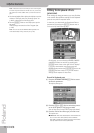
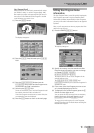
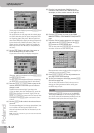
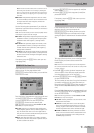
This page allows you to save the current Style to the
internal memory, a memory card or a floppy disk.
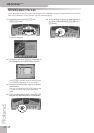
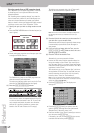
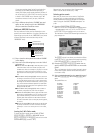
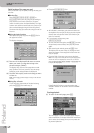
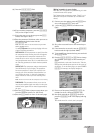
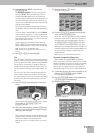
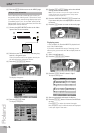
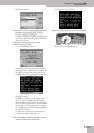
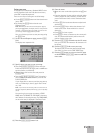
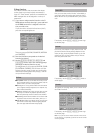
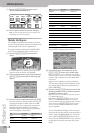
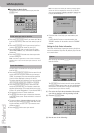
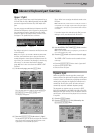
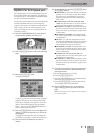
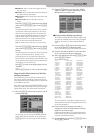
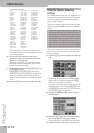
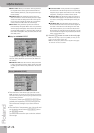
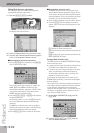
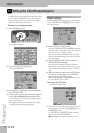
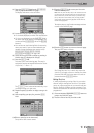
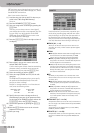
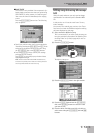
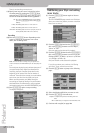
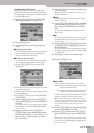
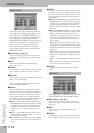
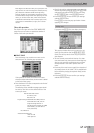
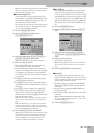
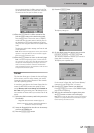
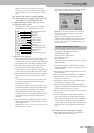
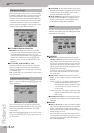
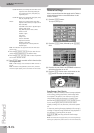
• Press the [INTERNAL¥MEMORY],
[EXTERNAL¥MEMORY], or [FLOPPY] field to select the
area where you want to save the Music Style.
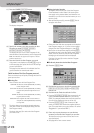
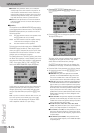
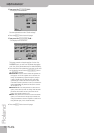
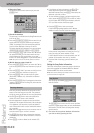
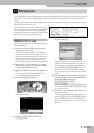
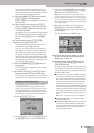
• Enter the name for the file.
See page 52. If necessary, you can also supply the
required COUNTRY and GENRE information for use
with the STYLE FINDER function.
Note: The E-80 supports both upper- and lower-case letters
for file names. Choose whichever is more convenient (or
clearer).
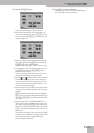
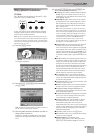
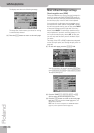
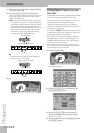
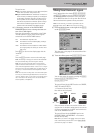
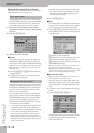
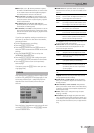
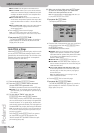
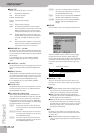
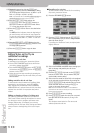
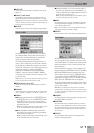
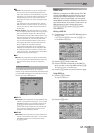
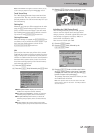
(17) Press the [EXECUTE] field to save the data.
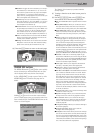
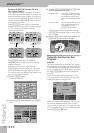
If the selected memory area already contains a Music
Style of that name, you are asked whether it is OK to
overwrite it.
• Press the [YES] field to overwrite the file. This replaces
the Music Style in question with the new version.
• Press the [NO] field to return to the SAVE STYLE page,
change the name, then press [EXECUTE] again.
(18) Press the [EXIT] button to return to the main page.
DISK & MEDIA
EXIT