


Previewing Techniques
(Preview)
When editing a song, you will likely want to find pre-
cise points in the song, for example the point where
sound begins or where the climax begins, when using
Auto Punch-In Recording, and in other editing situa-
tions. In such instances, you can specify the amount of
time for playback leading up to or following a desig-
nated point as well as monitor the data on the tracks
while gradually shifting the current time in the song.
This is referred to as the
Preview function.
There are four Preview buttons, and each one works
differently. Select the one whose function is most
appropriate for what you are trying to accomplish.
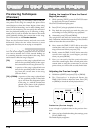
Using [TO] [FROM]
You can set the length of playback time for the tracks
you want to monitor for 1.0–10.0 seconds leading up
to or starting from the current point in the song. Press
each buttons while the song is stopped.
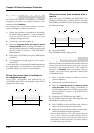
[TO]: A preview of the song is played back one
time for the specified period of time up to
the current time in the song (Preview To).
FROM]: A preview of the song is played back one
time for the specified period of time start-
ing from the current time in the song
(Preview From).
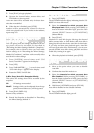
[TO] + [FROM]: A preview of the song is played back
for the specified period of time both
up to and from the designated point
in the song, i.e., with the current time
placed at the center of the playback
(Preview To + Preview From).
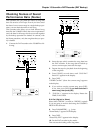
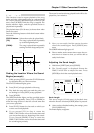
Finding the Location Where the Sound
Begins (example)
1. While pressing [STOP], press the STATUS button
for the track you want to monitor.
The STATUS indicator lights green.
2. Press [PLAY] to begin playback of the song.
3. Play back the song until you reach the point you
are looking for. Press [STOP] to stop playback.
4. Alternately press [TO] and [FROM].
The song before and after the current time is played
back. Determine whether the beginning of the sound is
earlier or later than the current time.
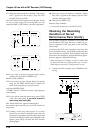
5. Next, rotate the TIME/VALUE dial to move the
current time until you can hear a bit of the begin-
ning of the sound when you press [TO].
6. Finally, rotate the TIME/VALUE dial to move the
current time until the sound begins precisely
when you press [FROM].
7. Now you can easily find the precise location
where the sound begins. Place a mark point at the
current time or store the current time in a locate
point so that you will be able to easily find it later.
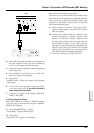
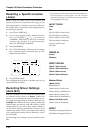
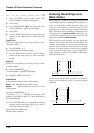
Adjusting the Preview Length
1. Hold down [SHIFT] and press [TO] or [FROM].
2. The “PreviewLen” is displayed. Rotate the
TIME/VALUE dial to adjust the time. Press [TO]
or [FROM] to check the actual playback time.
PreviewLen (Preview Length)
It sets a length of playback time in the preview func-
tion.
3. After you have finished making the settings, press
[PLAY (DISPLAY)].
The initial display reappears.
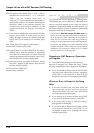
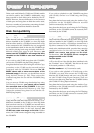
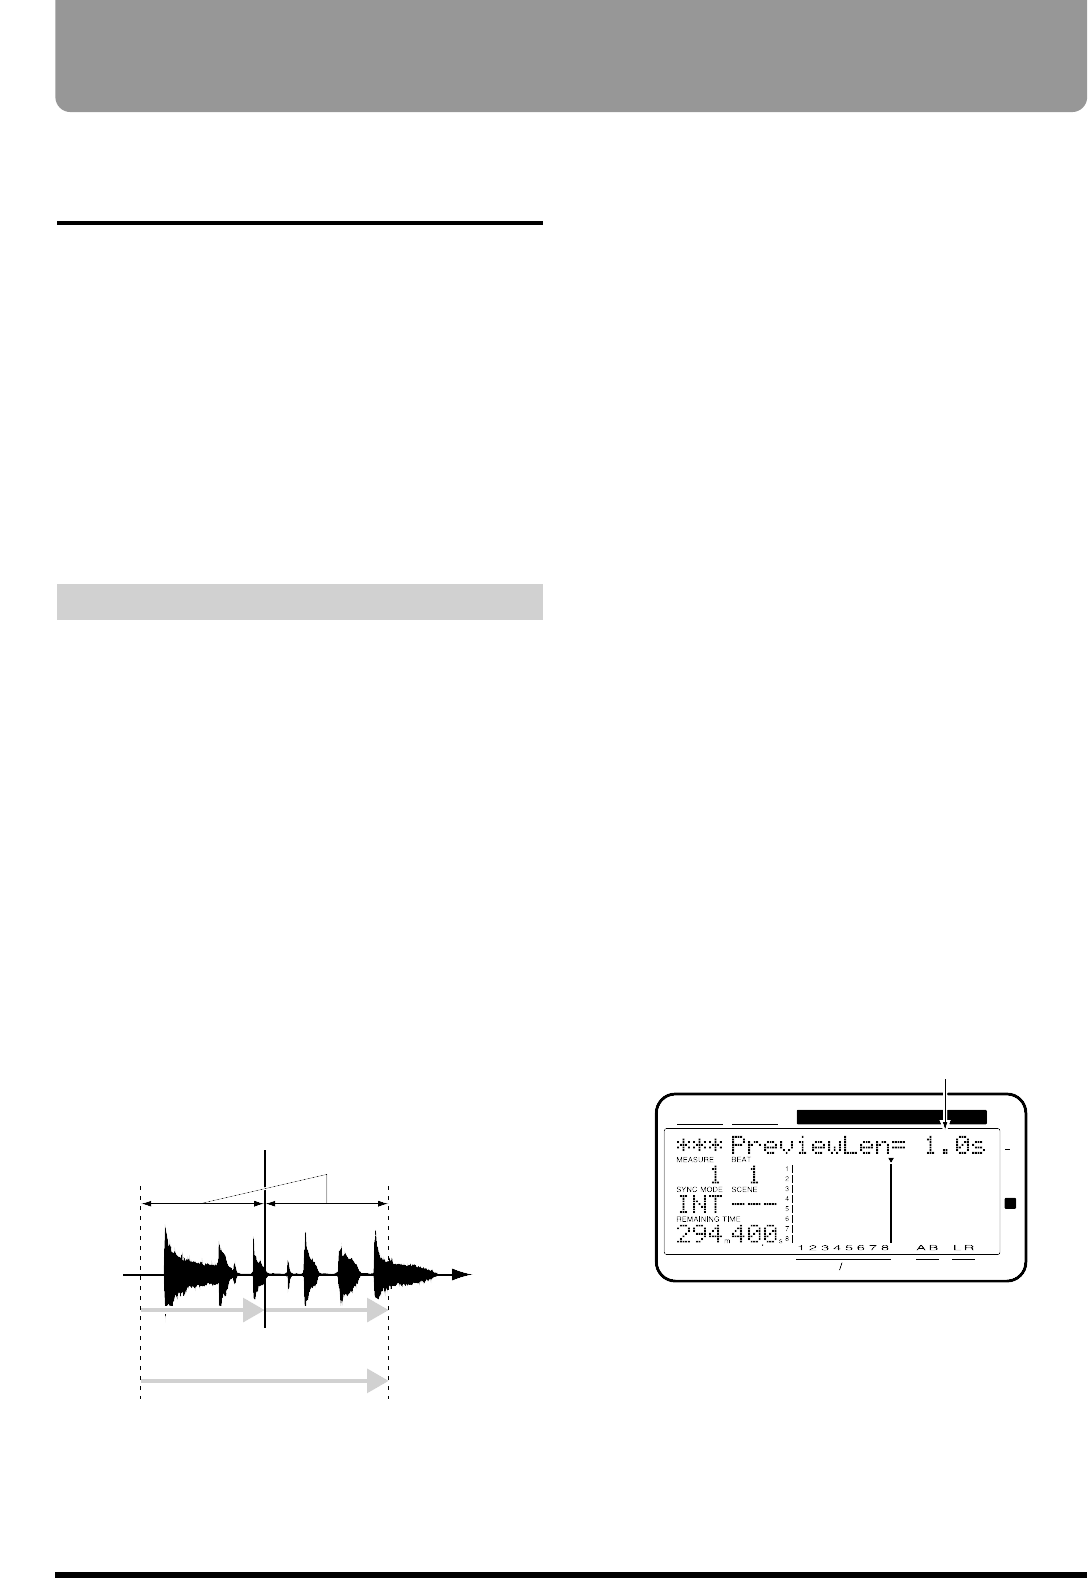
Current Time
PREVIEW TO PREVIEW FROM
PREVIEW THRU
Time
Preview Length
CONDITION MARKER#
MASTER
INPUT TRACK
AUX
TIME
48
24
4
0
dB
12
Preview Length (1.0 sec)
Chapter 12 Other Convenient Functions
140