DIRECT OUT
The sounds from each of the Tracks 1–4 or Tracks 5–8
are output from separate analog jacks.
1. Hold down [SHIFT] and press [EDIT (FADER)].
2. Press PARAMETER [ ] [ ] to let “DIR
OUT=” appears in the display.
3. Determine what is to be output from the DIRECT
OUT by rotating the TIME/VALUE dial.
DIR OUT (Direct Out)
The metronome sound is not output.
Off: The DIRECT OUT is not use.
1–4: The sounds from Tracks 1–4 are output from
the following jacks. In this case, the settings for
the MASTER and AUX jacks are not in effect.
The sounds from Tracks 1 and 2 are output
from the PHONES jack. Additionally, the
sounds output from the DIGITAL OUT connec-
tors are specified in the Master Block (p. 159).
Track 1: MASTER jack (L)
Track 2: MASTER jack (R)
Track 3: AUX A jack (L)
Track 4: AUX A jack (R)
5–8: The sounds from Tracks 5–8 are output from
the following jacks. In this case, the settings for
the MASTER and AUX jacks are not in effect.
The sounds from Tracks 5 and 6 are output
from the PHONES jack. Additionally, the
sounds output from the DIGITAL OUT connec-
tors are specified in the Master Block (p. 159).
Track 5: MASTER jack (L)
Track 6: MASTER jack (R)
Track 7: AUX A jack (L)
Track 8: AUX A jack (R)
4. Press [PLAY (DISPLAY)].
Return to Play condition.
Confirming That a Drive is
Not Damaged (Drive Check)
You can check the drive you are using to make sure it
can be read correctly. This is referred to as Drive
Check.
This provides a way to determine whether a failure
during Song Copy (p. 102) or DAT Backup (p. 129) is
due to a problem in the song itself that was saved on
disk, whether the problem is with the connections, or
if there is a problem of some other kind.
If data cannot be read correctly, the display will indi-
cate the song in which the error occurred.
1. Press [SYSTEM] several times until “SYS Drive
Check ?” appears in the display.
2. Press [YES].
3. Select the drive that you wish to check. Rotate the
TIME/VALUE dial.
CheckDrive (Check drive)
Select the disk drive that you wish to check.
4. When you have selected the drive you wish to
check, press [YES].
5. A confirmation message ask you that you want to
proceed with the Drive Check appears in the dis-
play. Press [YES].
6. “STORE Current?” appears in the display. If you
wish to save the current song, press [YES]; if not,
then press [NO]. If you have selected a demo
song, then press [NO].
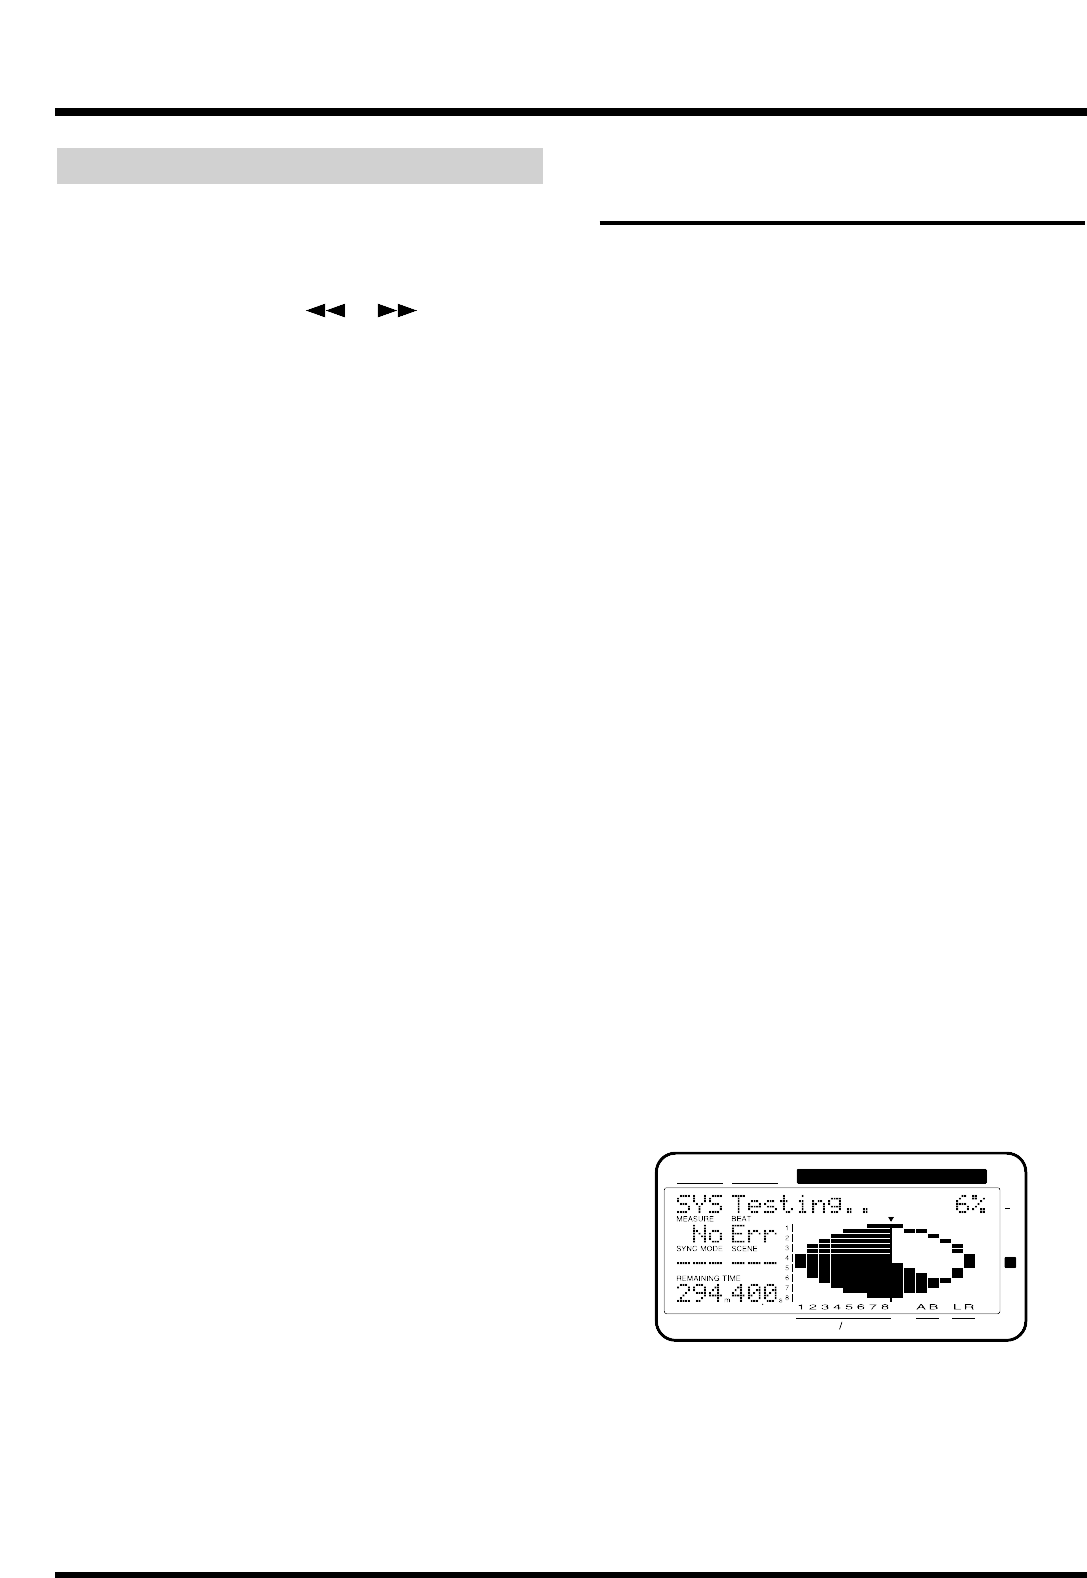
7. Drive Check is the executed. Progress of the oper-
ation is shown in the display. Do not turn off the
power until the operation is completed.
CONDITION MARKER#
MASTER
INPUT TRACK
AUX
TIME
48
24
4
0
dB
12
Chapter 12 Other Convenient Functions
160


