4. Rotate the TIME/VALUE dial. For now select
“Off.”
UNDO MSG (UNDO message)
This selects whether or not the Undo confirmation
message is displayed.
On: The message is displayed, asking how many
levels you want to undo.
Off: The message is not displayed, and only the
immediately preceding operation is undone.
5. Press [PLAY (DISPLAY)].
Return to Play condition.
Listening Only to a Specific
Channel (Solo/Mute)
When making equalizer adjustments or checking the
balance during mixdown, it is often desirable to be
able to monitor the sound of one specific channel.
Although it would be possible to individually mute
each of the channels that you didn’t want to hear with
STATUS buttons, this is inconvenient. In such cases,
you can monitor only a specific channel and mute all
the other channels. This is called the Solo function. To
use the Solo function, use the following procedure. If,
in contrast to the Solo function, you wish to mute only
specific channels, this is called the Mute function.
Listening Only to a Specific Channel
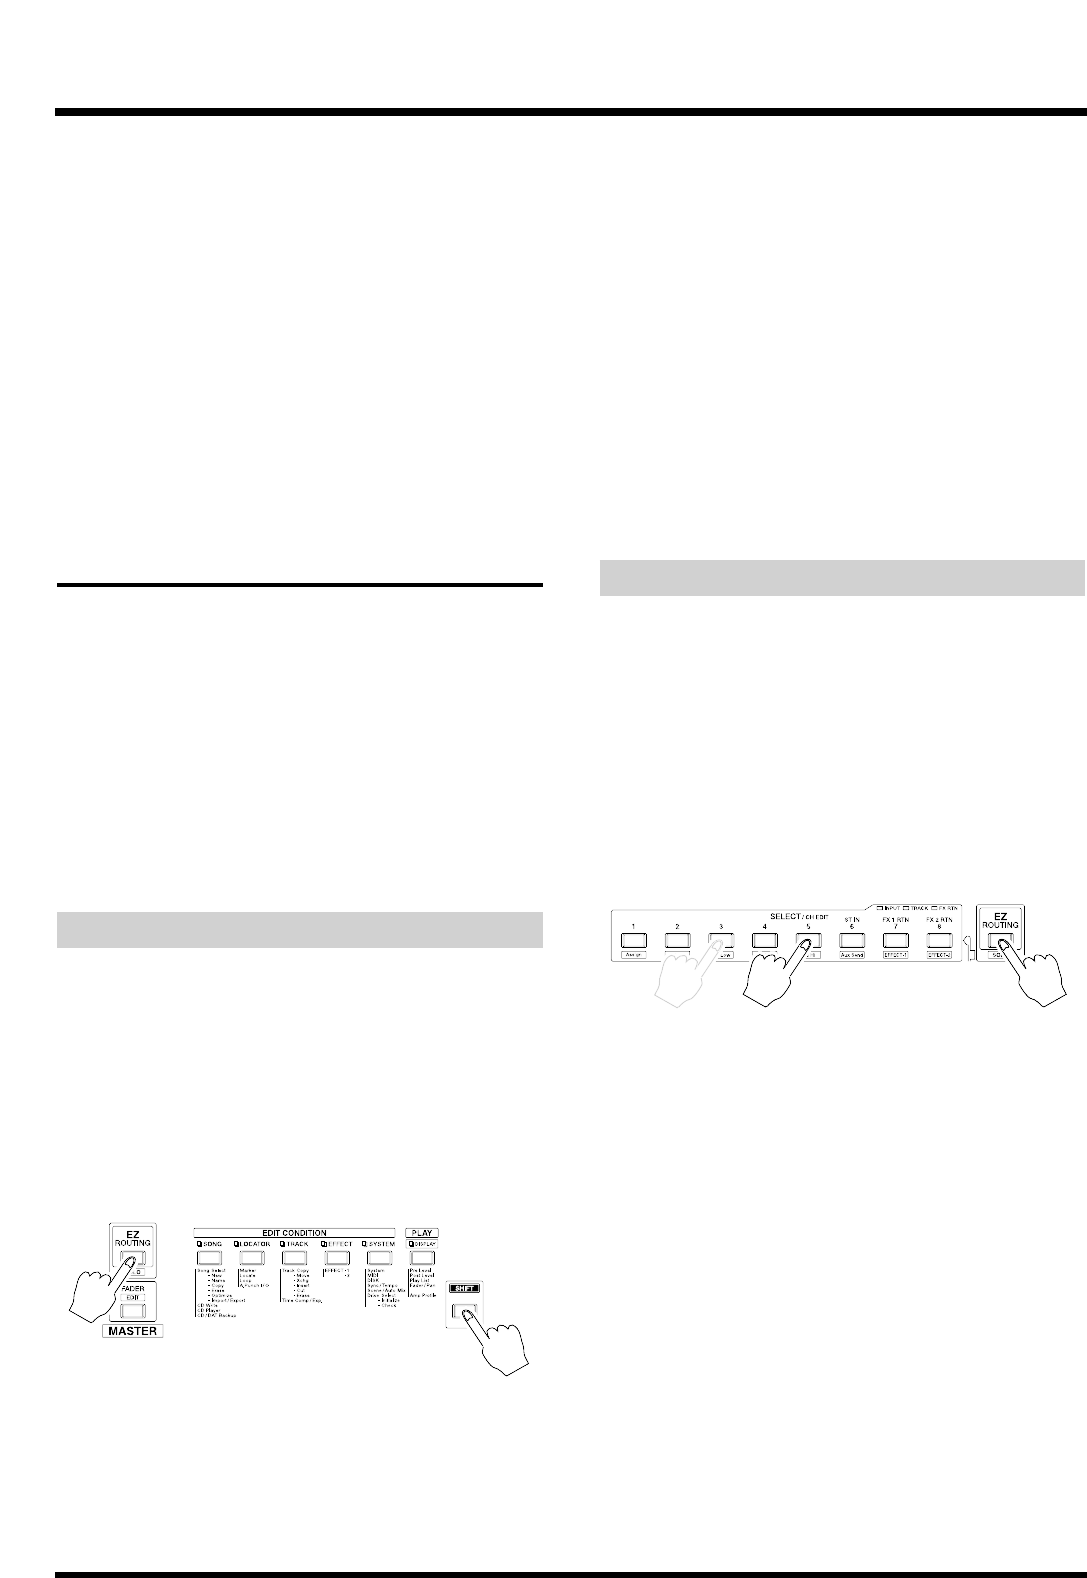
1. Hold down [SHIFT] and press [SOLO (EZ ROUT-
ING)] in the master section.
The display will briefly indicate “SOLO Mode ON,”
indicating that the Solo function is on. The display in
the CONDITION field will alternate between the
name of the current condition and “sol,” also indicat-
ing that the Solo function is on. At the same time, the
SELECT indicators for each channels are blink. In the
present status, all channels are monitored.
2. Press the SELECT button for the channel you wish
to monitor.
The SELECT indicator stays blink, and only that chan-
nel is now monitored. At this time you can make
adjustments to fader, balance, equalizer, effects, and
other settings.
3. Monitor and Mute alternate each time you press
SELECT button. Furthermore, you can monitor
two or more channels. However, channels which
were muted before the Solo function was turned
on cannot be monitored even when their SELECT
buttons are pressed. Additionally, when you are
monitoring just one channel, pressing the SELECT
button of that channel allows you to then monitor
all channels. At this time, you will be able to hear
the automix status of each channel while you con-
tinue pressing [AUTOMIX].
4. To turn off the Solo function, hold down [SHIFT]
and press the [SOLO (EZ ROUTING)] once again.
Return to Play condition.
Muting Only to a Specific Channel
1. Hold down [SOLO (EZ ROUTING)].
This turns the Mute function on; the SELECT button
indicators are all blink. In the present status, all chan-
nels are monitored.
2. While holding down [SOLO (EZ ROUTING)],
press the SELECT button for the channel you wish
to mute.
The button indicator goes off, and only that channel is
now muted. You can also mute two or more channels.
3. Monitor and Mute alternate each time you press
[SOLO (EZ ROUTING)] and SELECT button. The
muted state will remain valid even if you take
your hand off [SOLO (EZ ROUTING)] or the
SELECT button. If you wish to switch the
input/track/effect return, press [FADER (EDIT)].
4. If you wish to monitor all channels, hold down
[SOLO (EZ ROUTING)] and press [CLEAR].
Chapter 12 Other Convenient Functions
148


