


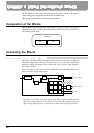
3. Press PARAMETER [ ] [ ] until “RTN
FX1 RTNLev=” appears in the display.
4. Rotate the TIME/VALUE dial.
RTN FX1 RTNLev (Master Effect 1 Return Level)
Adjust the return level (0–127) of the effect sound. Set
the initial value to “100.”
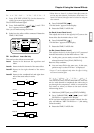
5. Press PARAMETER [ ].
“RTN FX1Bal=” appears in the display.
6. Rotate the TIME/VALUE dial.
RTN FX1 RTNBal
(Master Effect 1 Return Balance)
Adjust the left/right balance (L63–0–R63) of the effect
sound. Set the initial value to “0” (center).
7. Press [PLAY (DISPLAY)].
Return to Play condition.
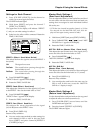
8. You can make master block settings in the same
way for FX2 as well. For step 2 in this case, press
channel 8 [CH EDIT (EFFECT-2)]. At this time, the
channel faders on the top panel will function as
follows.
Selecting Effects (Patch)
An effect settings is referred to as a patch. The VS-
880EX provides 210 (A00–A99, B00–B99, C00–C09)
read-only effects (Preset Patches) and 100 (U00-U99)
read and write effects (User Patches). Please take a
moment to check these effects.
* If used in combination with the Vari Pitch function (p.
152), delay times may change somewhat, and for distor-
tion effects (distortion, overdrive, etc.), there may be some
change in the quality of the tone.
* With some of the effects, you may not want the direct
sound output, or other special setting may be required.
Please refer to “Algorithm List” (Appendices p. 26) when
making these settings.
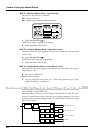
1. Press [EFFECT] several times until “EFFECT-1
PRM?” appears in the display.
2. Press [YES].
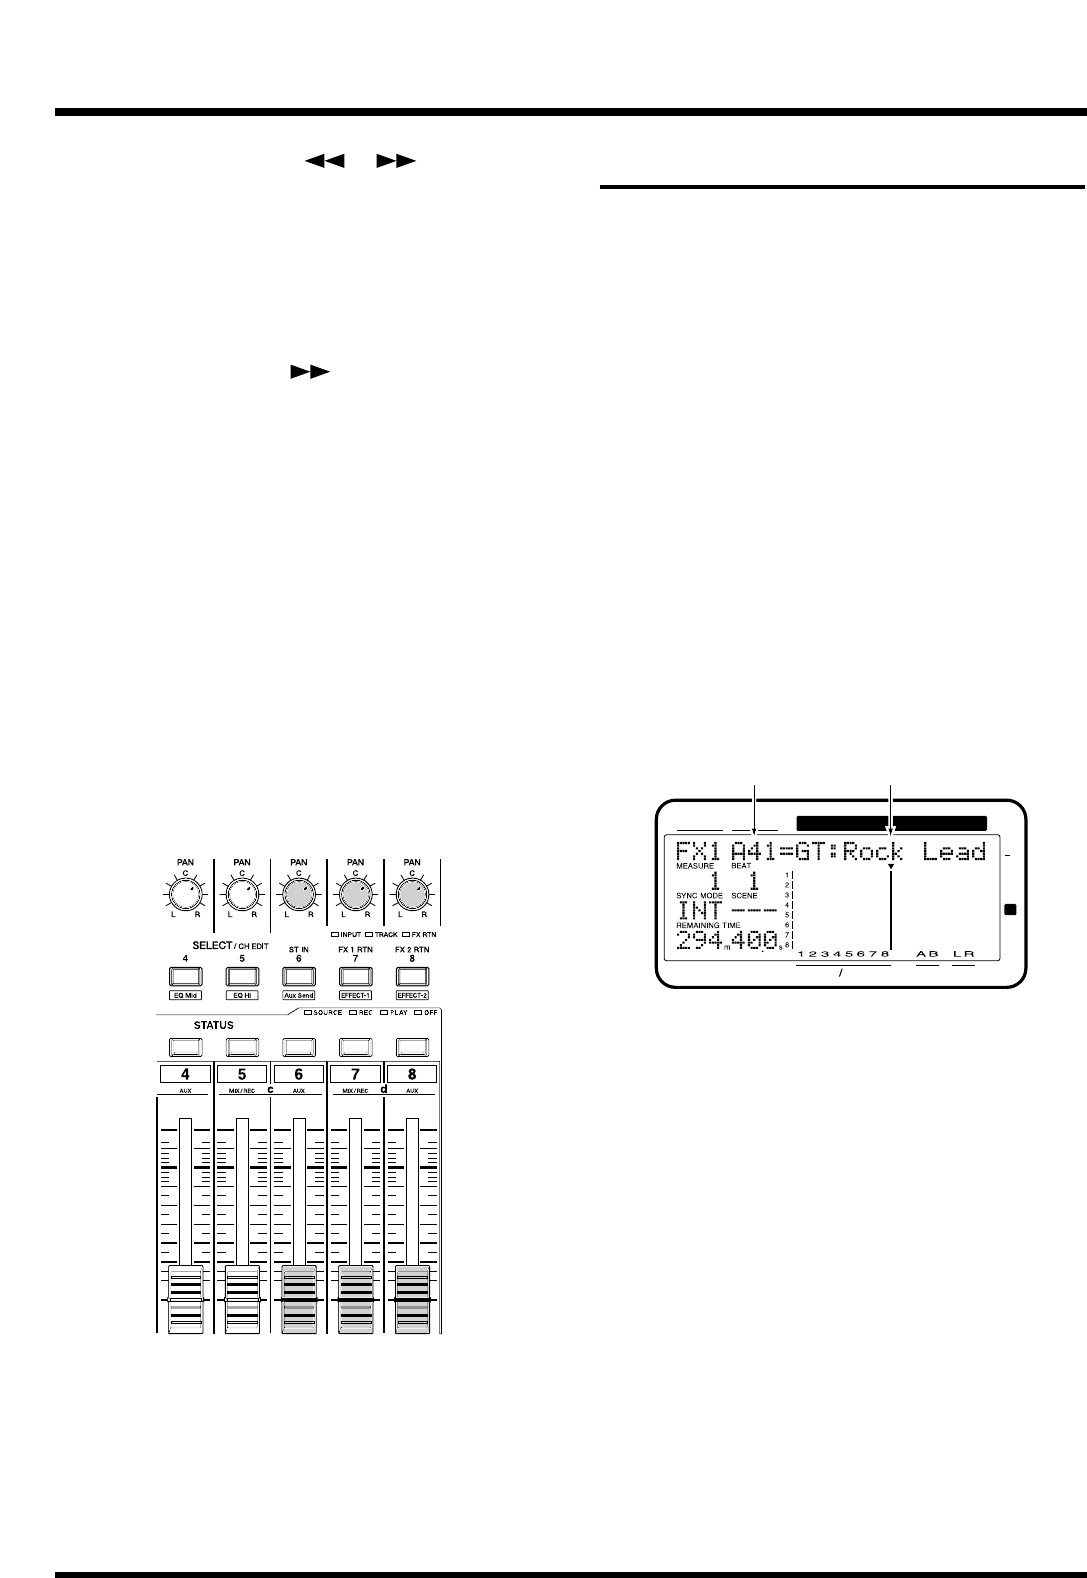
The number and name of the currently selected effect
will be displayed, and you will be able to select the
effect.
3. Use the TIME/VALUE dial to select the effect you
wish to use.
4. After selecting the effect, press [YES].
5. Check the effect to make sure that the sound is
actually being played. Repeat Steps 3–5 for any
other patches whose effects you want to confirm.
* Noise may occur with some types of effects when the effect
patches are selected.
If the audio device is at high volume levels, then protect
the speakers and other device from damage, turn off the
[EFFECTS ON/OFF] or lower the volume on the audio
device before selecting the effect patches.
6. After you have checked the patches, press [PLAY
(DISPLAY)].
Return to Play condition.
7. You can use the same procedure to hear the effect
of FX2 as well. For step 1 in this case, make the
display read “EFFECT-2 PRM?”
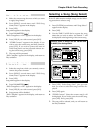
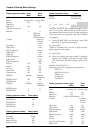
ST IN
Balance
FX1
Balance
FX2
Balance
ST IN
Level
FX1
Level
FX2
Level
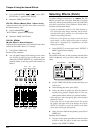
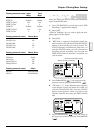
CONDITION MARKER#
MASTER
INPUT TRACK
AUX
TIME
48
24
4
0
dB
12
Effect Number Effect Name
Chapter 4 Using the Internal Effects
70