Using the Locator
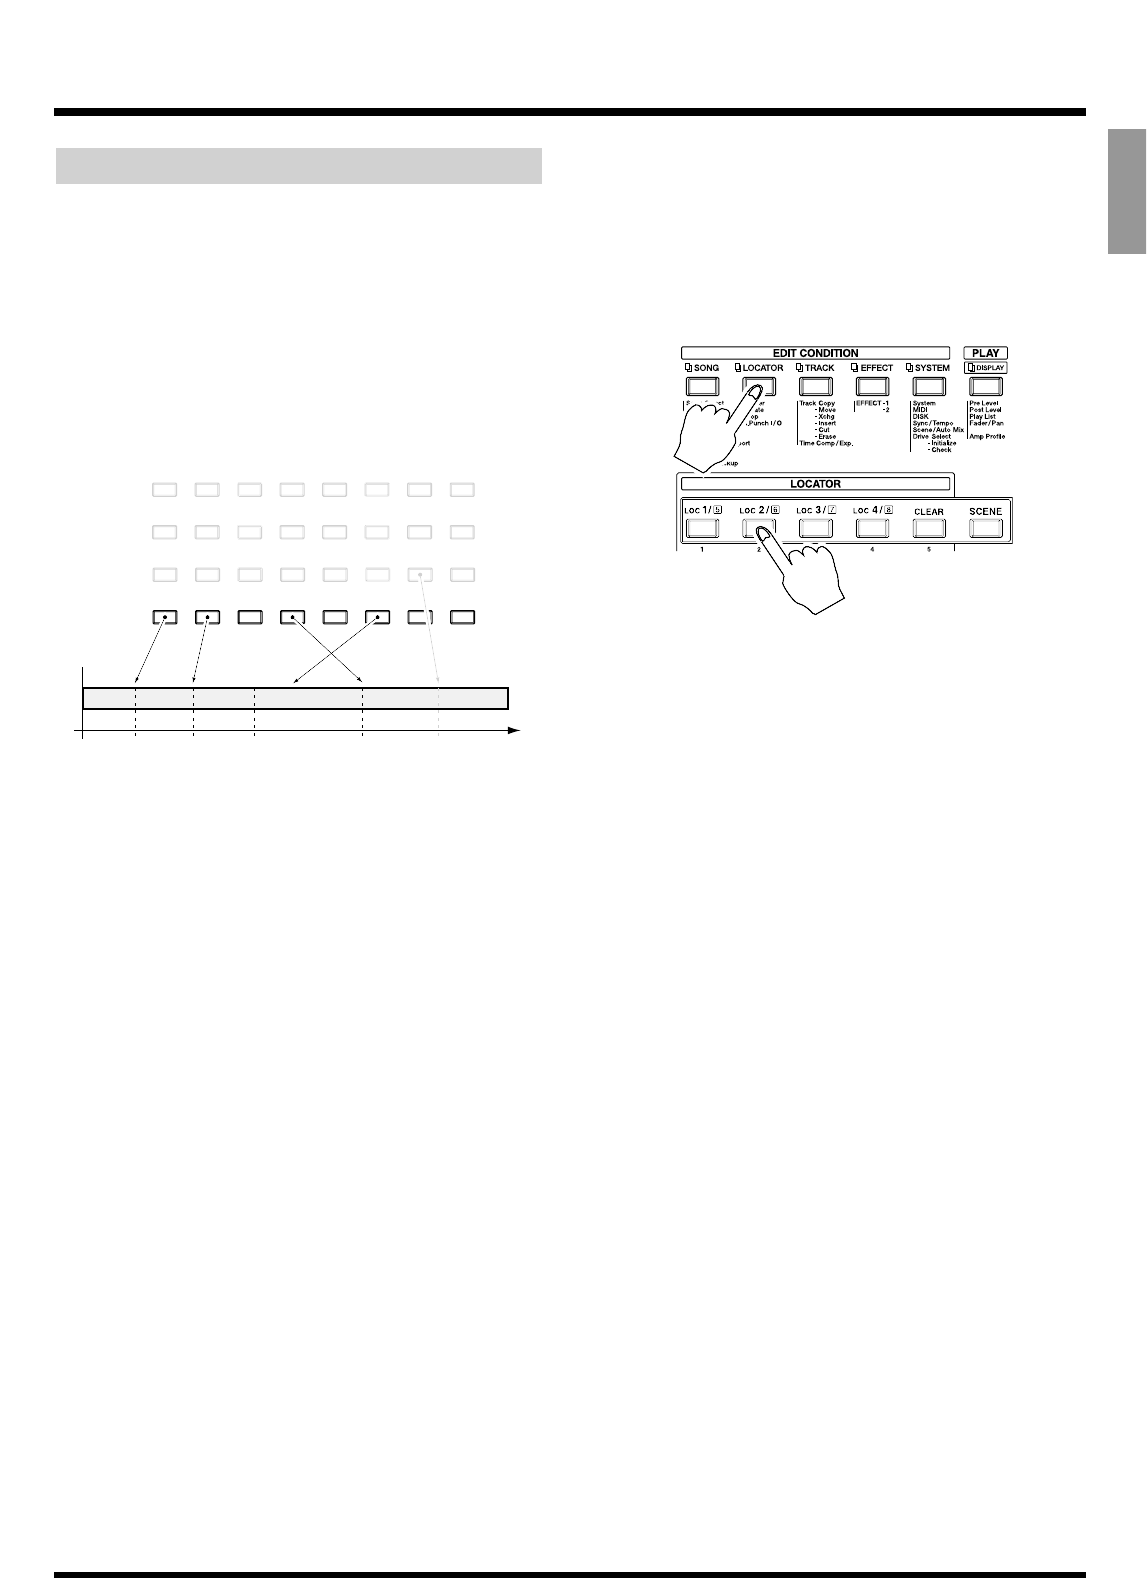
Time locations are stored with the LOC buttons
([1/5]–[4/8]) on the top panel of the VS-880EX. In con-
junction with [SHIFT], you can register up to eight
time locations, and move immediately to a registered
location simply by pressing a button. There are four
banks for each button, providing you with up to 32 (8
x 4) locators. The locators are also a useful and conve-
nient way to define sections of a song to be repeated in
Loop Recording or for marking points in Punch-In
Recording.
Storing Locators
1. Move to the location in a song where you want to
set a locator.
2. Press a LOC button ([1/5]–[4/8]). For example, if
you wish to set Locator 1, press [1/5]. If you wish
to store the location in Locator 5, hold down
[SHIFT] and press [1/5].
These can be used in recording/playback or while the
song is stopped. When a locate point is set, the corre-
sponding indicator lights.
Moving to a Stored Time Location
1. Press the LOCATOR button for the locate point to
which you want to move. For example, if you
wish to move to the Locator 1, then press [1/5]. If
you wish to move to the location registered in
Locator 5, hold down [SHIFT] and press [1/5].
Changing the Locator Bank
1. Press [LOCATOR].
The current locator bank number will be displayed as
“Locate Bank = 1” etc. Simultaneously, the LOC indi-
cator corresponding to the current bank number will
blink.
2. Continue holding [LOCATOR], and press the
LOC button ([1/5]–[4/8]) for the bank number
that you wish to change.
[LOCATOR] is used both to recall the Locator condi-
tion and to switch the Locator Bank. If you take your
finger off [LOCATOR] without changing the Locator
Bank, the display screen may change.
3. Release your finger from [LOCATOR].
4. As described in the procedure for “Storing a Time
Location,” register the locator point.
Making Fine Adjustments to Stored
Locators
1. Move to the locator whose time you wish to
change. Use the LOC buttons ([1/5]–[4/8]).
2. Press [LOCATOR] several times until “LOC Loc*”
(* is the locator number that you wish to change)
is displayed.
3. Use the TIME/VALUE dial to input the desired
time.
4. When you finish making adjustments, press
[PLAY(DISPLAY)].
Return to Play condition.
87654321
87654321
87654321
00h00m00s00 Time
Bank 2
Bank 1
Bank 4
87654321
Bank 3
Chapter 2 Basic Operation
37
Chapter 2


