


Deleting One Song of Performance
Data (Song Erase)
When you are making a master tape or backing up
songs to a Zip disk, this operation deletes song data
that has become unnecessary. This operation cannot be
undone with the Undo function.
1. Select the drive contains the song you want to
erase as the current drive.
2. Press [SONG] several times until “SNG Song
Erase ?” appears in the display.
3. Press [YES].
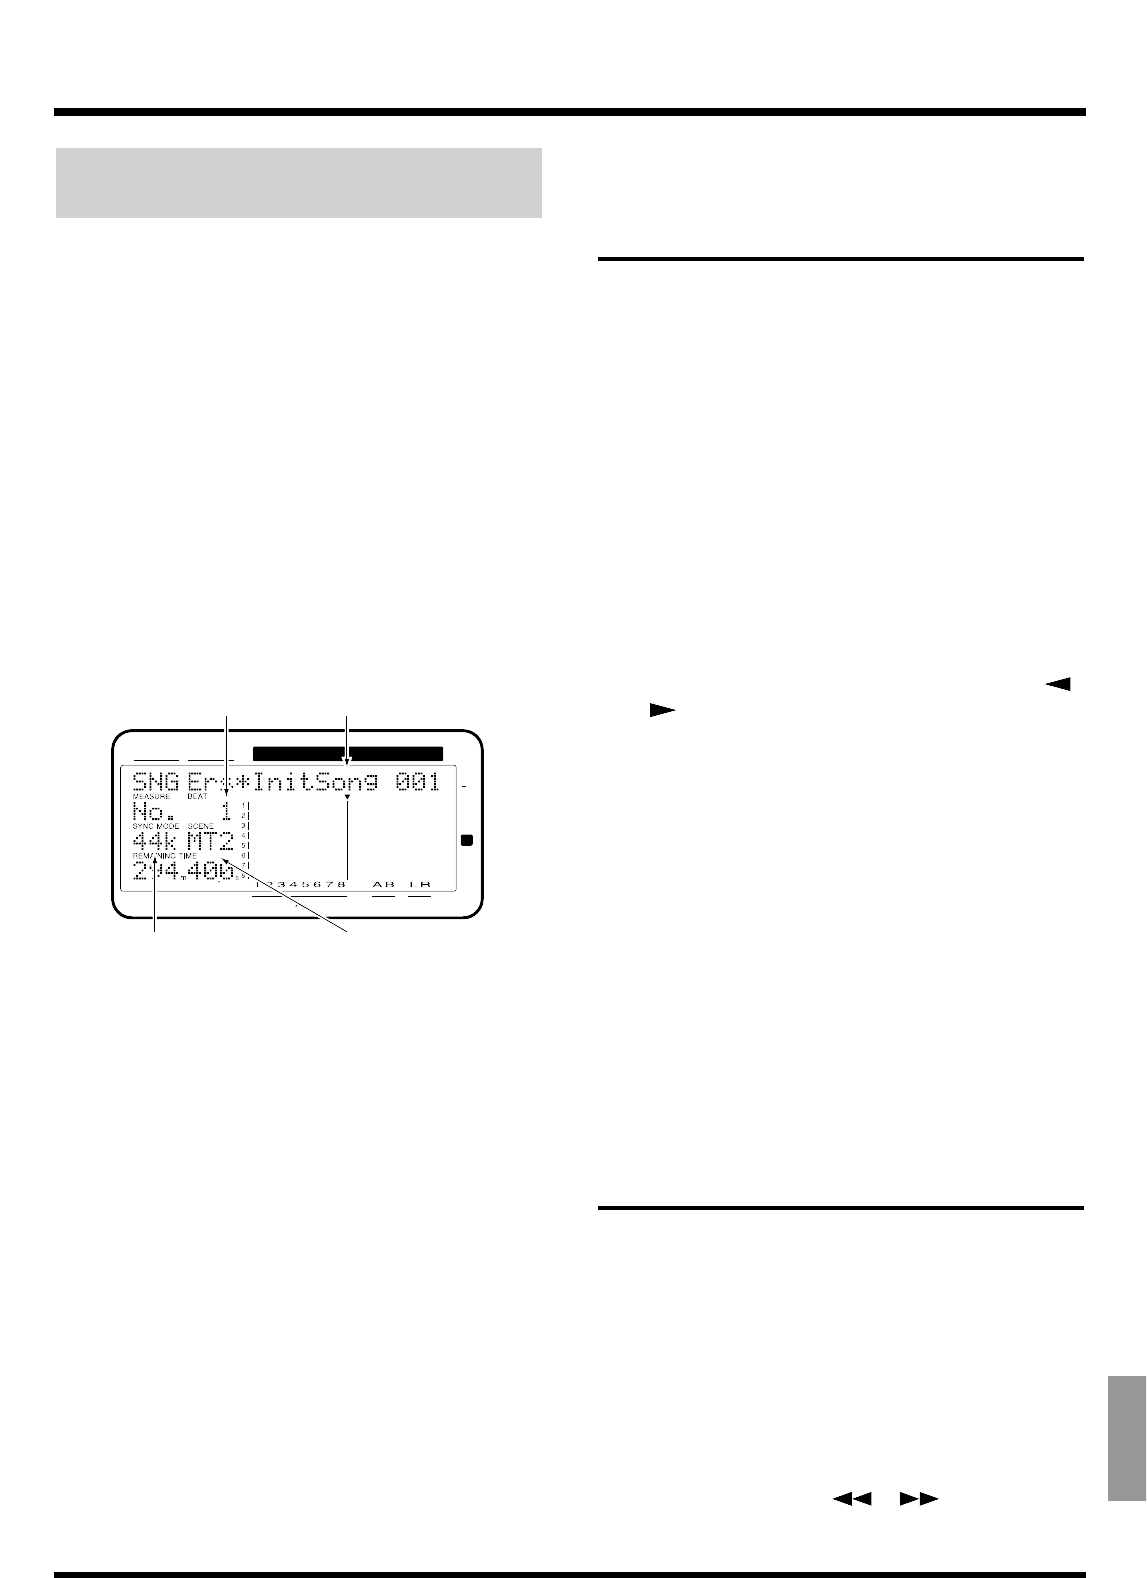
The names of the songs stored on the current drive
will appear. An asterisk “Q” will appear at the begin-
ning of the current song.
4. Rotate the TIME/VALUE dial. Select the song
that you wish to erase.
5. Press [YES].
6. A confirmation message appears in the display.
Press [YES]. If you wish to cancel the procedure,
then press [CANCEL (NO)].
7. If the song you are erasing is not the current song,
“STORE Current?” then appears in the display.
8. If you wish to save the current song, press [YES];
if not, then press [NO]. If you have selected a
demo song, then press [NO].
9. When the song has been erased, return to Play
condition.
* If the current song has been erased, the lowest-numbered
song in the current drive will be selected as the current
song.
Changing the Name of
Performance Data
(Song Name)
When you create a song, it will automatically be given
a name like “InitSong001.” However this makes it dif-
ficult to remember what song it is. We recommend
that you assign a unique name to your song so that
data management will be easier.
1. Make the song whose name you want to change
the current song.
2. Press [SONG] several times until “SNG Song
Name/Prtct?” appears in the display.
3. Press [YES].
The name of the song (Song Name) appears in the dis-
play.
4. Move the cursor so that the character that you
wish to modify will blink. Use CURSOR[ ]
[].
5. Modify the character. Rotate the TIME/VALUE
dial. By holding down [SHIFT] as you rotate the
TIME/VALUE dial you can make the characters
change more rapidly.
6. When you have finished writing the song name or
comments, hold down [SHIFT] and press [STORE
(ZERO)].
“STORE OK ?” appears in the display.
7. Press [YES].
The song is saved.
8. Press [PLAY (DISPLAY)].
Return to Play condition.
Adjusting the Levels for Each
Track
You can adjust the volume level of each input and
track channel without using the channel faders. You
can raise the volume when playing back tracks that
were recorded at low levels, avoid distorted sound
that may occur when adjusting the channel equalizers,
and be able to operate with the channel faders near 0
dB. Use the following procedure.
1. Press [CH EDIT (SELECT)] for the channels
whose volume levels you wish to adjust.
2. Press PARAMETER [ ] [ ] to let “ATT =”
appears in the display.
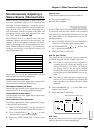
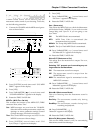
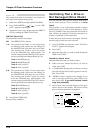
CONDITION MARKER#
MASTER
INPUT TRACK
AUX
TIME
48
24
4
0
dB
12
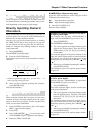
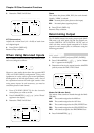
Song Number Song Name
Sample Rate Recording Mode
Chapter 12 Other Convenient Functions
157
Chapter 12