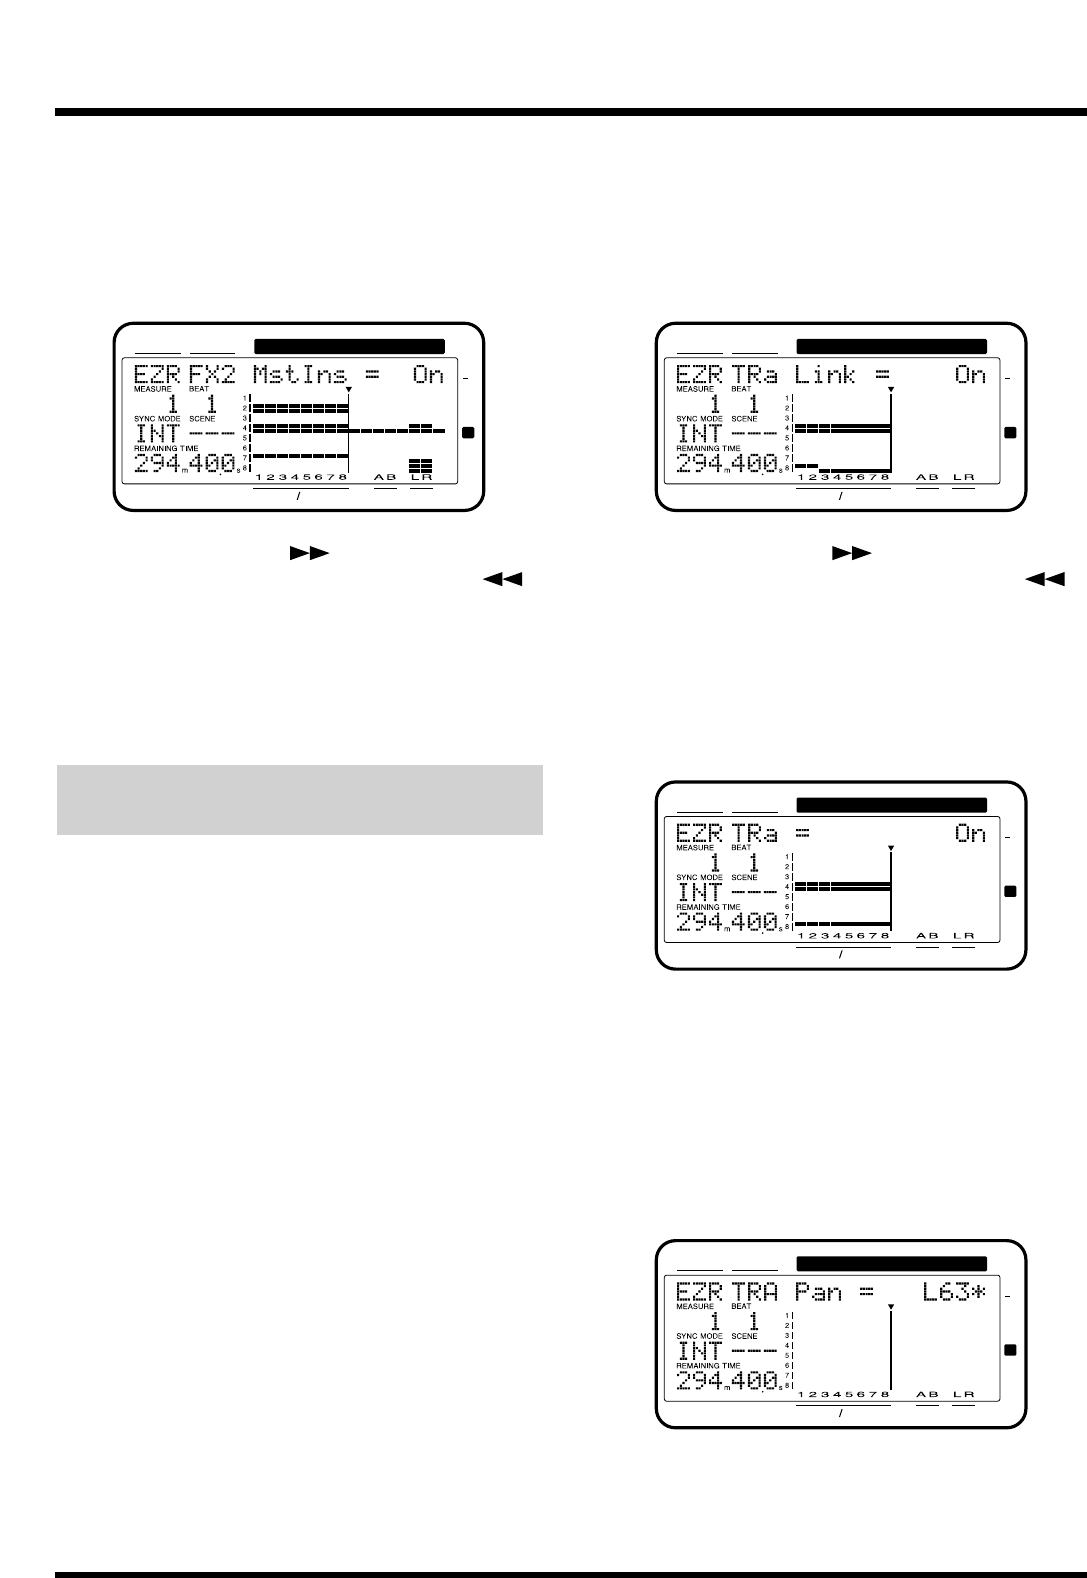
45. “FX2 MstIns=” appears in the display. Rotate the
TIME/VALUE dial. If you wish to insert effect 2
into the master out, select “On.” If not, select
“Off.” If effect 2 has been inserted in another
channel, the display will indicate “—” and this
item cannot be set.
46.
Press PARAMETER [ ]. You can return to the
previous screen by pressing PARAMETER [ ].
47. “Change Routing ?” appears in the display. Press
[YES]. When the routing has been finalized,
“Complete” appears in the display, and you will
return to Play condition. If you decide to discard
the routing that was set, press [NO].
Storing Mixdown Settings
(Mixdown/Step Edit)
Select this when you want adjust the balance of each
track or to record a MD recorder or similar input in
two-channel stereo. Additionally, when playing back
all 16 tracks, by mixing the output of the VS-880EX
along with the output of a synchronized MIDI
sequencer or other such device, you can also record to
MD recorders or similar devices.
* By Step Editing a mixdown, you can change the track and
source settings to be the same. If you wish to change the
track settings, press [FADER (EDIT)] to make the
FADER indicator light green. If you wish to change the
source settings press [FADER (EDIT)] to make the
FADER indicator light orange. Here we will explain the
example of how to change the track settings.
1. Press [EZ ROUTING] several times until “EZR
Mix Down ?” appears in the display.
2. Press [YES].
“EZR Use Template” (do you wish to apply the tem-
plate?) appears in the display.
3. Press [NO].
4. “TR* Link=” or “IN* Link=” (“*” is the displayed
track/source) appears in the display. Select the
tracks/sources for which you wish to turn
Channel Link ON. Press the STATUS button for
the track/source for which you wish to turn on
Channel Link, and use the TIME/VALUE dial.
5.
Press PARAMETER [ ]. You can return to the
previous screen by pressing PARAMETER [ ].
6. “TR* =” or “IN* =” appears in the display. Specify
the tracks/sources that you wish to output to the
mix bus. Press the SELECT (CH EDIT) button for
the corresponding track/source, and use the
TIME/VALUE dial. Tracks/sources which are
turned “On” will be output.
7. “Pan =” appears in the display. Adjust the pan of
the track/source. Press the SELECT (CH EDIT)
button for the track/source whose pan you wish
to adjust, and use the TIME/VALUE dial. You
can also adjust the pan using the pan knobs on the
top panel.
* When Channel Link is on, adjust the Offset Balance of the
sources/tracks. (p. 151)
CONDITION MARKER#
MASTER
INPUT TRACK
AUX
TIME
48
24
4
0
dB
12
CONDITION MARKER#
MASTER
INPUT TRACK
AUX
TIME
48
24
4
0
dB
12
CONDITION MARKER#
MASTER
INPUT TRACK
AUX
TIME
48
24
4
0
dB
12
CONDITION MARKER#
MASTER
INPUT TRACK
AUX
TIME
48
24
4
0
dB
12
Chapter 5 Storing Mixer Settings
84


