


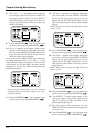
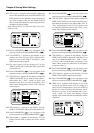

12. “TR* Level =” appears in the display. Adjust the
level of the playback track. Press the SELECT (CH
EDIT) button for the playback track whose level
you wish to adjust, and use the TIME/VALUE
dial. You can also adjust the level using the chan-
nel faders on the top panel.
* When Channel Link is on, adjust the Offset Level of the
tracks. (p. 150)
13.
Press PARAMETER [ ]. You can return to the
previous screen by pressing PARAMETER [ ].
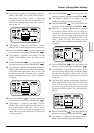
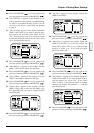
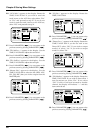
14. “Use EFFECT1 ?” appears in the display. If you
wish to use effect 1, press [YES], and proceed to
step 15. If you do not wish to use effect 1, press
[NO] and proceed to step 29.
15. The effect patch will be displayed. Use the
TIME/VALUE dial to select the effect patch that
you wish to use.
16.
Press PARAMETER [ ]. You can return to the
previous screen by pressing PARAMETER [ ].
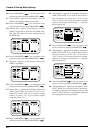
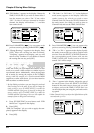
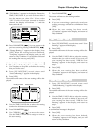
17. “TR* FX1 Ins=” appears in the display. Rotate the
TIME/VALUE dial. If you wish to insert effect 1,
select either “Ins,” “InsL,” “InsR,” or “InsS,” and
proceed to step 18. If you wish to use effect 1 in a
send/return configuration, select “Off” and pro-
ceed to step 21.
18. “TR* InsSnd =” appears in the display. Use the
TIME/VALUE dial to adjust the insert send level.
19.
Press PARAMETER [ ]. You can return to the
previous screen by pressing PARAMETER [ ].
20. “TR* InsRtn =” appears in the display. Use the
TIME/VALUE dial to adjust the insert return
level.
21.
Press PARAMETER [ ]. You can return to the
previous screen by pressing PARAMETER [ ].
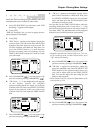
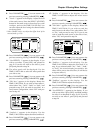
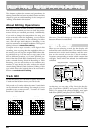
22. “TR* FX1 Snd=” appears in the display. Rotate the
TIME/VALUE dial. If you wish to send the play-
back track to the effect 1 bus, select either “Pre” or
“Pst,” and proceed to step 23. If you do not wish
to send the playback track to the effect 1 bus,
select “Off,” and proceed to step 29.
23.
Press PARAMETER [ ]. You can return to the
previous screen by pressing PARAMETER [ ].
24. “TR* SndLev =” appears in the display. Use the
TIME/VALUE dial to adjust the send level. If in
step 17 you selected either “Ins,” “InsL,” “InsR,”
or “InsS,” the sound already processed by the
effect will be sent to the effect bus. (It will not be
re-input to effect 1.)
25.
Press PARAMETER [ ]. You can return to the
previous screen by pressing PARAMETER [ ].
26. “TR* SndPan” appears in the display. Use the
TIME/VALUE dial to adjust the send pan.
27.
Press PARAMETER [ ]. You can return to the
previous screen by pressing PARAMETER [ ].
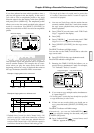
28. “REC FX1 =” appears in the display. If you wish
to record the effect which you are using in a
send/return configuration, press the STATUS
button for the recording destination track.
However if in step 17 you selected either “Ins,”
“InsL,” “InsR,” or “InsS,” this display will not
appear. (The sound with the inserted effect will be
recorded.)
CONDITION MARKER#
MASTER
INPUT TRACK
AUX
TIME
48
24
4
0
dB
12
CONDITION MARKER#
MASTER
INPUT TRACK
AUX
TIME
48
24
4
0
dB
12
CONDITION MARKER#
MASTER
INPUT TRACK
AUX
TIME
48
24
4
0
dB
12
CONDITION MARKER#
MASTER
INPUT TRACK
AUX
TIME
48
24
4
0
dB
12
Chapter 5 Storing Mixer Settings
82