


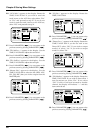
5. Rotating the TIME/VALUE dial allows you to
specify the insert destination V-track. For exam-
ple, “1-1” means “V-track 1 of track 1,” “1-*”
means “all V-tracks of track 1,” and “*-*” means
“all V-tracks of all tracks.”
6. If you want to insert multiple tracks simultane-
ously, repeat Steps 4 and 5.
7. If there are any tracks which you decide not to
insert, press that track's [STATUS] once again.
The STATUS indicator will blink green.
Alternatively, you can use PARAMETER [ ]
[ ] to access the settings for that track, and press
[CANCEL (NO)].
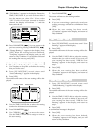
8. Press PARAMETER [ ] several times until
“TRK To=” appears in the display.
9. Rotate the TIME/VALUE dial.
To (To point)
Specify the time location at which the blank will be
inserted.
10. Press PARAMETER [ ].
“TRK Len=” appears in the display.
11. Rotate the TIME/VALUE dial.
Len (Length)
Specify the time (length) length of the blank.
12. Press PARAMETER [ ].
“TRK Track Insert OK ?” appears in the display.
13. Press [YES].
This executes Track Insert. If you wish to cancel, press
[NO].
14. When the insert is completed correctly,
“Complete” appears in the display, and return to
Play condition.
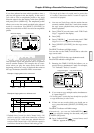
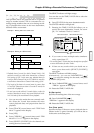
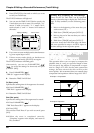
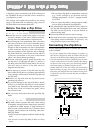
Deleting Performance Data (Track Cut)
This operation cuts playback data from the specified
area. When playback data is cut using this operation,
any playback data following the data that was cut will
move forward to fill the gap. To use the analogy of a
tape recorder, this operation is like cutting an unwant-
ed portion out of an audio tape, and splicing the ends.
* Do not leave sound within 0.5 seconds before or after the
area to be cut. Any sound which was within 0.5 seconds
of the cut data will not playback.
* While it may seem that the performance data has disap-
peared, the data itself is not deleted from the hard disk.
Thus, even when you carry out the Track Cut procedure,
the free disk space shown in the display does not change.
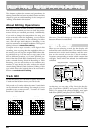
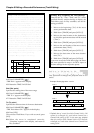
1. Press [TRACK] several times until “TRK Track
Cut ?” appears in the display.
2. Press [YES].
3. Press CURSOR [ ] several times until “TRK
Cut Tr.=?-?” appears in the display.
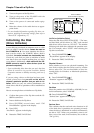
4. Press [STATUS] for the track on which you want
to carry out Track Cut.
The STATUS indicator will light red.
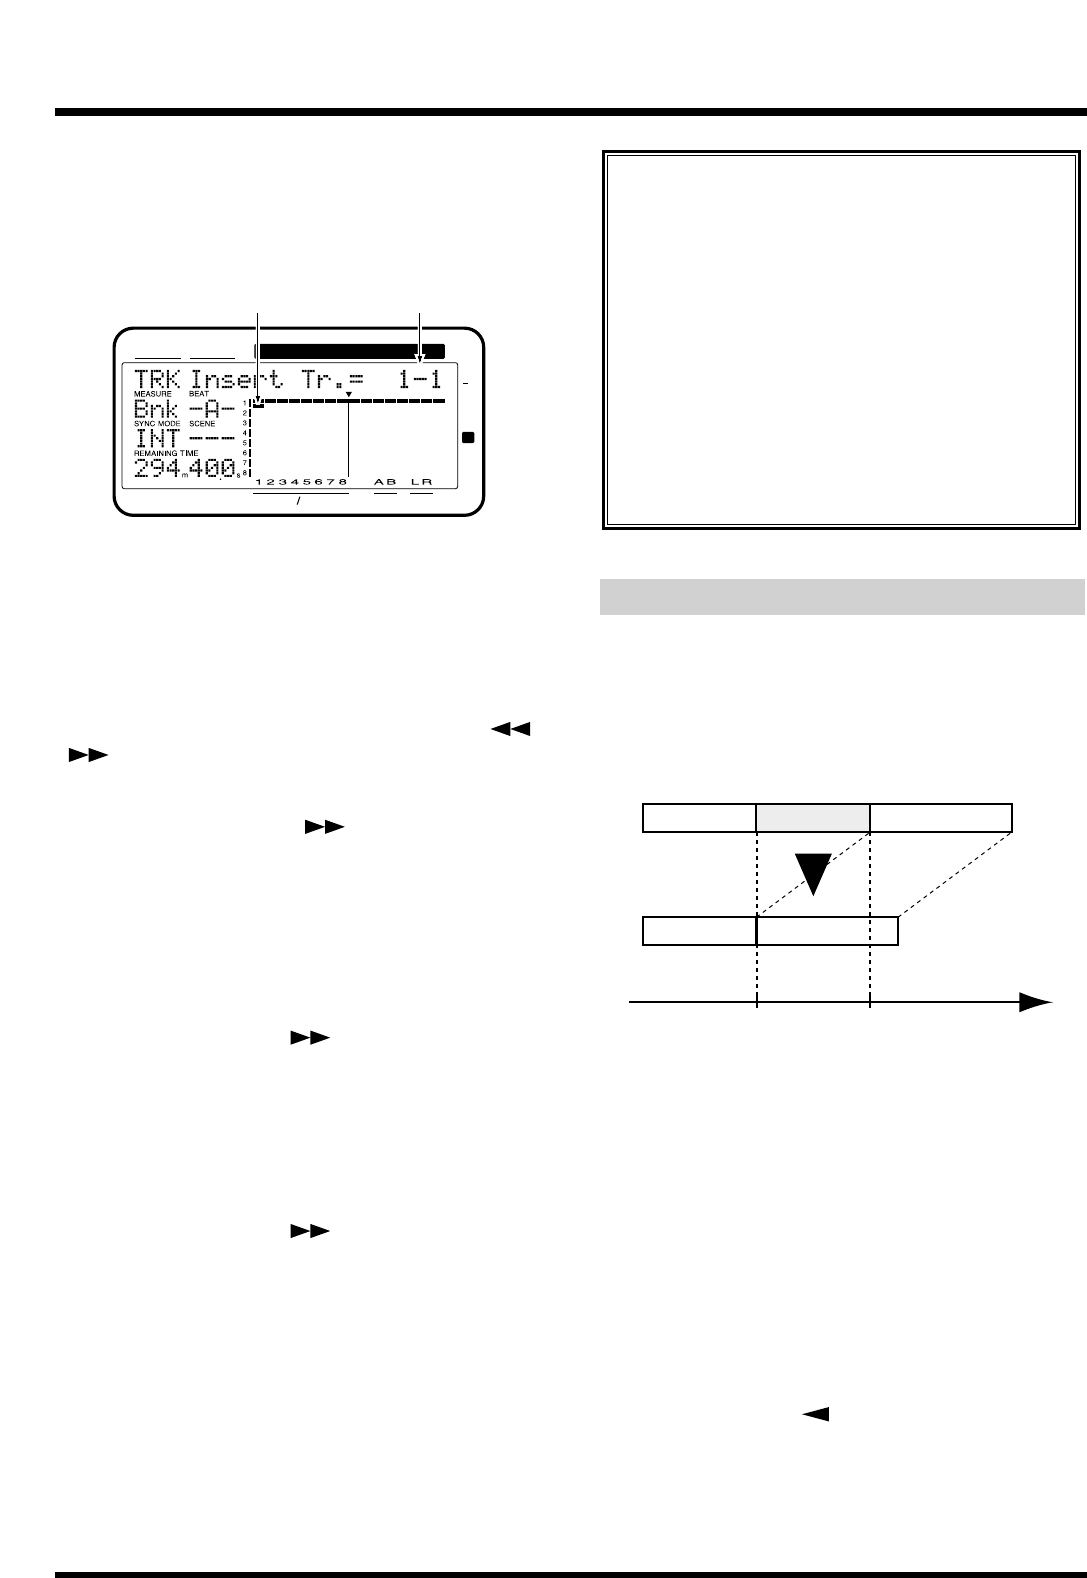
CONDITION MARKER#
MASTER
INPUT TRACK
AUX
TIME
48
24
4
0
dB
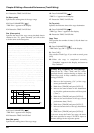
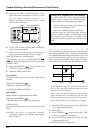
12
Insert destination trackblinking
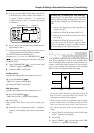
An Easy Way to Specify the Time Settings
The time for the “To” can be specified directly
without having to display the Track Insert page.
In Play condition, use the following procedure.
1. Move to the time location into which you
wish to insert the blank (“To”).
2. Hold down [TRACK] and press [LOC4/8].
If you now access the Track Erase page, the time
that was specified in steps 1–2 will be input as the
time setting for the To point. Just specify the
length of the blank (Length), and execute Track
Erase.
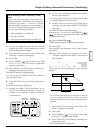
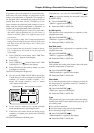
TimeStart End
A
Chapter 6 Editing a Recorded Performance (Track Editing)
94