


101
Editing a Song (MIDI Track)
Control Change
This MIDI message applies various effects such as modulation or
expression. The controller number (CC#) selects the function, and
Value specifies the depth of the effect.
Pitch Bend
This MIDI message changes the pitch. The value specifies the
amount of pitch change.
Poly Aftertouch
This MIDI messages applies aftertouch to an individual note. From
the left, the parameters are Note Number which specifies the key,
and Value which specifies the depth of the aftertouch.
Channel Aftertouch
This MIDI message applies aftertouch to an entire MIDI channel.
Value specifies the depth of the aftertouch.
System Exclusive
These are MIDI messages used to make settings unique to the JUNO-
G, such as sound settings. Input the data between “F0” and “F7.”
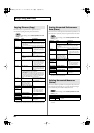
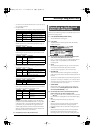
The Tempo track records tempo data for the song.
Tempo Change
This data specifies the tempo. The song will play back according to
the “Value” of the tempo change.
The value displayed in “
= **” is the tempo at which the song will
actually play (the playback tempo), and can be changed only in the
PLAY screen of each mode.
* If the tempo change value differs from the playback tempo, this means
that the playback tempo has been changed temporarily. In other words,
since the tempo change value has not been rewritten, this setting will
be lost if you select another song or turn off the power. If you want to
play back at this tempo the next time as well, you must re-save the
song to disk. This will rewrite the tempo change value so that it
matches the playback tempo.
The Beat track records time signature data.
Beat Change
This specifies the time signature (Beat).
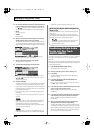
Since a MIDI track contains a large amount of sequencer data, the
display may be cluttered and difficult to read. For this reason, the
JUNO-G lets you specify the type(s) of sequencer data that will be
displayed in the screen. This is convenient when you want to check
or edit only a specific type of sequencer data.
1.
Access the MICROSCOPE screen.
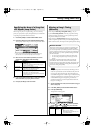
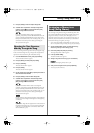
2.
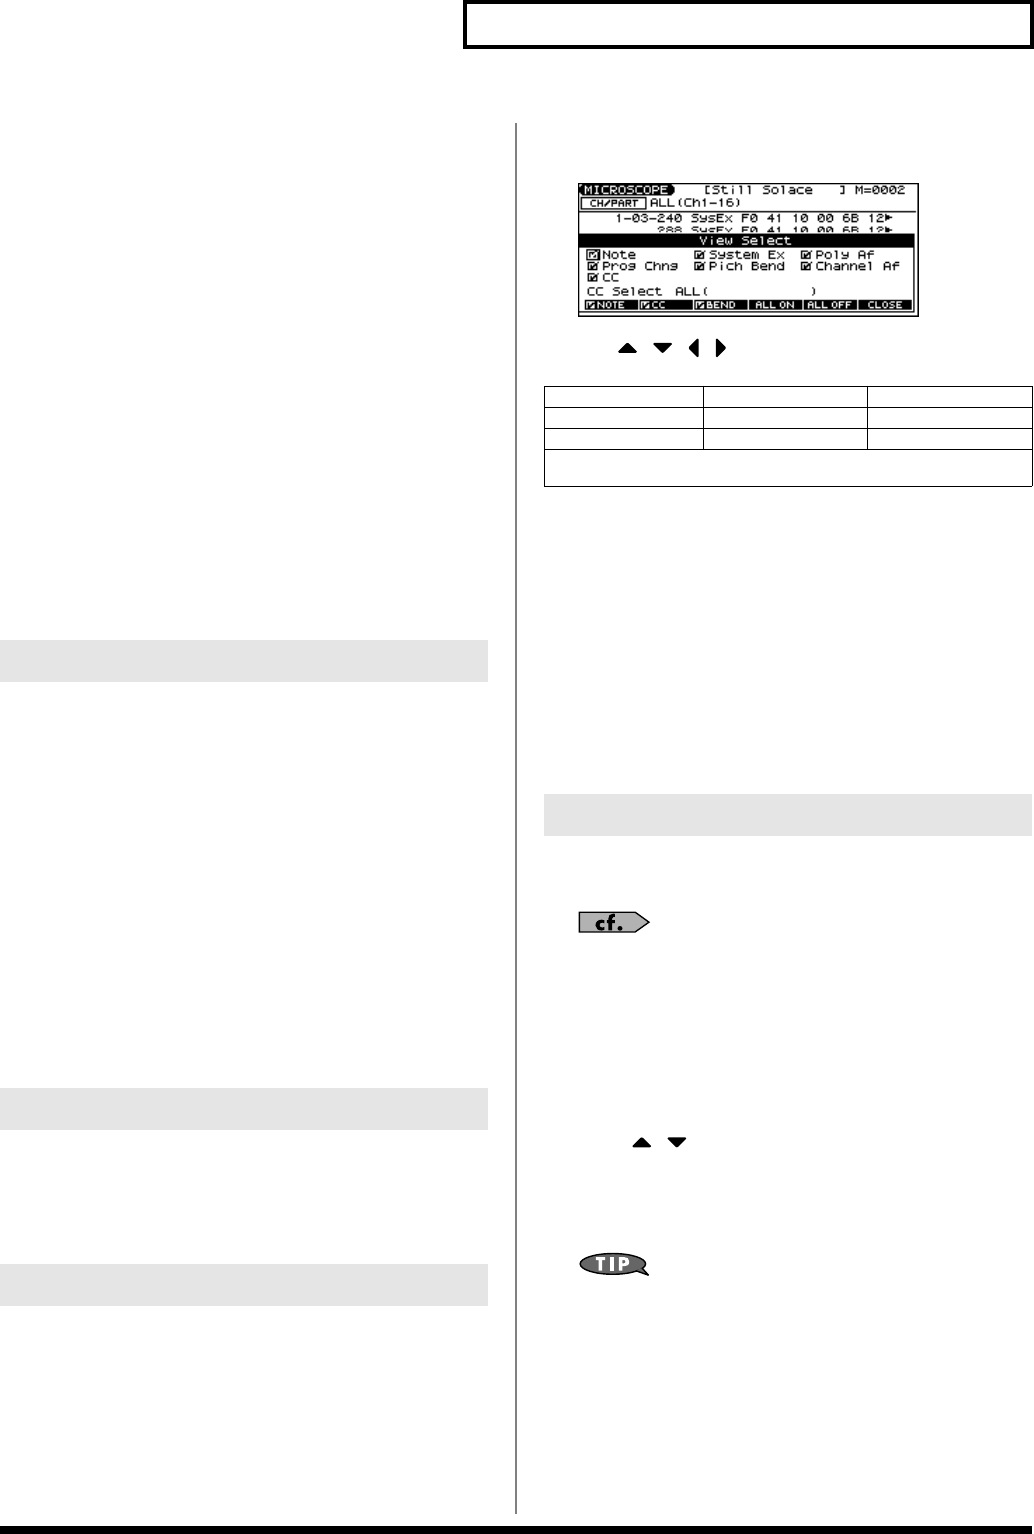
Hold down [SHIFT] and press [F5 (VIEW SEL)].
The View Select window appears.
3.
Use [ ] [ ] [ ] [ ] to select the sequencer data that will
be displayed.
4.
Press [INC] or [DEC] to switch.
The message will be displayed if the check mark (
✔
) is
assigned, and will not be displayed if the check mark is
removed.
• [F1 (NOTE)]: Note
• [F2 (CC)]: Control Change
• [F3 (BEND)]: Pitch Bend
• [F4 (ALL ON)]: All of the sequencer data will be displayed
• [F5 (ALL OFF)]: None of the sequencer data will be displayed
5.
Press [F6 (CLOSE)] to close the View Select window.
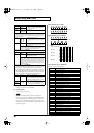
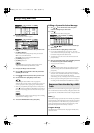
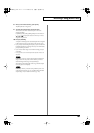
You can insert new sequencer data into a desired location of a MIDI
track.
For details on the sequencer data that can be inserted, refer to
Sequencer Data Handled by a MIDI Track
(p. 100).
1.
Access the MICROSCOPE screen for the track into which
you want to insert data.
2.
Press [F1 (CREATE)].
The Create Event window appears.
3.
Press [ ] [ ] to select the data that will be inserted.
4.
Press [F6 (EXEC)] to insert the performance data.
The inserted data will have the default parameter values, so edit
them as necessary.
If you are not satisfied with the results of executing this
operation, press [EXIT] to close the MICROSCOPE screen, and
press [F1 (UNDO)]
in the MIDI TRACK screen
to return to the
state prior to execution (Undo). After executing Undo, you can
use Redo to revert to the previous state by performing the
above procedure once again.
Data Handled by the Tempo Track
Data Handled by the Beat Track
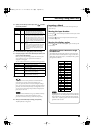
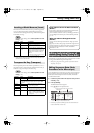
Viewing Sequencer Data (View Select)
Note System Exclusive Poly Aftertouch
Program Change Pitch Bend Channel Aftertouch
Control Change
CC Select
Specifies the controller number that will be displayed.
Inserting Sequencer Data (Create)
JUNO-G_e.book 101 ページ 2006年2月13日 月曜日 午後2時44分