90
Recording a Song (MIDI Track)
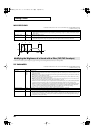
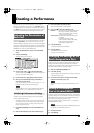
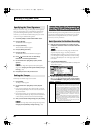
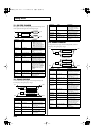
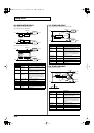
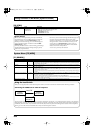
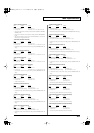
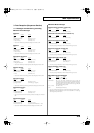
Using Auto Punch-In Recording
You must pre-specify the area (punch points) in which recording is
to take place. This is convenient when you want to re-record over a
mistake. The song will play back when you begin recording. When
you reach the punch-in point, playback will switch to record mode.
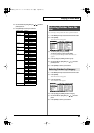
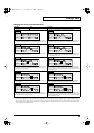
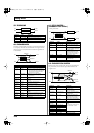
1.
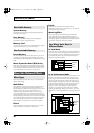
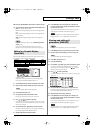
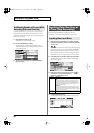
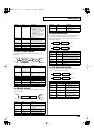
In the MIDI Rec Standby (Real Time) window, set the Loop/
Punch parameter to “AUTO PUNCH.”
2.
Set the Start Point/End Point parameters to the desired
punch points.
3.
Move to a measure earlier than the specified Start Point,
and press [PLAY] or [F6 (START)].
The song will begin playing. Recording will begin at the
location specified by the Start Point parameter. Playback will
resume at the location specified by the End Point parameter.
4.
Press [STOP] to stop playback.
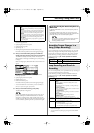
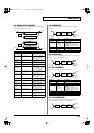
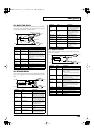
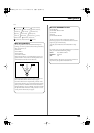
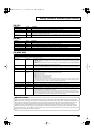
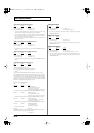
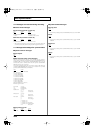
Using Manual Punch-In Recording
Recording takes place (erasing the existing data) in the area that you
specify by pressing a pedal or button. This is convenient when you
want to re-record more than one location in which you made a
mistake. The song will play back when you begin recording. When
you press a pedal or button, playback will switch to record mode,
and will switch back to play mode when you press the pedal or
button once again. By pressing the pedal or button, you can toggle
between record and play modes.
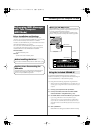
If you want to use a pedal connected to the PEDAL CONTROL
jack to specify the area for recording, you must first set the
Control Pedal Assign parameter to “PUNCH IN/OUT” (p. 72).
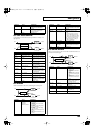
1.
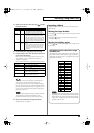
In the MIDI Rec Standby (Real Time) window, set the Loop/
Punch parameter to “MANUAL PUNCH.”
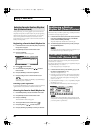
2.
Press [PLAY] or [F6 (START)].
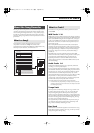
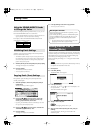
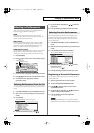
Song playback will begin, and the Realtime Rec Control
window will appear.
3.
At the point where you want to begin recording, press [F3
(PUNCH IN)] or step on the pedal.
Playback will switch to record mode.
4.
At the point where you want to stop recording, once again
press [F3 (PUNCH OUT)] or step on the pedal.
You will return to playback mode.
5.
Press [STOP] to stop playback.
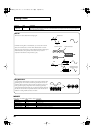
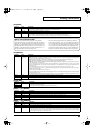
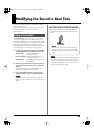
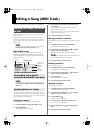
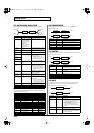
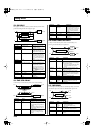
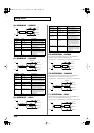
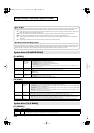
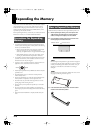
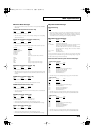
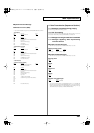
The Quantize function automatically corrects inaccuracies in the
timing of your keyboard performance, aligning the notes to accurate
timing intervals. During realtime recording, you can quantize while
you record.
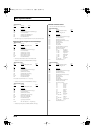
Set the following recording parameters in addition to the basic
settings described in step
3
of
Basic Operation for Realtime
Recording
(p. 88).
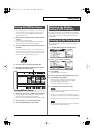
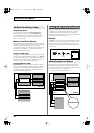
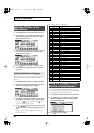
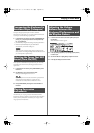
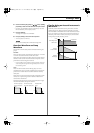
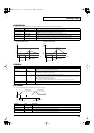
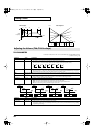
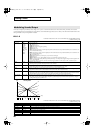
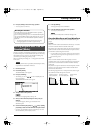
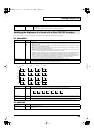
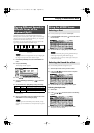
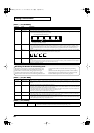
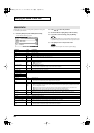
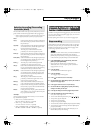
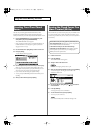
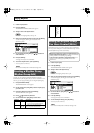
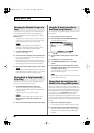
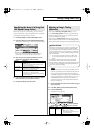
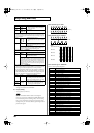
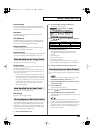
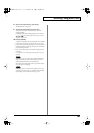
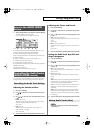
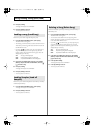
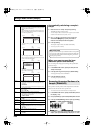
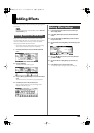
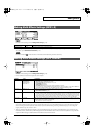
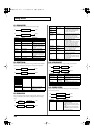
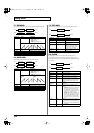
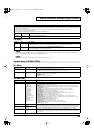
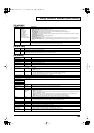
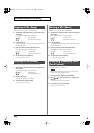
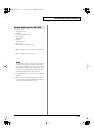
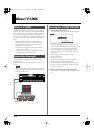
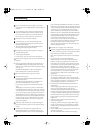
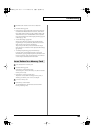
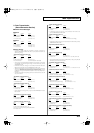
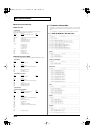
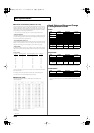
When Quantize Type is “GRID”
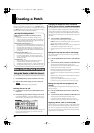
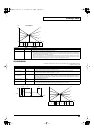
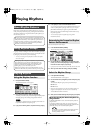
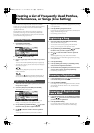
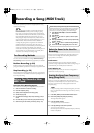
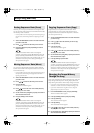
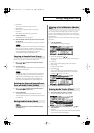
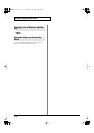
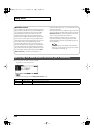
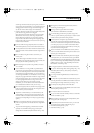
When Quantize Type is “SHUFFLE”
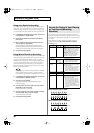
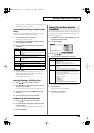
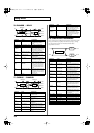
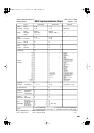
Correct the Timing of Your Playing
as You Record (Recording
Quantize)
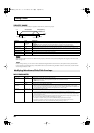
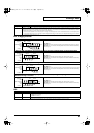
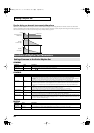
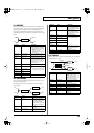
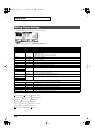
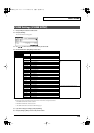
Parameter
Value Explanation
Input Quantize
OFF, GRID,
SHUFFLE
OFF:
Quantize will not be applied
while recording.
GRID:
Grid Quantize will be applied
while recording. Use this when you
want the timing to be accurate, such as
when recording drums or bass.
SHUFFLE:
Shuffle Quantize will be
applied while recording. Use this
when you want to give the rhythm a
“shuffle” or “swing” character.
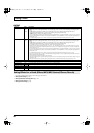
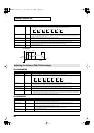
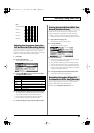
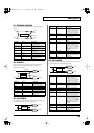
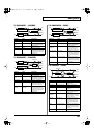
When “Input Quantize” is “
GRID
”
Grid Resolu-
tion
, ,
, ,
, ,
Quantization time interval
Select the shortest note value that
will occur in the range to which
Grid Quantize will be applied.
Grid Quantize
Strength
0–100% Degree to which notes will be adjusted
toward the timing intervals specified
by Grid Resolution
With a setting of “100%,” the notes
will be corrected precisely to the
timing of the Grid Resolution pa-
rameter. With a setting of “0%,” the
timing will not be adjusted at all.
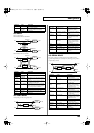
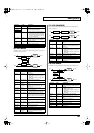
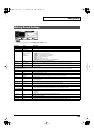
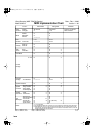
When “Input Quantize” is “
SHUFFLE
”
Shuffle Resolu-
tion
,
Quantization time interval
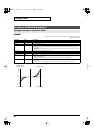
Shuffle Quan-
tize
0–100% Degree to which the backbeat will be
separated from the downbeat speci-
fied by Shuffle Resolution
With a setting of “50%,” the back-
beat will be exactly between adja-
cent downbeats. With a setting of
“0%,” the backbeat will be moved
to the same timing as the preceding
downbeat. With a setting of
“100%,” the backbeat will be moved
to the same timing as the following
downbeat.
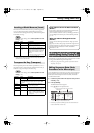
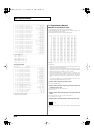
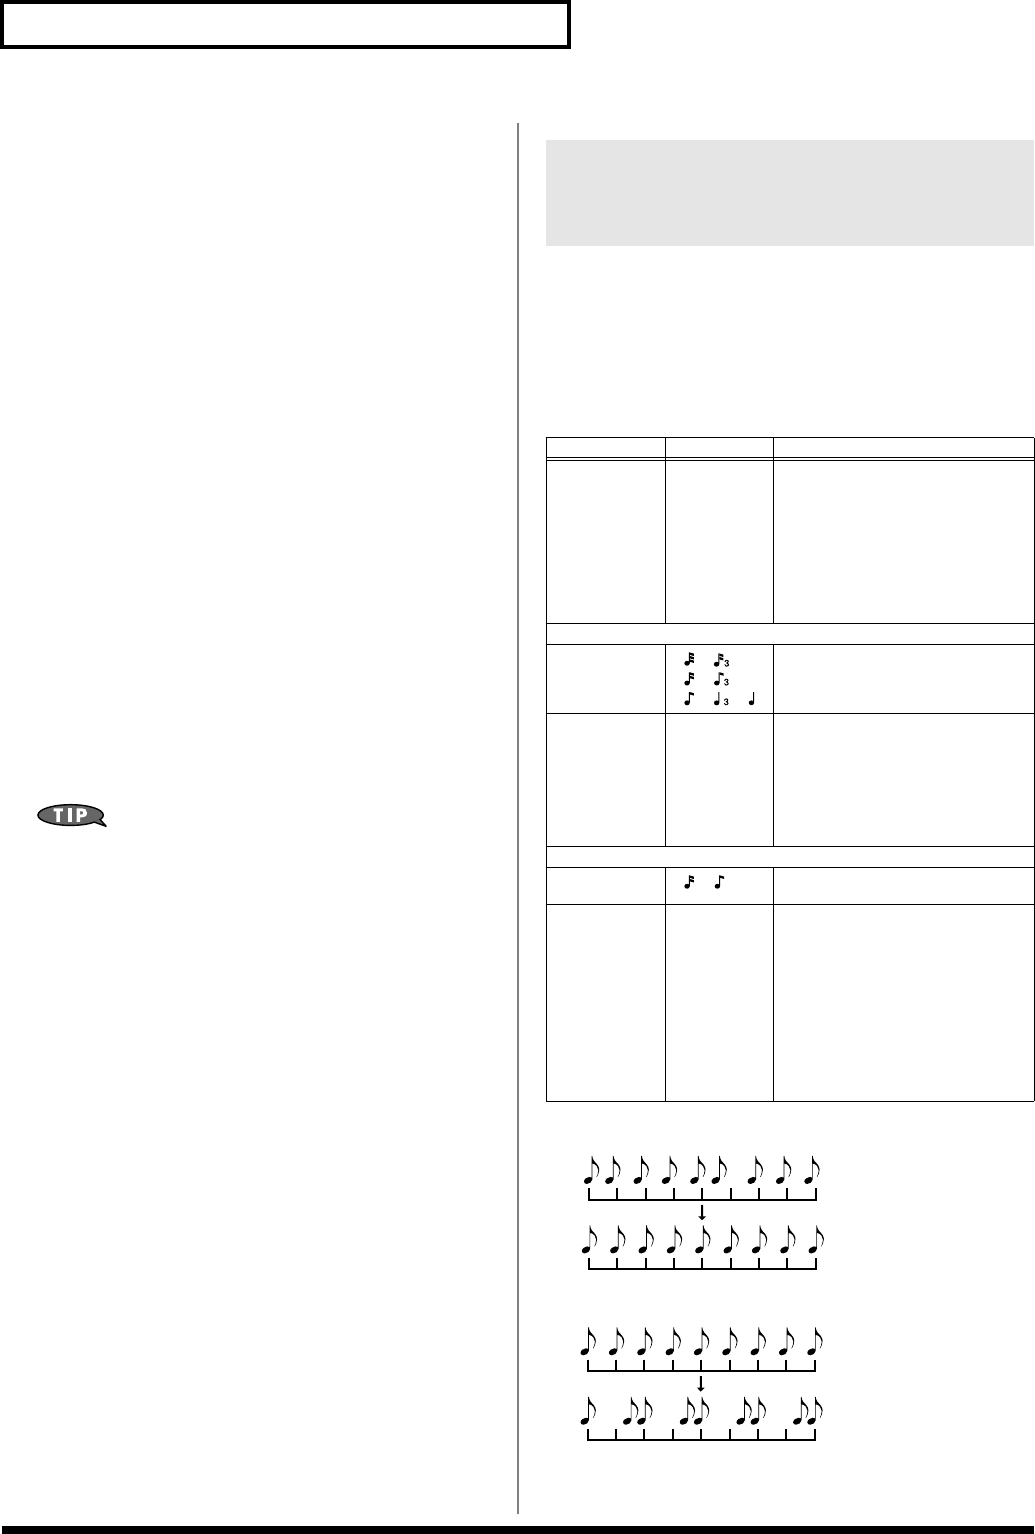
Grid quantize with Resolution =
Shuffle quantize with Rate = 75%
JUNO-G_e.book 90 ページ 2006年2月13日 月曜日 午後2時44分