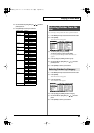
122
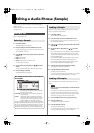
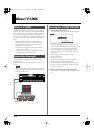
Editing a Audio Phrase (Sample)
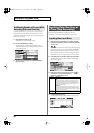
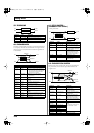
This operation stretches or shrinks the sample to modify the length
or tempo. You can stretch or shrink the sample by a factor of one half
to double the original length.
* You cannot execute this with more than one sample selected.
1.
In the SAMPLE EDIT screen, press [F3 (MODIFY)] to open
the Sample Modify Menu window.
2.
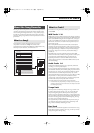
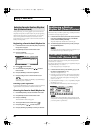
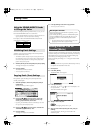
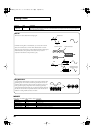
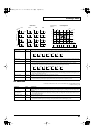
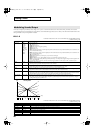
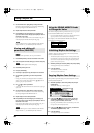
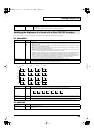
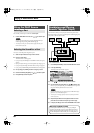
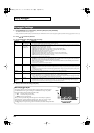
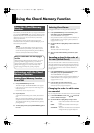
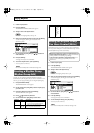
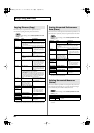
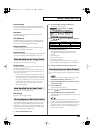
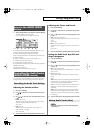
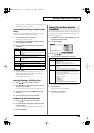
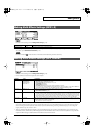
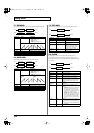
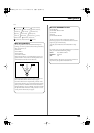
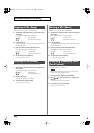
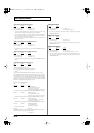
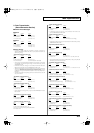
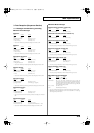
Press [F3 (TIME STRETCH)].
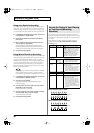
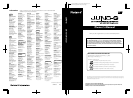
fig.TIMESTRETCH
3.
Press [ ] [ ] to select the parameter.
4.
Use the VALUE dial or [INC] [DEC] to specify the tempo/length.
When setting the BPM (tempo) value, you can hold down
[SHIFT] and turn the VALUE dial, or use [INC] [DEC] to adjust
the value to the right of the decimal point.
5.
Press [F6 (EXEC)].
A message will ask you for confirmation.
6.
To execute, press [F6 (EXEC)].
The length of the sample will be changed as specified.
* To cancel, press [F5 (CANCEL)].
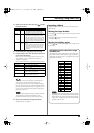
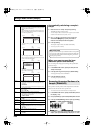
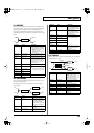
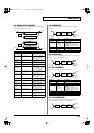
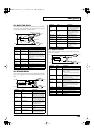
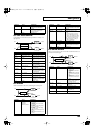
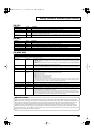
The
chop
function divides a sample waveform into separate notes.
* You cannot execute this with more than one sample selected.
1.
In the SAMPLE EDIT screen, press [F3 (MODIFY)] to open
the Sample Modify Menu window.
2.
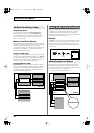
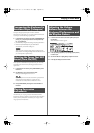
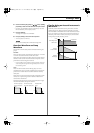
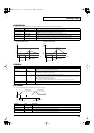
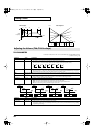
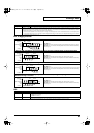
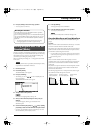
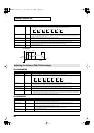
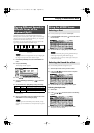
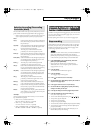
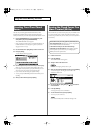
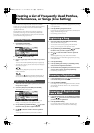
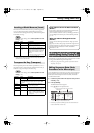
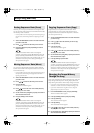
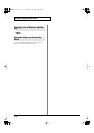
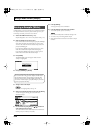
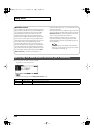
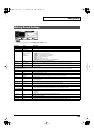
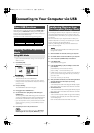
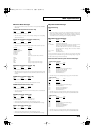
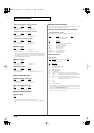
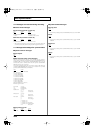
Press [F4 (CHOP)].
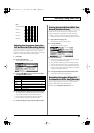
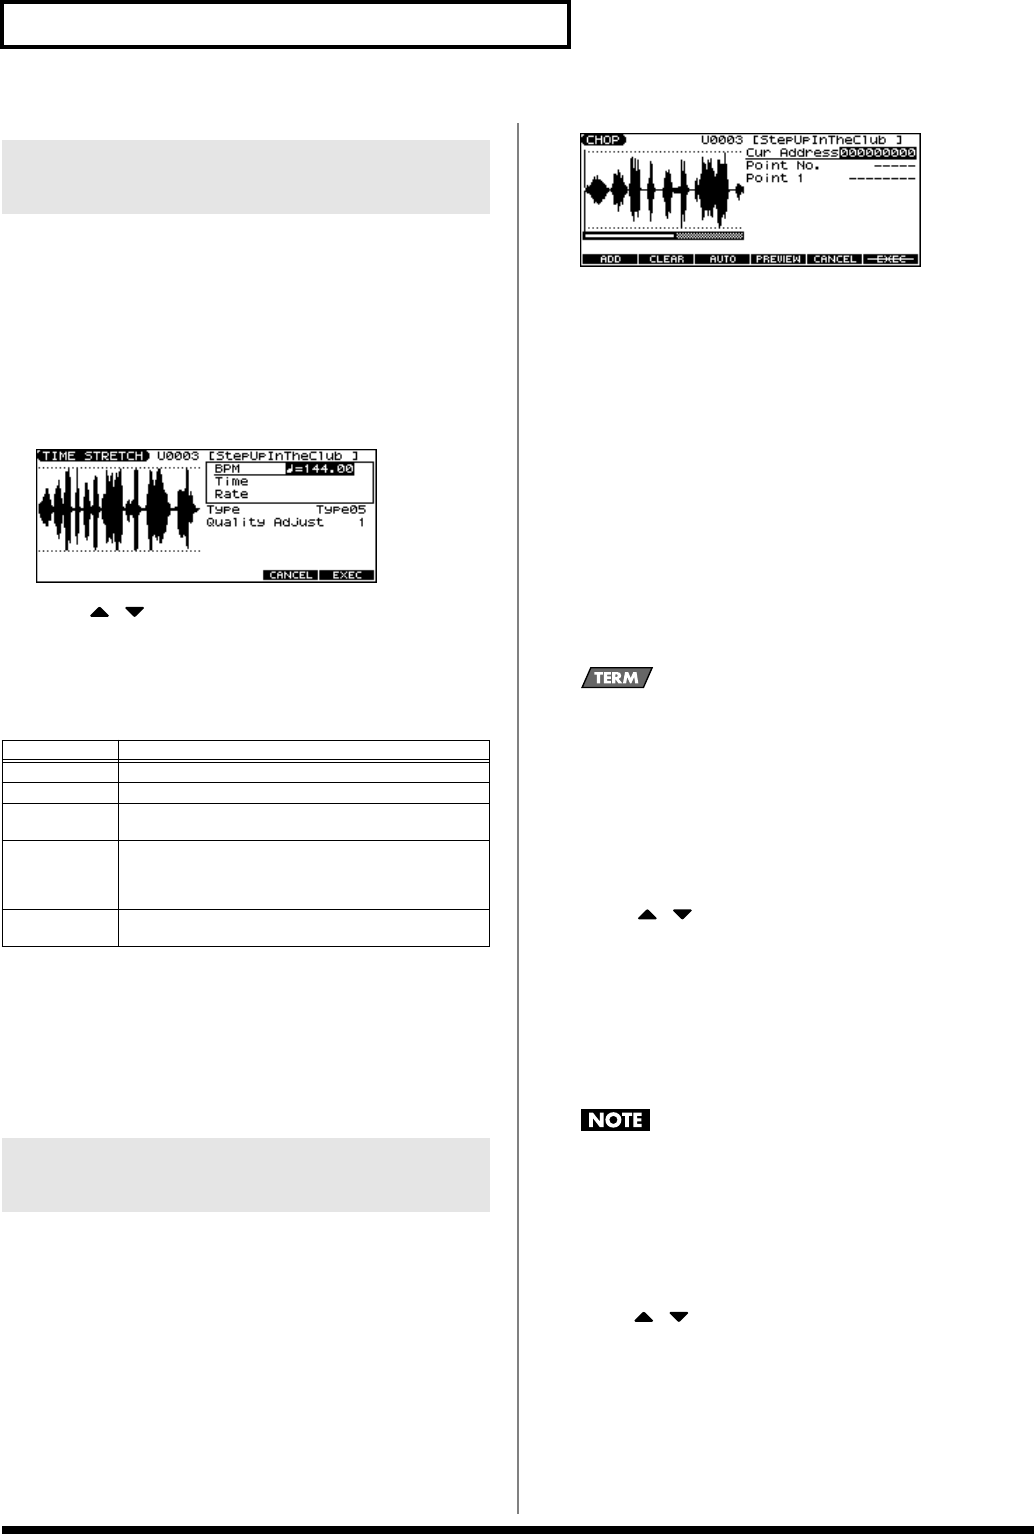
fig.CHOP
3.
Specify the point(s) at which the sample is to be divided.
Refer to “Procedure for Dividing a Sample” or “Automatically
Dividing a Sample (Auto Chop)” (p. 123).
4.
Audition the sample as described in the section
“Auditioning the Divided Samples” (p. 123).
If you want to re-make settings, move or delete the point (p. 123).
5.
Press [F6 (EXEC)].
A message will ask you for confirmation.
6.
To execute the division, press [F6 (EXEC)].
The divided samples will be added to the sample list.
* To cancel, press [F5 (CANCEL)].
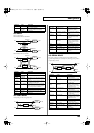
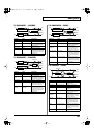
When you execute the Chop operation, a message will ask
whether you want to execute Create Rhythm.
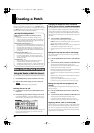
Create Rhythm
This creates a rhythm set using the samples that were divided
by the Chop operation, and assigns it to a part. The samples are
assigned successively starting at the C2 key.
7.
To execute Create Rhythm, press [F6 (EXEC)].
The Create Rhythm window opens.
* To cancel, press [F5 (CANCEL)].
8.
8. Use [ ] [ ] to select the part to which you want to
assign the rhythm set, and press [F6 (SELECT)].
A message will ask you for confirmation.
* You can’t select a part in Patch mode.
9.
To execute, press [F6 (EXEC)].
The samples will be assigned to the selected part as a rhythm set.
* To cancel, press [F5 (CANCEL)].
If you select a different rhythm set, the rhythm set to which the
samples are assigned will disappear. If you want to keep this
rhythm set, press [WRITE] to save it. (p. 124)
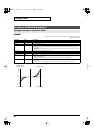
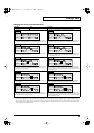
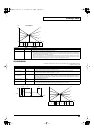
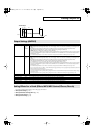
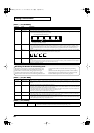
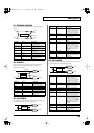
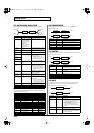
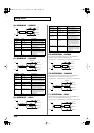
Procedure for Dividing a Sample
You can freely specify the dividing point(s).
1.
Press [ ] [ ] to move the cursor to “Current Address.”
2.
Use the VALUE dial or [INC] [DEC] to move the point.
3.
At the location where you want to divide the sample, press
[F2 (ADD)].
The current location will be the dividing point.
4.
Repeat steps
2
and
3
to specify other dividing points.
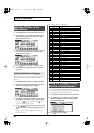
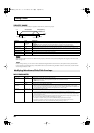
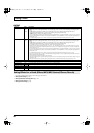
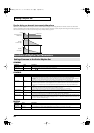
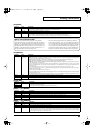
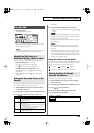
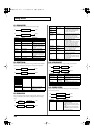
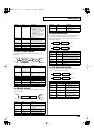
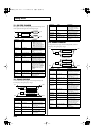
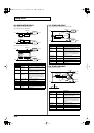
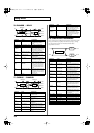
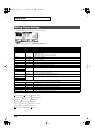
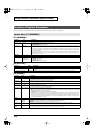
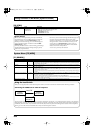
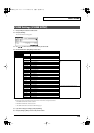
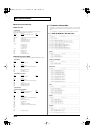
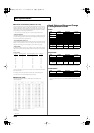
Stretching or Shrinking a Sample
(TIME STRETCH)
Parameter
Explanation
BPM
Change the BPM of the sample to the BPM you specify.
Time Specify the length of the sample as a time value.
Rate Specify the length relative to the current length of the
sample. (
50.0–200.0%
)
Type Lower settings of this value will make the sound more
suitable for faster phrases, and higher settings will make
the sound more suitable for slower phrases.
(
TYPE01–TYPE10
)
Quality Adjust Make fine adjustments to the tonal quality of the Time
Stretch. (
1–10
)
Dividing a Sample into Notes
(CHOP)
JUNO-G_e.book 122 ページ 2006年2月13日 月曜日 午後2時44分