104
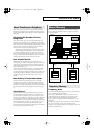
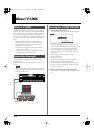
Recording a Song (Audio Track)
The JUNO-G lets you sample audio sources, such as an audio device,
mic, or CD.
Before you record audio from a CD player, mic, or other external
audio source connected to the AUDIO INPUT jacks, please follow
the procedure described below.
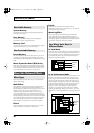
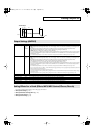
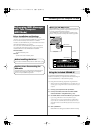
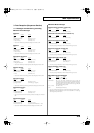
1.
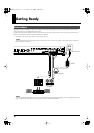
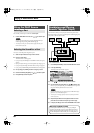
Connect your CD player, mic, or other audio source to the
AUDIO INPUT jacks located on the rear panel of the JUNO-G.
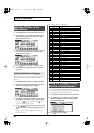
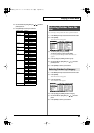
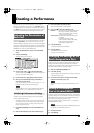
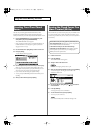
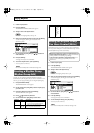
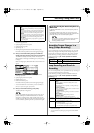
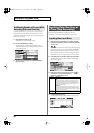
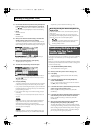
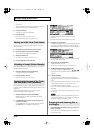
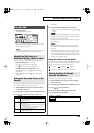
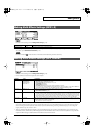
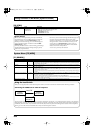
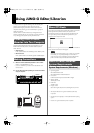
2.
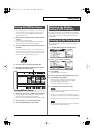
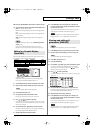
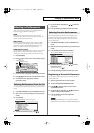
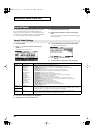
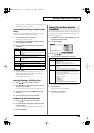
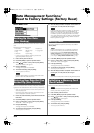
While holding down [SHIFT], move the SONG RECORDER’s
AUDIO IN slider.
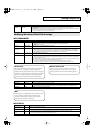
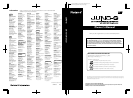
The AUDIO INPUT SETTING screen appears.
* You can also access this screen by pressing EDIT [MENU] and
selecting “6. Input Setting” in the Top Menu window.
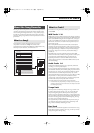
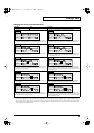
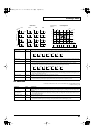
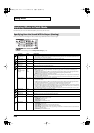
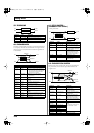
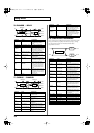
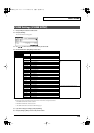
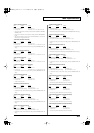
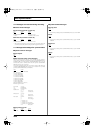
3.
Press [ ] [ ] to select the parameter that you want to set.
4.
Turn the VALUE dial or press [INC] [DEC] to set the value.
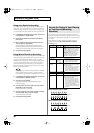
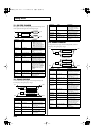
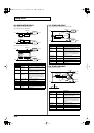
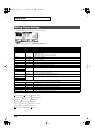
•
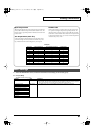
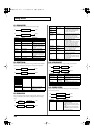
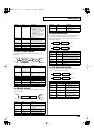
Input Select
Specifies the input source of the sound to be sampled.
Value
LINE IN L/R:
INPUT jacks L/R (stereo)
LINE IN L:
INPUT jack L (mono)
MICROPHONE:
INPUT jack L (mono, mic level)
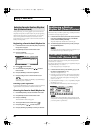
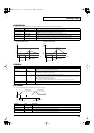
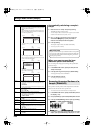
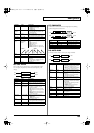
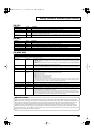
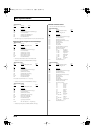
• Input FX (Effect) Type
Selects the type of effect that will be applied to the external
input source.
Value:
EQ, ENHANCER, COMPRESSOR, LIMITER, NOISE
SUP, C CANCELLER
When you press [F6 (In FX Setup)], the parameter setting screen
for the currently selected input effect will be displayed “Input
Effect Setup Settings.”
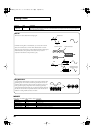
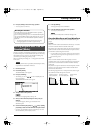
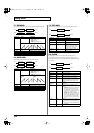
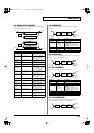
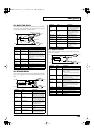
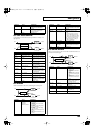
• Audio Input Asgn
Output destination of the external input sound that is mixed in
Value
DRY:
Output to OUTPUT (A) jacks without passing
through effects
MFX:
Output through multi-effects
When you select “MFX,” selects which of the three multi-effects
(1–3) will be used.
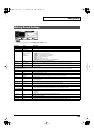
•
Audio Input Level
Volume level of the external input sound.
Value:
0–127
* You can also use the SONG RECORDER’s AUDIO IN slider to
adjust this.
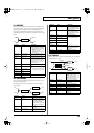
•
Audio Input Cho Send
Adjusts the depth of chorus that will be applied to the external
input source. Set this to “0” if you do not want to apply chorus.
Value:
0–127
•
Audio Input Reverb Send
Depth of reverb applied to the external input sound. Set this to 0
if you don’t want to apply reverb.
Value:
0–127
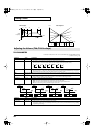
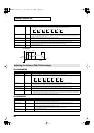
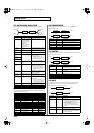
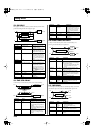
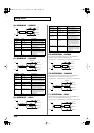
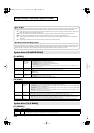
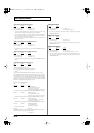
5.
Press [F5 (In FX SW)] (Input Effect Switch) to add a check
mark; the external audio input will be routed through the
dedicated input effect.
If you press [F5 (In FX SW)] to clear the check mark, the external
audio input will not be routed through the dedicated input effect.
6.
Play back the external input source.
7.
Turn the rear panel AUDIO INPUT LEVEL knob to adjust the
input level from the external audio source.
8.
Press [EXIT] to return to the previous screen.
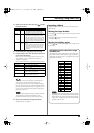
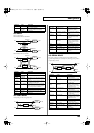
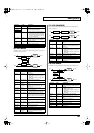
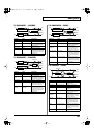
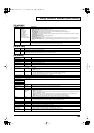
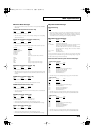
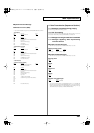
1.
While holding down [SHIFT], move the SONG RECORDER’s
AUDIO IN slider.
The AUDIO INPUT SETTING screen appears.
* You can also access this screen by pressing EDIT [MENU] and
selecting “6. Input Setting” in the Top Menu window.
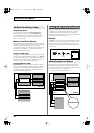
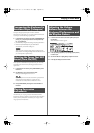
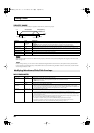
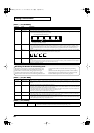
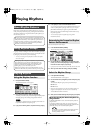
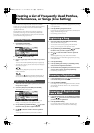
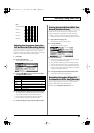
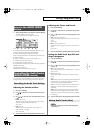
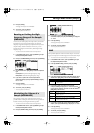
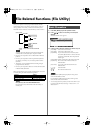
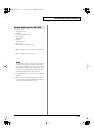
2.
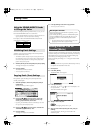
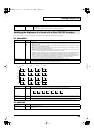
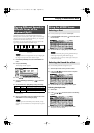
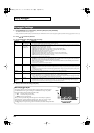
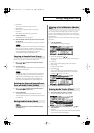
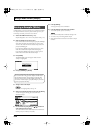
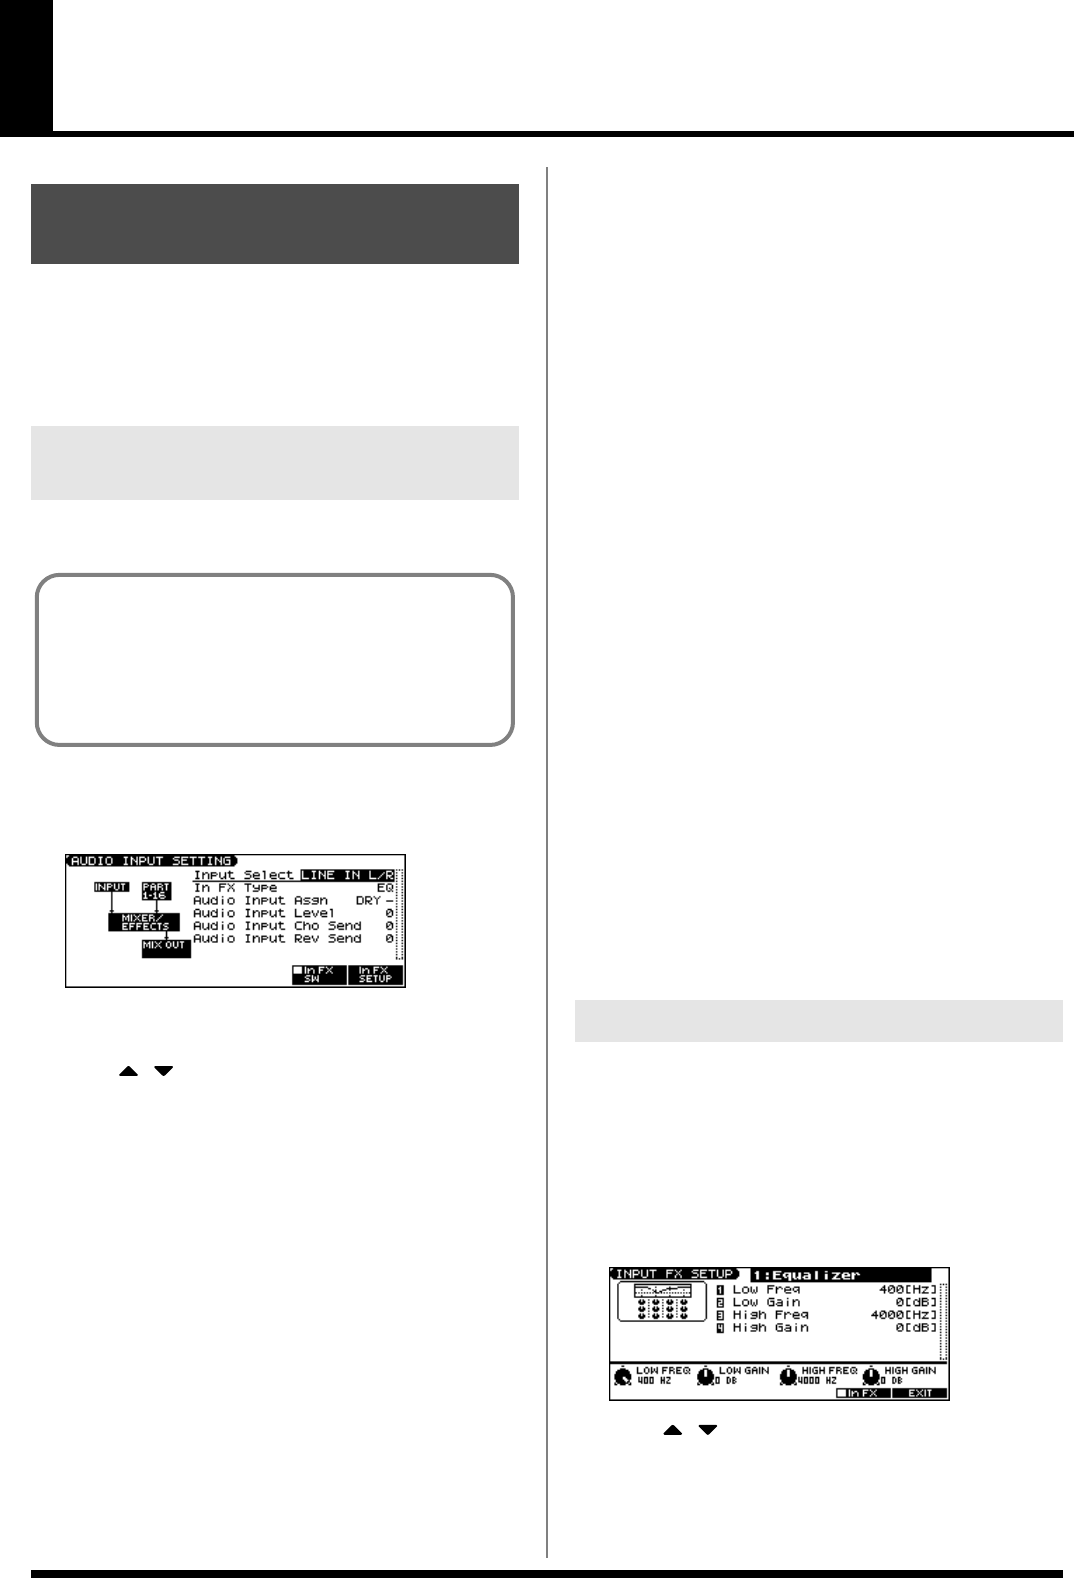
Press [F6 (In FX SETUP)].
The INPUT FX SETUP screen appears.
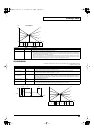
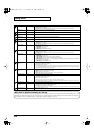
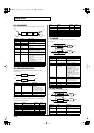
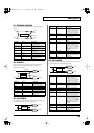
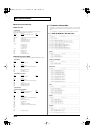
3.
Press [ ] [ ] to move the cursor.
4.
Turn the VALUE dial, or press [INC] /[DEC] to set the value.
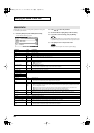
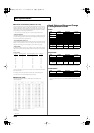
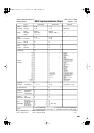
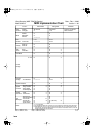
In this settings screen, you can edit parameters for the type of
input effect you selected.
Before You Record Audio
via the AUDIO INPUT Jacks
Making AUDIO INPUT Settings
(Audio Input Setting)
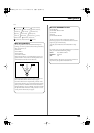
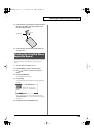
Cautions when using a microphone
Howling could be produced depending on the location of
microphones relative to speakers. This can be remedied by:
1. Changing the orientation of the microphone(s).
2. Relocating microphone(s) at a greater distance from
speakers.
3. Lowering volume levels.
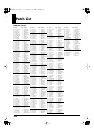
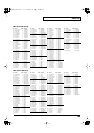
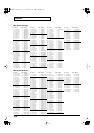
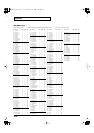
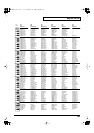
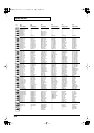
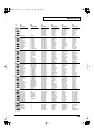
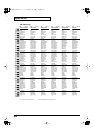
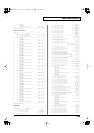
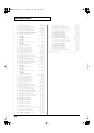
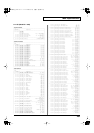
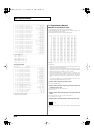
Input Effect Setup Settings
JUNO-G_e.book 104 ページ 2006年2月13日 月曜日 午後2時44分