31
Creating a Patch
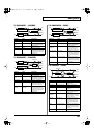
10.
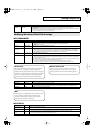
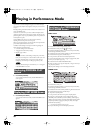
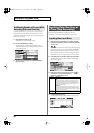
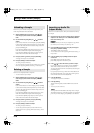
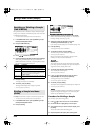
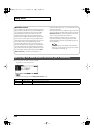
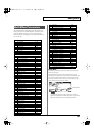
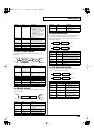
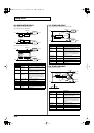
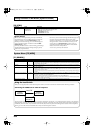
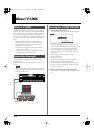
Press the SOUND MODIFY select button to make LFO light.
11.
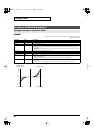
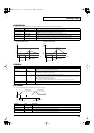
Turn the ATTACK, DECAY, SUSTAIN, and RELEASE knobs.
RATE:
LFO RATE: Speed of LFO 1
PIT:
LFO Pitch Depth: Depth by which LFO 1 changes the WG
pitch
FLT:
LFO TVF Depth: Depth by which LFO 1 changes the TVF
cutoff frequency
AMP:
LFO TVA Depth: Depth by which LFO 1 changes the
volume
For details on these parameters, refer to
Modulating Sounds/
Output
(p. 46).
* If you press the SOUND MODIFY select button so all of the
indicators are off, turning these knobs will not produce any change.
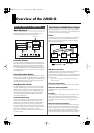
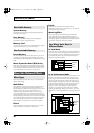
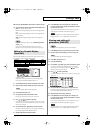
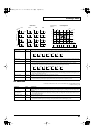
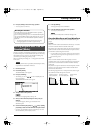
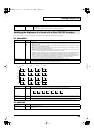
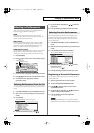
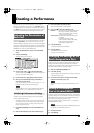
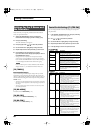
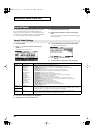
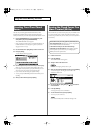
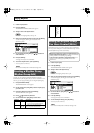
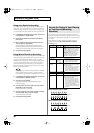
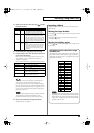
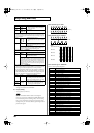
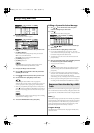
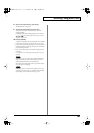
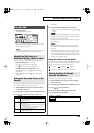
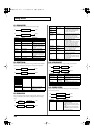
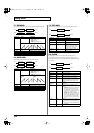
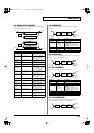
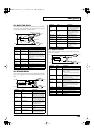
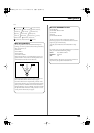
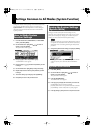
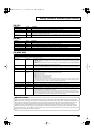
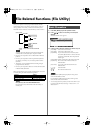
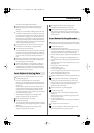
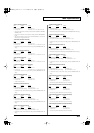
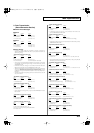
The important parameters most commonly used to edit the sound
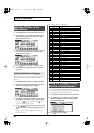
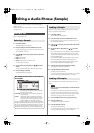
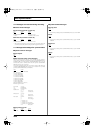
are available in eight screens for graphic editing.
1.
Graphic display
2.
Move the cursor and use the VALUE dial or [INC] [DEC]
3.
Corresponds to SOUND MODIFY knobs 1--4.
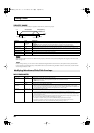
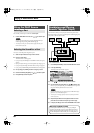
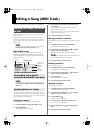
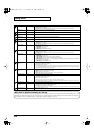
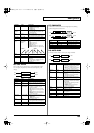
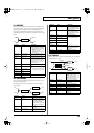
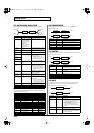
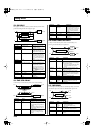
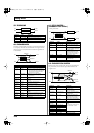
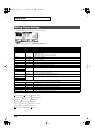
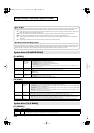
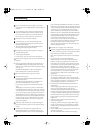
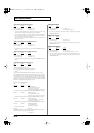
1.
Press MODE [PATCH] to access the PATCH PLAY screen.
2.
Select the patch whose settings you want to edit (p. 26).
You cannot edit the patches in the GM2 group.
3.
Press EDIT [PATCH] so it’s lit.
4.
Use [F1]–[F4] to select the parameter screen.
* Pressing [F5 (PAGE)] will switch the [F1]–[F4] screens.
5.
Use [ ] [ ] [ ] [ ] to select a parameter.
* Some parameters can be edited independently for each tone. To select
the tone to edit, press [TONE SW/SEL] so it’s lit, and press one of the
SELECT [1]–[4] buttons.
6.
Use the VALUE dial or [INC] [DEC] to change the value.
Parameters with an indication of 1–4 can also be edited using
the corresponding SOUND MODIFY knob 1–4.
7.
Repeat steps
4
–
6
to set each parameter.
8.
Press [WRITE] to save the changes you’ve made (p. 32).
If you do not wish to save changes, press [EXIT] to return to
the PATCH PLAY screen.
If you return to the PATCH PLAY screen without saving, an “*”
will be displayed at the left of the rhythm set group.
If you turn off the power or select a different sound while the
display indicates “*,” your edited rhythm set will be lost.
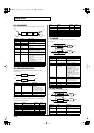
For details on the parameters, refer to p. 34 and follows.
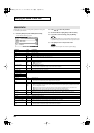
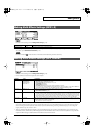
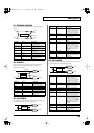
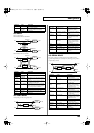
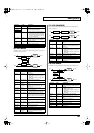
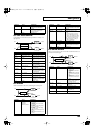
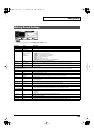
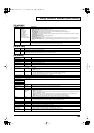
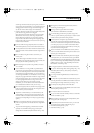
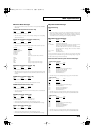
1.
Press MODE [PATCH] to access the PATCH PLAY screen.
2.
Select the patch whose settings you want to edit (p. 26).
You cannot edit the patches in the GM2 group.
3.
Press EDIT [PATCH] so it’s lit.
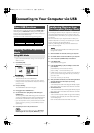
4.
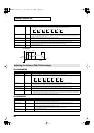
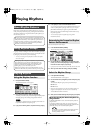
Press [F6 (PRO EDIT)].
5.
Use [F2 (GRP
↑
)] [F3 (GRP
↓
)] to switch the parameter group.
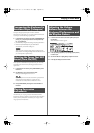
* Pressing [F1 (GRP LIST)] will display the Patch Pro Edit Menu
window. Use the VALUE dial or [INC] [DEC] [ ] [ ] to select a
parameter group, and press [ENTER].
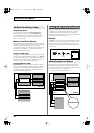
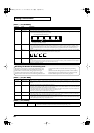
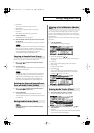
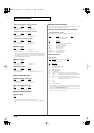
6.
Use [ ] [ ] to select a parameter.
* A check mark (
✔
) will be added to the tone number in the upper right
of the screen.
7.
Use the VALUE dial or [INC] [DEC] to change the value.
Parameters with an indication of 1–4 can also be edited using
the corresponding SOUND MODIFY knob 1–4.
8.
Repeat steps
5
–
7
to set each parameter.
9.
Press [WRITE] to save the changes you’ve made (p. 32).
If you do not wish to save changes, press [EXIT] to return to
the PATCH PLAY screen.
If you return to the PATCH PLAY screen without saving, an “*”
will be displayed at the left of the rhythm set group.
If you turn off the power or select a different sound while the
display indicates “*,” your edited rhythm set will be lost.
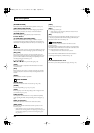
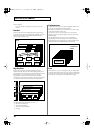
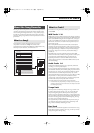
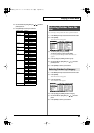
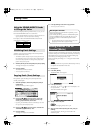
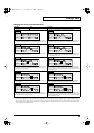
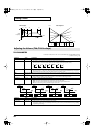
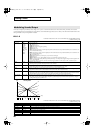
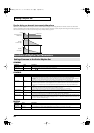
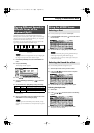
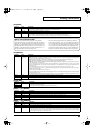
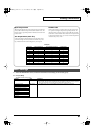
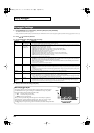
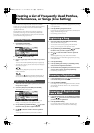
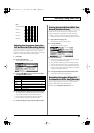
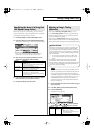
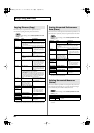
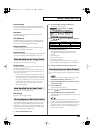
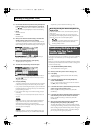
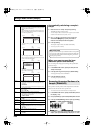
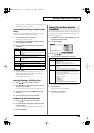
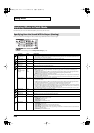
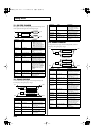
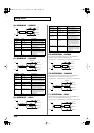
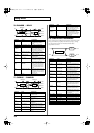
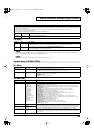
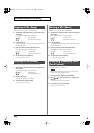
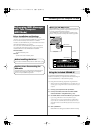
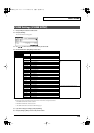
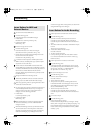
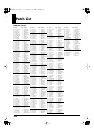
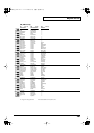
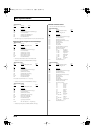
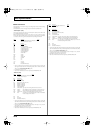
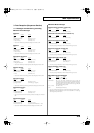
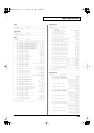
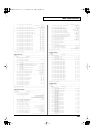
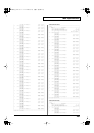
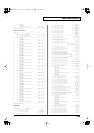
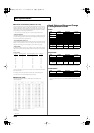
Editing in a Graphic Display
(Zoom Edit)
Parameter page Parameter page
PITCH ENVELOPE p. 40 PATCH EDIT p. 35
TVF PARAMETER p. 40 LFO 1/2 p. 46
TVF ENVELOPE p. 41 STEP LFO p. 47
TVA ENVELOPE p. 43
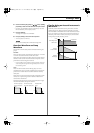
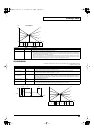
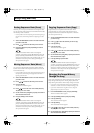
1
2
3
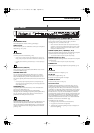
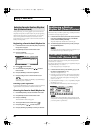
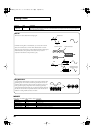
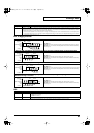
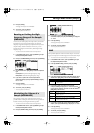
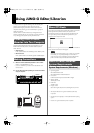
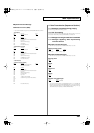
Viewing and editing all
parameters (PRO EDIT)
JUNO-G_e.book 31 ページ 2006年2月13日 月曜日 午後2時44分