


122
Displaying the RHYTHM PATTERN
screen
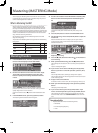
1. In the RECORDER screen, press the [5] (RHYTHM) button.
The RHYTHM PATTERN screen will appear.
MEMO
You can also access the RHYTHM PATTERN screen by holding down
the [SHIFT] button and pressing the [RHYTHM PATTERN] button.
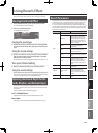
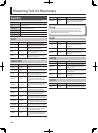
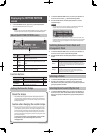
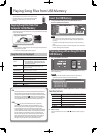
About the RHYTHM PATTERN screen
3
4
1 2
4
Num-
ber
Name Explanation
1
Pattern/
Arrange
“Pattern” shown for Pattern mode, “Arrange”
indicates Arrangement mode.
2
Pattern
Number
Indicates the pattern group, pattern number, and
pattern name. In Arrangement mode this will be
blank.
3
Recorder
Tempo
Indicates the tempo of the Digital Recorder.
4 Rhythm Set
Indicates the Rhythm Set group, Rhythm Set
number and Rhythm Set name.
Function buttons
Button Explanation Page
[1] (ARG EDIT) Opens a screen for editing the arrangement p. 123
[2] (PTN EDIT) Opens a screen for editing the pattern p. 124
[3] (IMPORT)
Imports a Standard MIDI File (SMF) from
your computer into the pattern
p. 126
Setting the Recorder Tempo
122
About the tempo
The JUNO-Gi has two types of tempo: “keyboard tempo” and
“recorder tempo.” Keyboard tempo is used for the Synthesizer’s
arpeggio performance etc, and recorder tempo is the tempo of
the Digital Recorder.
Caution when changing the recorder tempo
Changing the recorder tempo will change the playback tempo
of the rhythm pattern, but will not change the playback tempo
of the audio data recorded in the Digital Recorder. This means
that if you change the tempo after recording, the sound of the
tracks and the sound of the rhythm pattern will play back out of
time with each other.
To avoid such problems, you should decide on the recorder
tempo before you start recording tracks, and avoid
changing it later.
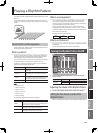
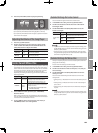
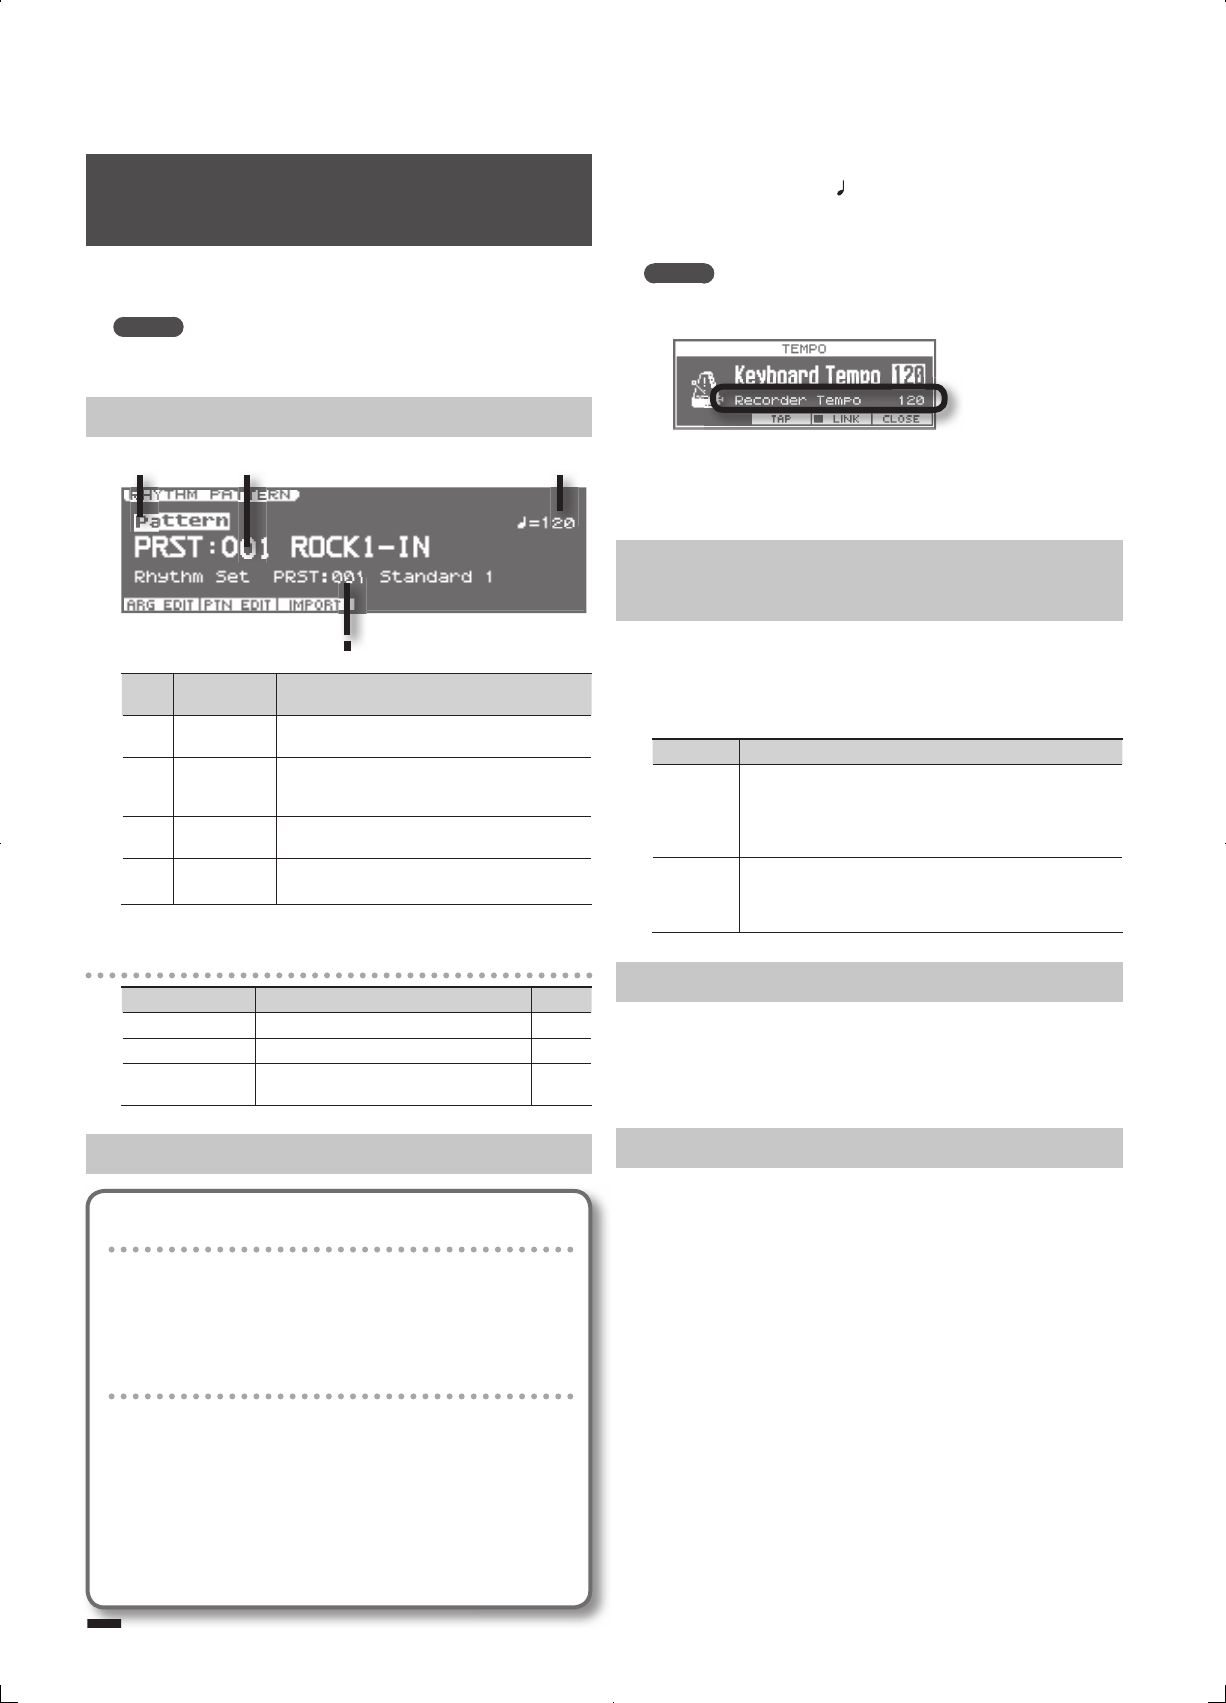
1. In the RHYTHM PATTERN screen, use the cursor buttons to
move the cursor to the “ =” (Recorder Tempo) eld.
2. Use the VALUE dial or the [DEC] [INC] button to set the
recorder tempo.
MEMO
You can also set the recorder tempo in the TEMPO window that
appears when you press the [TEMPO] button (p. 32).
If you press the [5] (LINK) button to assign a check mark (✔), the
keyboard tempo will match the recorder tempo. This is convenient
when you want to play arpeggios in time with the tempo of the
recorder’s song.
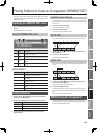
Switching between Pattern Mode and
Arrangement Mode
1. In the RHYTHM PATTERN screen, use the cursor buttons to
move the cursor to the “Pattern/Arrange” eld.
2. Use the VALUE dial or the [DEC] [INC] button to select the
mode.
Mode Explanation
Pattern
Pattern Mode
This mode is used to play patterns individually. The pattern
you select will continue playing from the beginning to the end
of the song. You can’t make the pattern switch automatically
during the song.
Arrange
Arrange Mode
This mode is used to play an arrangement. As the song
progresses, the patterns will switch according to how they
have been placed in the arrangement.
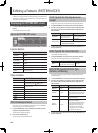
Selecting a Pattern
1. In the RHYTHM PATTERN screen, specify Pattern mode.
2. Use the cursor buttons to move the cursor, and use the
VALUE dial or the [DEC] [INC] buttons to specify the pattern
group and pattern number.
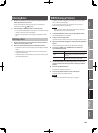
Selecting Drum Sounds (Rhythm Set)
1. In the RHYTHM PATTERN screen, use the cursor buttons to
move the cursor, and use the VALUE dial or the [DEC] [INC]
buttons to specify the Rhythm Set group and Rhythm Set
number.