30
Using Pedals
You can connect a hold pedal (sold separately: DP series) and an
expression pedal (sold separately: EV-5) to the JUNO-Gi.
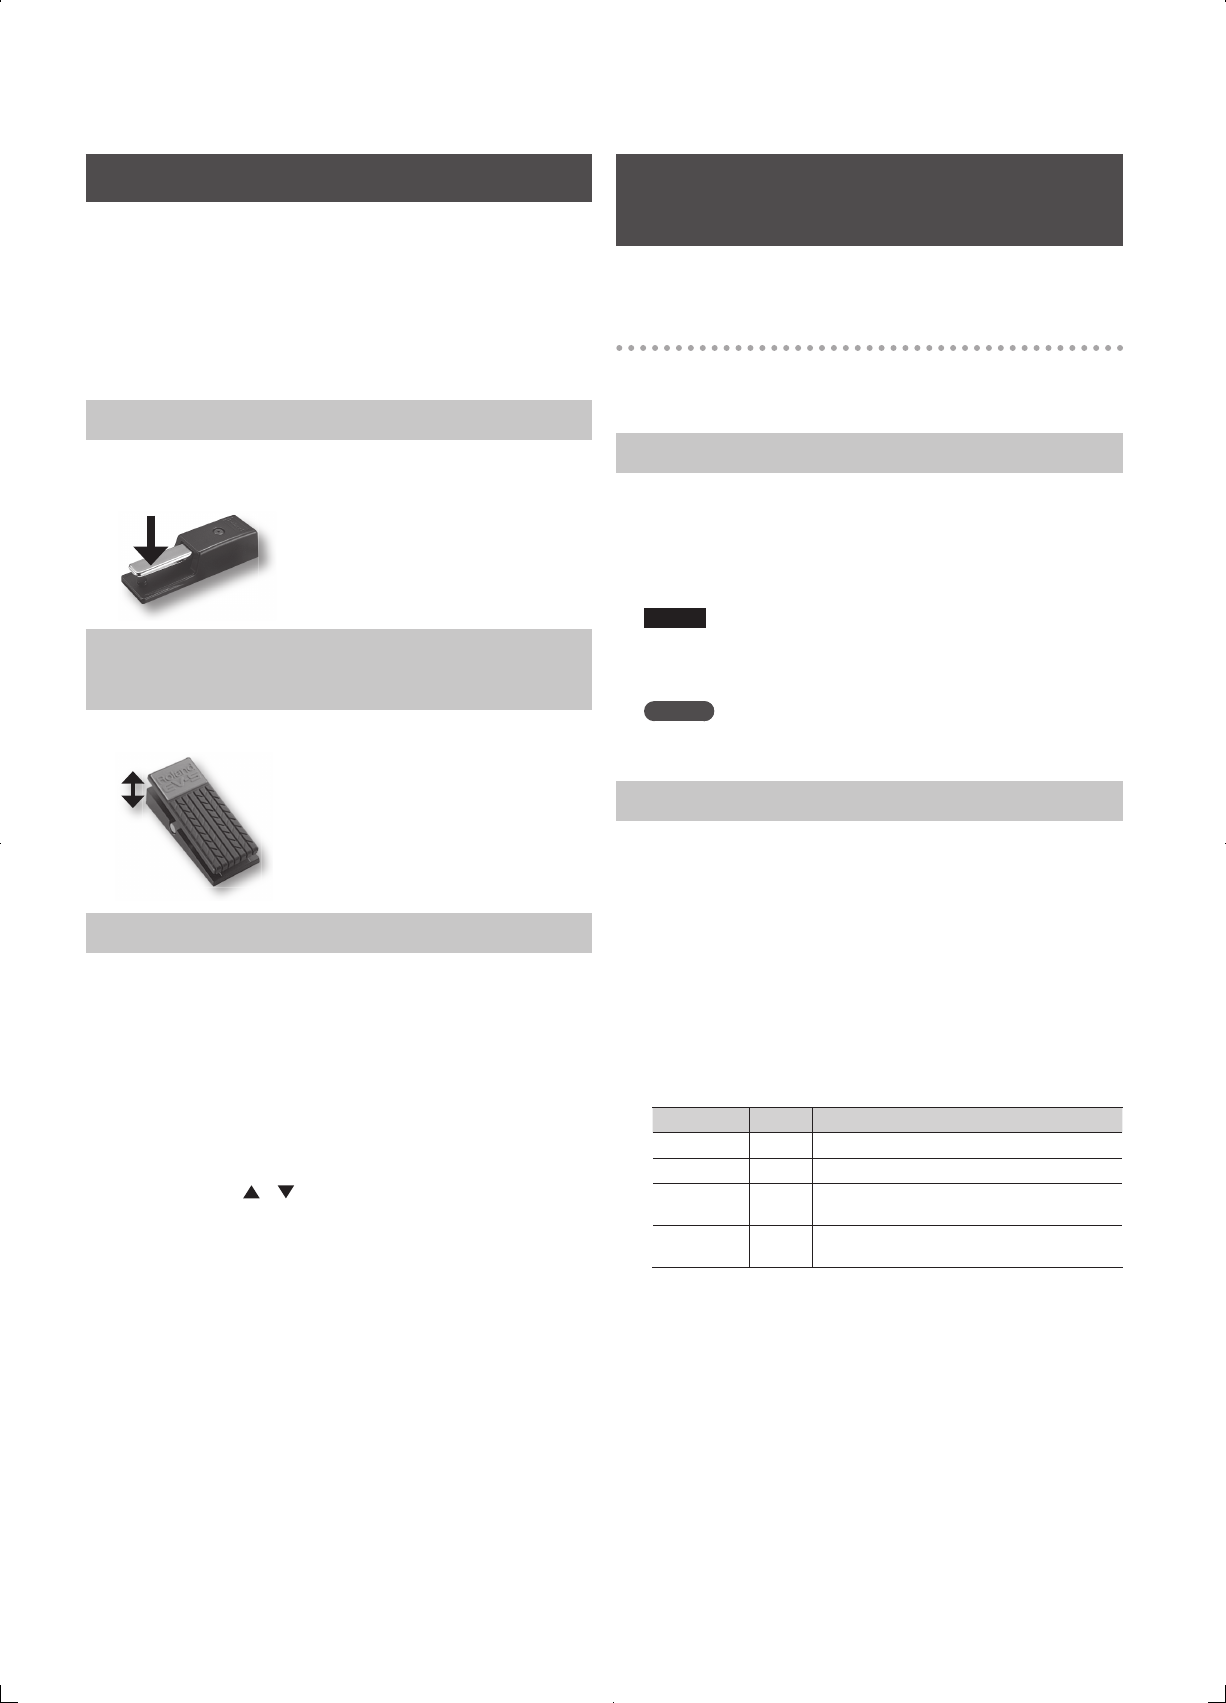
If an optional hold pedal (DP series) is connected to the rear panel
PEDAL HOLD jack, you can press the hold pedal to cause notes to
sustain or “hold” even after their keys have been released.
If an optional expression pedal or pedal switch (EV-5, DP series.) is
connected to the rear panel PEDAL CONTROL jack (1, 2), you can use
the pedal to control the volume or various functions.
Holding Notes ( HOLD Pedal)
While playing the keyboard, press the hold pedal.
The notes will be held while you are pressing the hold pedal.
Adding Expression to Your Performance
( CONTROL Pedal)
While playing the keyboard, raise and lower the expression pedal.
CONTROL Pedal Settings
You can assign various performance-related functions to a pedal that is
connected to the rear panel PEDAL CONTROL jack.
1. Press the [MENU] button.
2. Use the VALUE dial or the cursor buttons to select
“4. System,” and press the [ENTER] button.
The System Menu window will appear.
3. Press the [2] (KBD/CTRL) button.
4. Press the [2] (PEDAL) button.
5. Use the cursor [
] [ ] buttons to select the “Control Pedal
Assign.”
6. Use the VALUE dial or the [DEC] [INC] buttons to select the
desired value.
For details on the values that you can assign, refer to “Control Pedal
Assign” (p. 81).
7. If you want to keep your settings, press the [6] (WRITE)
button.
8. Press the [EXIT] button a number of times to return to the
previous screen.
Performing with a Microphone
( Vocoder)
Connecting a microphone, and adjusting the
Input level
Connect your microphone and adjust the input level as described in
“Connecting the Equipment to Record and Adjusting the Input Level”
(p. 92).
Using the Vocoder
The JUNO-Gi uses MFX to simulate a vocoder.
1. Select “PRESET 621 VOCODER Ens” as the live set.
For details on how to select a live set, refer to “Selecting Live Sets” (p. 22).
2. While you play the keyboard, vocalize into the microphone.
NOTE
The vocoder is applied to the sound from the microphone. There
will be no sound if you only play the keyboard without vocalizing
into the microphone.
MEMO
Even for live sets other than the one listed above, you can apply the
vocoder e ect by selecting “79: VOCODER” as the e ect.
Changing the Vocoder Settings
1. Select “PRESET 621 VOCODER Ens” as the live set.
2. Press the [MENU] button.
3. Use the VALUE dial or the cursor buttons to select
“2. E ect Edit,” and press the [ENTER] button.
4. Press the [2] (MFX) button.
The MFX screen will appear. In this case, “79: VOCODER” will be
selected for MFX.
5. Use the cursor buttons to select the parameter you want to
edit.
6. Use the VALUE dial or [DEC] [INC] to edit the value.
Parameter Value Explanation
Mic Sens 0–127 Adjusts the input sensitivity of the microphone.
Synth Level 0–127 Adjusts the input level of the instrument.
Mic Mix 0–127
Adjusts the amount of sound from the
microphone added to the vocoder’s output.
Level 0–127
Adjusts the volume level of the sound that has
passed through the vocoder.
If you want to keep the edited settings, save the live set as a user live
set. For details, refer to “Saving a Live Set (WRITE)” (p. 35).


