44
You can apply two multi- e ects (MFX1, MFX2), one chorus, and one
reverb to each live set. The two multi-e ects can not only be used
individually but also as a combination of multi-e ects.
Turning E ects On/O (E ect Switch)
The JUNO-Gi’s onboard e ects can be switched on/o as a whole.
Turn these OFF when you want to listen to the unprocessed sound as
you create a sound, or if you want to use an external e ects processor
instead of the built-in e ects.
NOTE
The e ect on/o settings cannot be saved.
1. Press the [MENU] button.
2. Use the VALUE dial or the cursor buttons to select
“2. E ect Edit,” and press the [ENTER] button.
The EFFECT ROUTING screen will appear.
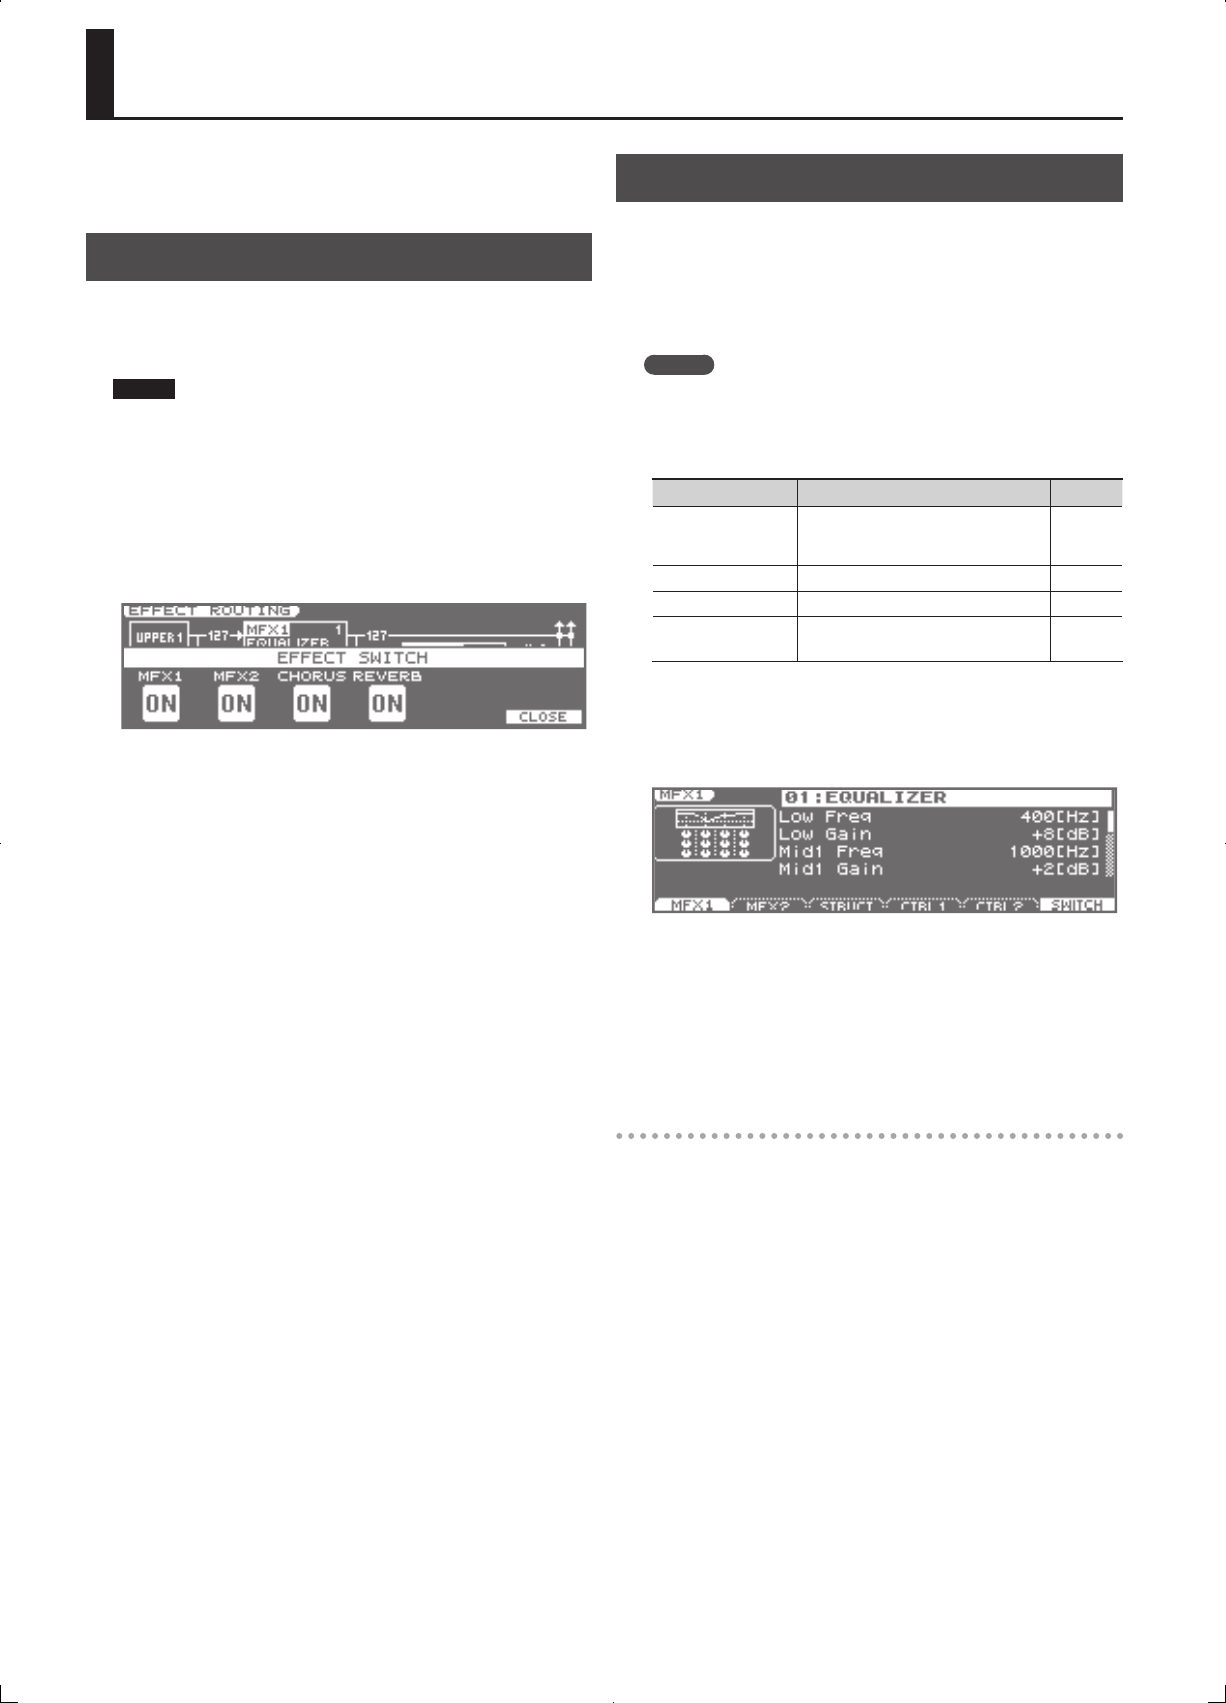
3. Press the [6] (SWITCH) button.
The EFFECT SWITCH window will appear.
4. Press the [1] (MFX 1) Button–[4] (REVERB) buttons to turn
each e ect on/o .
The e ect will turn on/o each time you press the button.
5. To close the setting window, press the [6] (CLOSE) button or
the [EXIT] button.
You will return to the EFFECT ROUTING screen.
Making E ect Settings
1. Select the live set to which you want to apply e ects.
2. Press the [MENU] button.
3. Use the VALUE dial or the cursor buttons to select
“2. E ect Edit,” and press the [ENTER] button.
The EFFECT ROUTING screen will appear.
MEMO
You can turn each layer on/o by holding down the [SHIFT] button
and pressing the [1]–[4] buttons.
4. Press the [2] (MFX)–[4] (REVERB) button to select the e ect
for which you want to make settings.
Button Explanation Page
[1] (ROUTING)
Overall e ect-related settings, such as
the output destination and level of each
signal.
p. 45
[2] (MFX) Multi-e ect settings p. 48
[3] (CHORUS) Chorus settings p. 76
[4] (REVERB) Reverb settings p. 77
5. With the cursor located at the top line of the screen, use the
VALUE dial or the [DEC] [INC] buttons to select the desired
e ect type.
(Example of MFX1 screen)
6. Use the cursor buttons to move the cursor to the parameter
that you want to edit.
7. Use the VALUE dial or the [DEC] [INC] buttons to edit the
value.
8. When you’ve nished editing, press the [EXIT] button a
number of times to return to the LIVE SET PLAY screen.
Saving your e ect settings
Changes you make to the live set’s e ect settings will be lost when
you select another live set. If you want to keep the changes, press the
[WRITE] button to save your live set settings as a User Live Set (p. 35).
Applying E ects ( EFFECT EDIT)


