


Reference [Rhythm]
ZOOM HD8/HD16
106
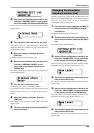
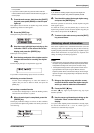
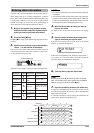
4. Turn the dial to specify the note name (C – B)
that will be the root of the chord.
The following screen shows an example of changing the chord
root to A.
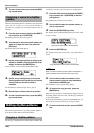
5. To specify the chord type, press the cursor
down key once to bring up the indication
“Chord” on the first line of the display.
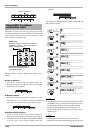
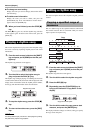
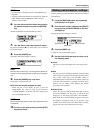
6. Turn the dial to select the chord type.
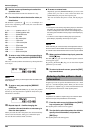
You can choose from the following chord types.
The following screen shows an example of when the chord
type has been changed to “M7”.
By pressing the PLAY [R] key in this condition, you can
check the rhythm pattern with the new chord information.
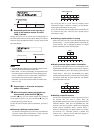
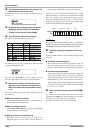
7. Move to the location at which you want to
input the next chord data, and input chord
data in the same way as described in steps
3 – 6.
You can move the input location within a rhythm song in the
following ways.
●
Moving in steps of a measure
Use the cursor left/right keys to move to the beginning of
the preceding or following measure.
●
Moving in steps of a beat
Use the REW [T]/FF [Y] keys to move to the beginning
of the preceding or following beat.
●
Moving in steps of a sixteenth note
Repeatedly press the cursor up key to bring up the
indication “Event→” on the display, and turn the dial to
move forward or backward in 12-tick (16th note) units.
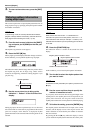
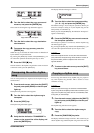
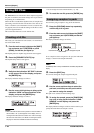
If necessary, you can also input chord information at a point
within a measure, as shown below (smallest unit: sixteenth
note). For example, to enter chord information in sixteenth
note units, bring up the indication “Event→” on the first line of
the display, turn the dial to move current point, and then bring
up the chord information input screen again.
HINT
At a point where no chord information is input, “←” is shown to
the left of the “Root” or “Chord” indication. This means that the
immediately preceding information continues to be valid.
8. Input the remaining chord data in the same
way.
If you have made a mistake or want to make a change, proceed
as follows.
●
To change chord information
Move to the location at which the chord data is input, use
the cursor up/down keys to switch the display to “Root” or
“Chord”, and turn the dial to change the chord information.
●
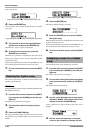
To erase chord information
Move to the location at which the chord data is input, and
use the cursor up/down keys to bring up the indication
chord information that you want to erase. Then press the
[FUNCTION] key twice. The indication “Event Erase”
appears. When you press the [ENTER] key, the chord data
(root and chord) will be erased, and the display will change
to “← Root” or “← Chord”.
9. When you have finished, press the STOP [P]
key.
The unit returns to the rhythm song selection screen. By
pressing the PLAY [R] key in this condition, you can check
the rhythm song with the new chord information.
To return to the main screen, press the [EXIT] key.
Root
Root
A -----
A -----
No conversion
Display Description Display Description
Chord
Chord
A M7
A M7
Measure
Beat
1 2341234
1
Em
3
Em
2
Am
4
AmB7
PATTERN A
1 234123
4
PATTERN B