Reference [Track Editing]
ZOOM HD8/HD16
62
[ENTER] key once more.
When the erase operation is completed, the unit returns to the
V-take selection screen.
By pressing the [EXIT] key instead of the [ENTER] key, you
can cancel the operation and back up one step at a time.
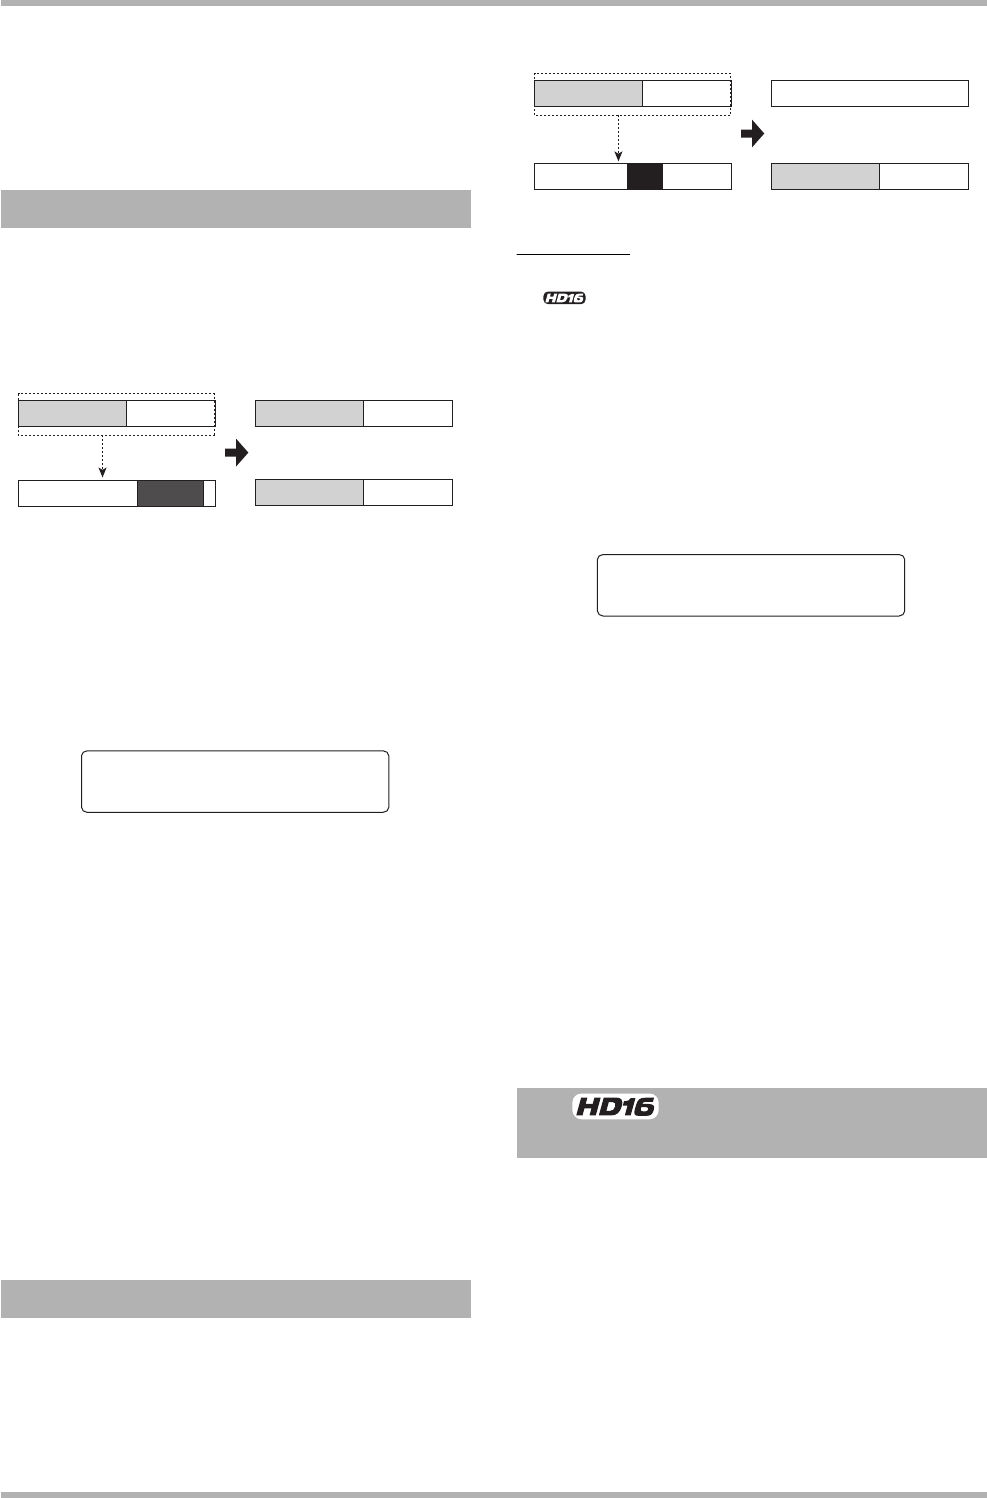
You can copy the audio data of a specified V-take to any other
V-take. This action will overwrite any existing data on the
destination V-take. The data on the copy source V-take will be
unchanged.
1. Refer to steps 1 – 6 of “Basic steps for V-take
editing” to select the track/V-take to copy
and bring up the indication “COPY V-TAKE”
on the display. Then press the [ENTER] key.
A screen for selecting the copy destination track/V-take
appears on the display.
2. Use the cursor left/right keys, status keys,
and the dial to select the track/V-take to use
as copy destination, and press the [ENTER]
key.
The indication “Copy?” appears on the display. If audio data
exist at the copy destination, the indication “Overwrite?” is
shown. When the copy operation is performed, these data will
be overwritten.
3. To execute the copy operation, press the
[ENTER] key once more.
When the copy operation is completed, the unit returns to the
V-take selection menu.
By pressing the [EXIT] key instead of the [ENTER] key, you
can cancel the operation and back up one step at a time.
You can move the audio data of a specified V-take to any other
V-take. This action will overwrite any existing data on the
destination V-take. The data on the move source V-take will be
erased.
HINT
<< only>> You can also move all currently selected V-takes
for tracks 1 - 8 to tracks 9 - 16 in a single operation.
1. Refer to steps 1 – 6 of “Basic steps for V-take
editing” to select the track/V-take to move
and bring up the indication “MOVE V-TAKE”
on the display. Then press the [ENTER] key.
A screen for selecting the move destination track/V-take
appears on the display.
2. Use the cursor left/right keys, status keys,
and the dial to select the track/V-take to use
as move destination, and press the [ENTER]
key.
The indication “Move?” appears on the display. If audio data
exist at the move destination, the indication “Overwrite?” is
shown. When the move operation is performed, these data will
be overwritten.
3. To execute the move operation, press the
[ENTER] key once more.
When the move operation is completed, the unit returns to the
V-take selection menu.
By pressing the [EXIT] key instead of the [ENTER] key, you
can cancel the operation and back up one step at a time.
You can move the contents of the selected V-takes for tracks 1 –
8 to tracks 9 – 16 in a single operation. This action will
overwrite any existing data on the destination V-takes. The data
on the move source V-takes will be erased. This function is
convenient to move V-takes recorded with the 8-track recording
function to tracks 9 – 16, to create room for recording more
instruments.
1. Refer to steps 1 – 6 of “Basic steps for V-take
editing” and bring up the indication “MOVE V-
TAKE” on the display.
Copying a V-take
Moving a V-take
Copy source track
Copy destination track
Copy
Copy to
Track3-1
<< only>> Moving V-takes
of tracks 1 – 8 to tracks 9 – 16
Move source track
Move destination track
Move
Move to
Track3-1


