Reference [Rhythm]
ZOOM HD8/HD16
112
The HD8/HD16 stores information about samples assigned to
the pads of a drum kit, and about settings such as pad volume
and panning in so-called kit files.
When a kit file is loaded in the rhythm section, all samples and
pad settings stored in the file will become active and can be
used as a drum kit. (For information on how to load kit files,
see page 89.) You can also edit the settings in a kit file to create
your own original drum kit.
This section describes how to work with kit files.
The create your own drum kit from scratch, it is convenient to
start with a blank kit file.
1. From the main screen, hold down the [SHIFT]
key and press pad 7 (PATTERN) or pad 8
(SONG), so that the pad lights up.
The rhythm pattern or rhythm song selection screen appears.
2. Press the [PROJECT/UTILITY] key.
The rhythm utility menu screen appears.
3. Verify that the indication “KIT FILE” is shown
on the second line of the display, and press
the [ENTER] key.
The display indication changes as follows.
4. Use the cursor left/right keys to bring up the
indication “NEW” on the second line of the
display, and press the [ENTER] key.
The display indication changes as follows.
NOTE
• When a file with the same name is present in the same folder on
the hard disk, a “✽” symbol appears on the display. This is a
warning that the file cannot be created. You must first change
the name from this screen. (For details on entering characters,
see page 37. Note that available characters are limited.)
•You can change the name of the kit file later (→ p. 116).
5. To create the new file, press the [ENTER] key.
You can freely assign samples to any pad in the drum kit.
1. Press the [RHYTHM] status key repeatedly,
until the key is lit in green.
2. From the main screen, hold down the [SHIFT]
key and press pad 9 (KIT/PROG) so that the
pad lights up.
The display indication changes as follows.
If no sample has been assigned to the pad, the indication
“Empty” is shown in the sample name field.
HINT
Immediately after a newly created kit file is loaded, all pads are
empty.
3. Press the [EDIT] key.
You can now change the sample assigned to the pad.
4. Use the cursor up/down keys to select the
pad bank, and then press the pad to which
you want to assign the sample.
This pad is now selected for the following steps.
5. To assign the sample, press the [FUNCTION]
key once to bring up the indication “LOAD
SAMPLE” on the display, and press the
[ENTER] key.
The display indication changes as follows. This screen lets you
specify the folder where the sample is stored.
Using Kit Files
Creating a kit file
RHY UTILITY 1/9
>KIT FILE
KIT FILE 1/6
>LOAD
Create Kit File
SMPL0000.ZSP
Assigning samples to pads
ANALOG
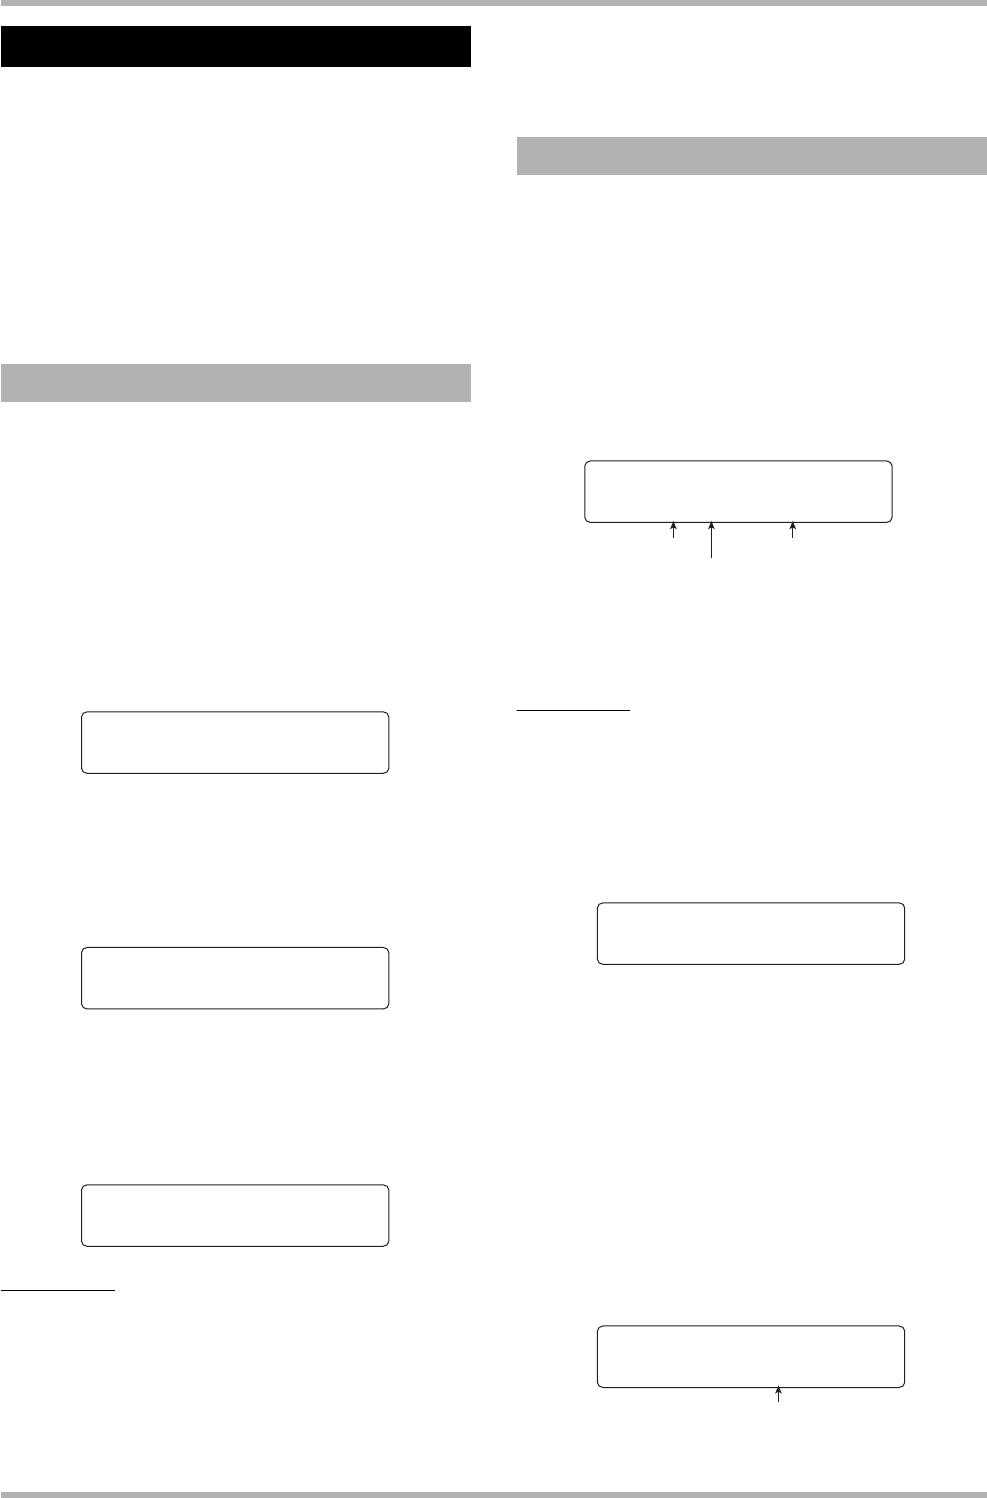
PAD:1-1 Empty
Sample assigned to padPad bank number
Pad number
PAD:1-1
Sample:LONGKICK
Folder name
Sample Select
Folder:0USER


