


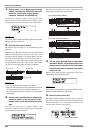
Reference [Track Editing]
ZOOM HD8/HD16
59
HINT
When playing the harmony, the drum/bass track will also be
played. Use the faders as required to adjust the level.
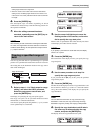
12
. When recording has progressed to the point
where you want harmony generation to stop,
press the STOP [P] key.
The indication “Harmonize?” appears on the second line of the
display.
13
. To carry out harmony generation, press the
[ENTER] key.
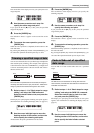
The audio data of the specified range are written. When the
process is complete, the unit returns to the track edit menu.
By pressing the [EXIT] key instead of the [ENTER] key, you
can cancel the operation and back up one step at a time.
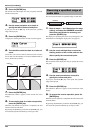
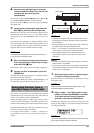
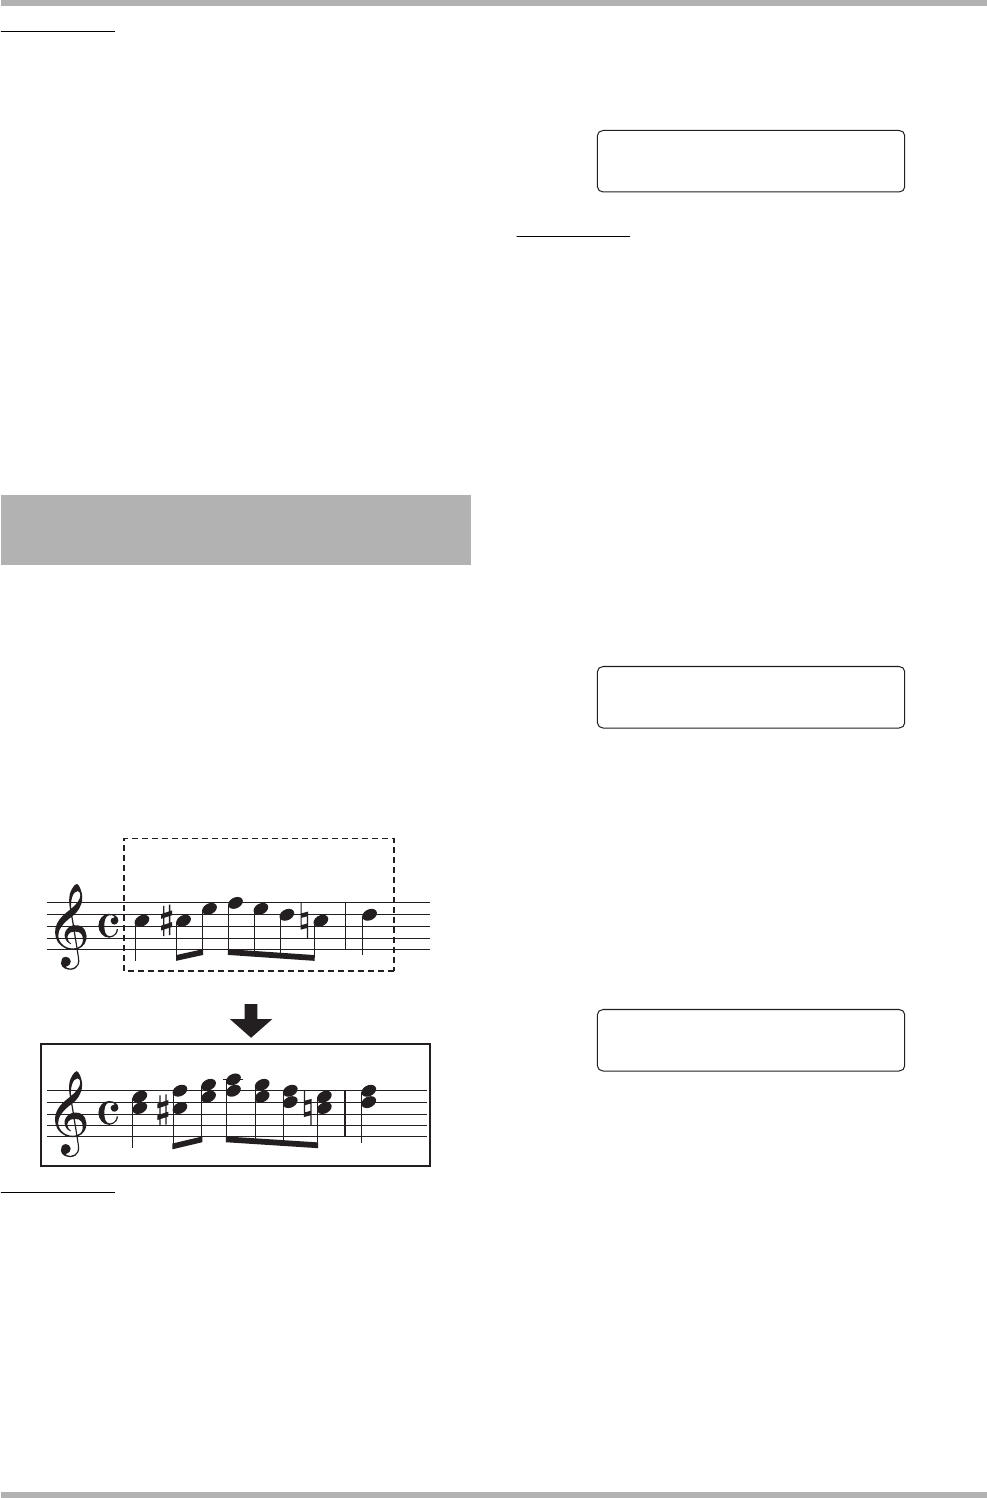
You can specify a Key and Scale and shift the pitch of the audio
data by a third up or down to create a 1-part harmony. This is
called the Duo Harmony function.
The pitch-shifted audio data can be either added to the source
material or written to another track/V-take.
For example, when Key = C and Scale = Major is specified,
and shift upwards is selected for the Duo Harmony function,
the following harmony will be created.
NOTE
For the Duo Harmony function to work properly, the audio data
should represent single notes recorded without applying delay,
reverb, chorus, or other effects.
1. Refer to steps 1 – 6 of “Basic steps for range
editing” and select the DUO HARMONY
command. Select the track/V-take for time
stretch/compress, and press the [ENTER]
key.
The indication “Duo Harmony Dst” appears on the first line of
the display. In this condition, you can select the target
destination for writing the created harmony.
NOTE
You can only select a single mono track or one track of a stereo
pair as source track for Duo Harmony.
2. Use the cursor left/right keys or the status
keys to select the target track, and use the
dial to select the V-take number.
If you specify the same track/V-take as the source, the harmony
data will be added to the original data and the V-take will be
overwritten. You can also specify a stereo track or two mono
tracks as destination.
3. Press the [ENTER] key.
The display indication changes as follows. From this screen,
you can set the key to be used as reference for the harmony.
4. Turn the dial to select the key.
The setting range is C – B (in semitone steps).
5. Use the cursor left/right keys to bring up the
indication “Scale” on the second line of the
display. Then turn the dial to select the scale
type and the pitch shift direction. The
following settings are available.
● Major Up
Create harmony a major third up
●
Minor Up
Create harmony a minor third up
●
Major Down
Create harmony a major third down
●
Minor Down
Create harmony a minor third down
6. Use the cursor left/right keys to bring up the
indication “Feeling” on the display. Then turn
the dial to select the speed with which the
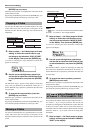
Generating a 1-part harmony from
a specified range of audio data
Source track
Write target track
Key/Scale = C Major
Shift direction: up
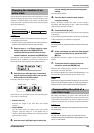
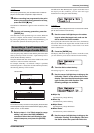
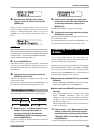
Duo Harmony
Duo Harmony Dst
Duo Harmony Dst
Track1-1
Track1-1
Duo Harmony
Duo Harmony
Key=C
Key=C
Duo Harmony
Duo Harmony
Scale=Major Up
Scale=Major Up