


Reference [Creating a CD]
ZOOM HD8/HD16
146
By pressing the [EXIT] key instead of the [ENTER] key, you
can cancel the operation and back up one step at a time.
7. To return to the main screen, press the [EXIT]
key several times.
This section explains how you can use the CD-R/RW drive in
the HD8/HD16 to back up a project to a CD-R/RW disc and
how to restore a project from a disc backup.
You can either create backups for individual projects or save all
projects in a common operation.
You can select any project and save it on a CD-R/RW disc for
backup.
HINT
If the size of the project is larger than the capacity of the CD-R/
RW disc, you can create a backup spanning multiple volumes.
1. Insert a CD-R/RW disc into the integrated
CD-R/RW drive.
To back up a project, use a blank CD-R/RW disc or a CD-RW
disc that has been completely erased.
2. From the main screen, hold down the [SHIFT]
key and press pad 1 (CD-R/RW).
The menu for various CD-R/RW functions appears.
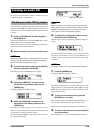
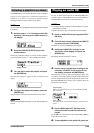
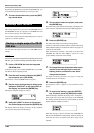
3. Use the cursor left/right keys to bring up the
indication “BACK UP” on the second line of
the display, and press the [ENTER] key.
The display indication changes as follows.
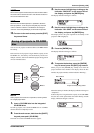
4. Verify that “SAVE” is shown on the second
line of the display, and press the [ENTER] key.
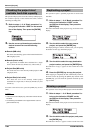
The display indication changes as follows. In this condition,
you can select the project to be backed up.
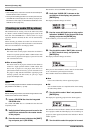
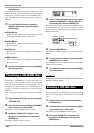
5. Turn the dial to select the project, and press
the [ENTER] key.
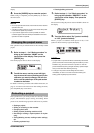
This selects the project that will be backed up. The display now
shows the space required for the backup in MB (megabytes).
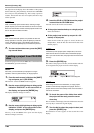
6. Press the [ENTER] key.
The name of the folder to be used for backup appears.
A folder is a hierarchical unit that will be created on the backup
media when the backup is executed. All data for one project are
stored in the same folder.
When the backup is executed, a new folder is created on the
CD-R/RW disc with the name “PRJxxx” (where xxx is the
project number). This name can be edited.
7. To change the store destination folder name,
use the cursor left/right keys to move the
flashing section, and then turn the dial to
change the character.
For details on entering characters, see page 37. (Note that
available characters are limited.)
8. Press the [ENTER] key.
The indication “Save?” appears on the second line of the
display.
9. To execute the backup, press the [ENTER]
key. To cancel, press the [EXIT] key instead.
When the backup is finished, the display shows “Complete!”.
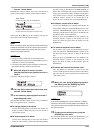
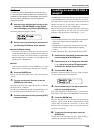
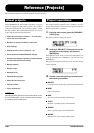
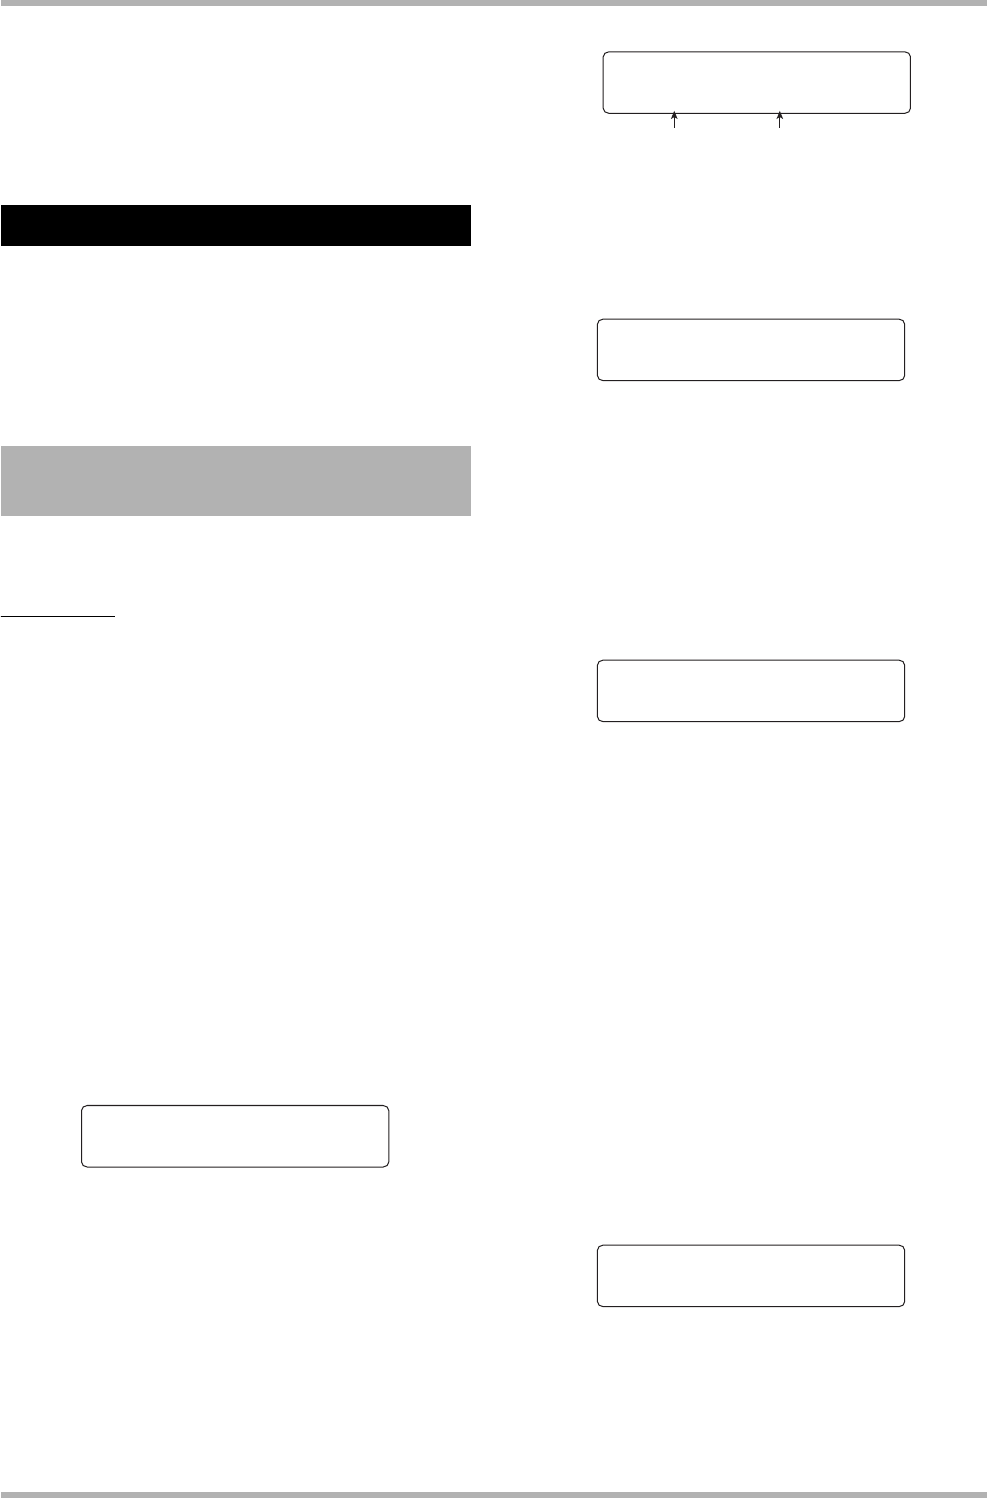
If the project size is larger than the capacity of one CD-R/RW
disc, the disc will be ejected after it has been filled up, and the
display indication changes as follows.
When this message is shown, insert the next CD-R/RW disc
and press the [ENTER] key. The backup operation resumes. If
more than two discs are required, the above steps will be
repeated.
Backup and restore
Saving a single project to CD-R/
RW disc
BACK UP 1/4
BACK UP 1/4
>SAVE
>SAVE
Save
Save
No.1:PRJ001
No.1:PRJ001
Project nameProject number
Project Size
Project Size
175MB
175MB
Folder Name
Folder Name
PRJ001
PRJ001
Insert
Insert
Disc2
Disc2