Reference [Creating a CD]
ZOOM HD8/HD16
142
When the write process is completed, the disc is ejected
automatically, and the message “Next?” appears on the
display. To write another disc with the same content, insert a
blank CD-R/RW disc or a CD-RW disc which has been
completely erased, and press the [ENTER] key.
To terminate the process, press the [EXIT] key.
14
. To return to the main screen, press the [EXIT]
key several times.
When you create an audio CD using the disc-at-once method,
marker information included in the project can be used to
generate PQ subcode information (specifying track start/stop
position and other items) to split up a single project into
multiple tracks. Marker-based track separation can be enabled
or disabled for each project. For example, when a project
contains a number of songs that were recorded live, you can set
a mark at the beginning of each song, so that these will be
recorded as different tracks on the CD. This will enable easy
searching and jumping between tracks.
NOTE
To use the marker-based track separation function, at least two
marks (including the project start mark 00) must be set.
1. Load the project that you want to split into
multiple tracks, and set marks at the points
where the tracks should be separated.
Marker-based track separation can only be enabled or disabled
for the entire project. Delete any unnecessary marks
beforehand.
2. Perform steps 1 – 7 of “Creating an audio CD
by album”, select the disc-at-once (DAO)
write method, and bring up the album screen.
3. Use the cursor left/right keys and the dial to
register projects for the album.
4. Use the cursor left/right keys to select a
project that is to be divided into multiple
tracks.
5. Press the [MARK] key in the control section.
Marks contained in this project will be used as PQ subcodes.
The indication “PQ” and a marker icon appear on the second
line of the display. By pressing the [MARK] key again, you
can return to the previous condition. The marker enable/
disable selection can be made at any time while the album
screen is shown.
If the mark function is enabled for the project registered as
track 1 of the audio CD, the following indication appears.
When you divide a project, the number of tracks on the album
will increase, and tracks corresponding to subsequent projects
will be renumbered.
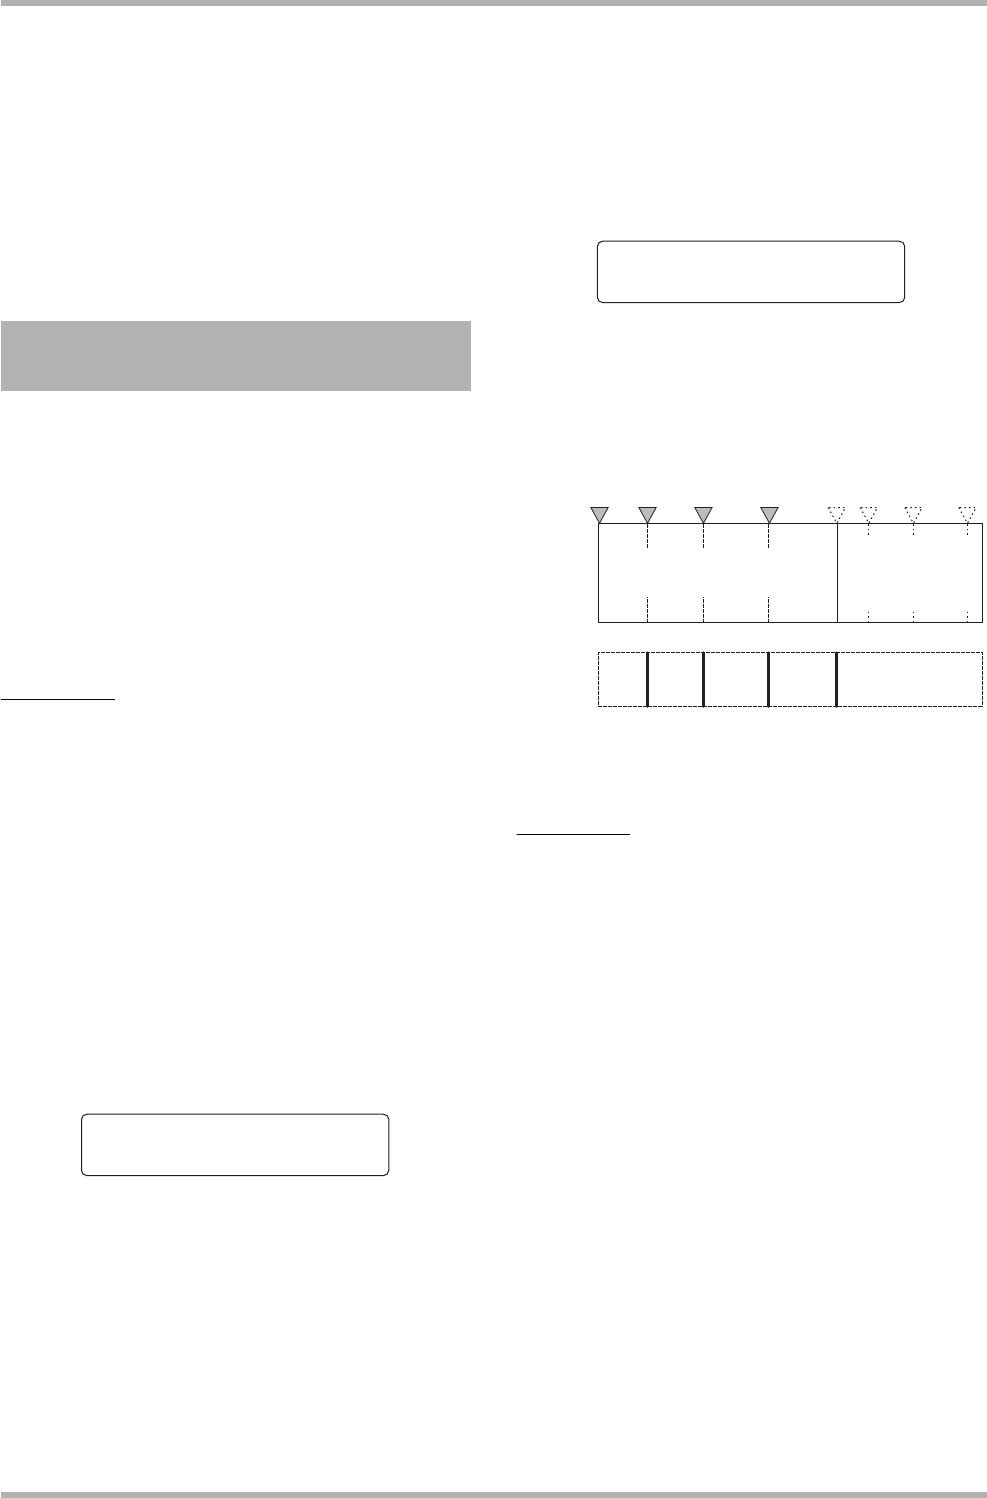
For example, if four marks are set for the project, the tracks on
the audio CD will be allocated as follows.
The subsequent steps for creating the audio CD are as
described in the previous section.
NOTE
• If the tracks have not been separated as expected, press the
[EXIT] key repeatedly to return to the main screen, and check
whether marker information has been created properly for the
project.
• If marks are too close together, the indication “ERROR Track is
Short” appears on the display, and marker-based separation
cannot be enabled for that project.
• The maximum number of tracks per album is 99. If you attempt
to enable marker-based separation for a project and this causes
the number of tracks to exceed 99, the indication “ERROR Too
Many Tracks” appears, and marker-based separation cannot be
enabled.
Using the marker function to
separate tracks
Track1
Track1
End of Album
End of Album
Track1
Track1
No.1:PRJ001
No.1:PRJ001
Ó
A
udio CD
track
numbers
Project 1 (marker-based
separation enabled)
Project 2
(marker-based
separation
disabled)
Track 1 Track 2 Track 3 Track 4 Track 5


