


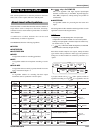

Reference [Rhythm]
ZOOM HD8/HD16
122
● CD-ROM
Import an audio file (WAV/AIFF) from a CD-ROM/R/RW
disc inserted in the CD-R/RW drive.
To import a sample from a CD-ROM/R/RW disc, insert it
into the CD-R/RW drive.
The subsequent steps will differ, depending on the type of
source. See the following sections for the respective
commands.
When the import process is completed, the sample selection
screen appears again. This lets you easily import further
samples.
To return to the main screen, press the [EXIT] key several
times.
1. Perform steps 1 – 5 of “Importing a sample
from an external source” and select the
“TAKE” parameter. Then press the [ENTER]
key.
The indication “Trackxx-yy” (where xx is the track number
and yy the V-take number) appears on the second line of the
display. This indicates the source track/V-take.
2. Use the cursor left/right keys or the status
keys to select the track number, and turn the
dial to select the V-take number.
When track 8 of the HD8 or track 16 of the HD16 is selected,
turning the dial further to the right selects tracks in odd-
numbered/even-numbered pairs or the master track. (By
pressing two adjacent odd-numbered/even-numbered status
keys together, you can select two mono tracks.) When a stereo
track, two mono tracks, or the master track is selected, a stereo
sample can be imported.
HINT
Pressing the status key for a stereo track repeatedly selects the
odd-numbered track, even-numbered track, and stereo track in
sequence.
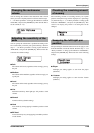
3. Press the [ENTER] key.
A display showing the import start point appears.
HINT
You can use the cursor up/down keys to toggle the counter
indication between measures/beats/ticks and minutes/
seconds/milliseconds.
4. Use the cursor left/right keys to move the
flashing section, and turn the dial specify the
start point.
HINT
• By holding down the STOP [P] key and pressing the PLAY [R]
key, you can perform scrub playback of the V-take of the
specified track (→ p. 40).
• The playback range of the sample can be fine-tuned also after
importing. Therefore it suffices if you make a rough selection
here.
• If you specify a point where there are no audio data, the second
line of the display shows “✽”.
5. Press the [ENTER] key.
The import end point is shown on the second line of the
display.
6. Specify the end point using the same
procedure as in step 4.
When you press the PLAY [R] key at this point, the specified
range is played.
7. To complete the import source selection,
press the [ENTER] key.
The display indication changes as follows.
HINT
• When a sample with the same name is present in the same folder
on the hard disk, a “✽” symbol appears on the display. This is a
warning that the file cannot be created. You must first change
the name from this screen. (For details on entering characters,
see page 37. Note that available characters are limited.)
•You can change the name of the sample later (→ p. 119).
8. To execute the import process, press the
[ENTER] key once more.
When the process is complete, the sample selection screen
appears again.
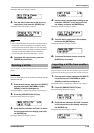
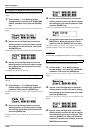
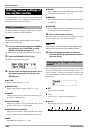
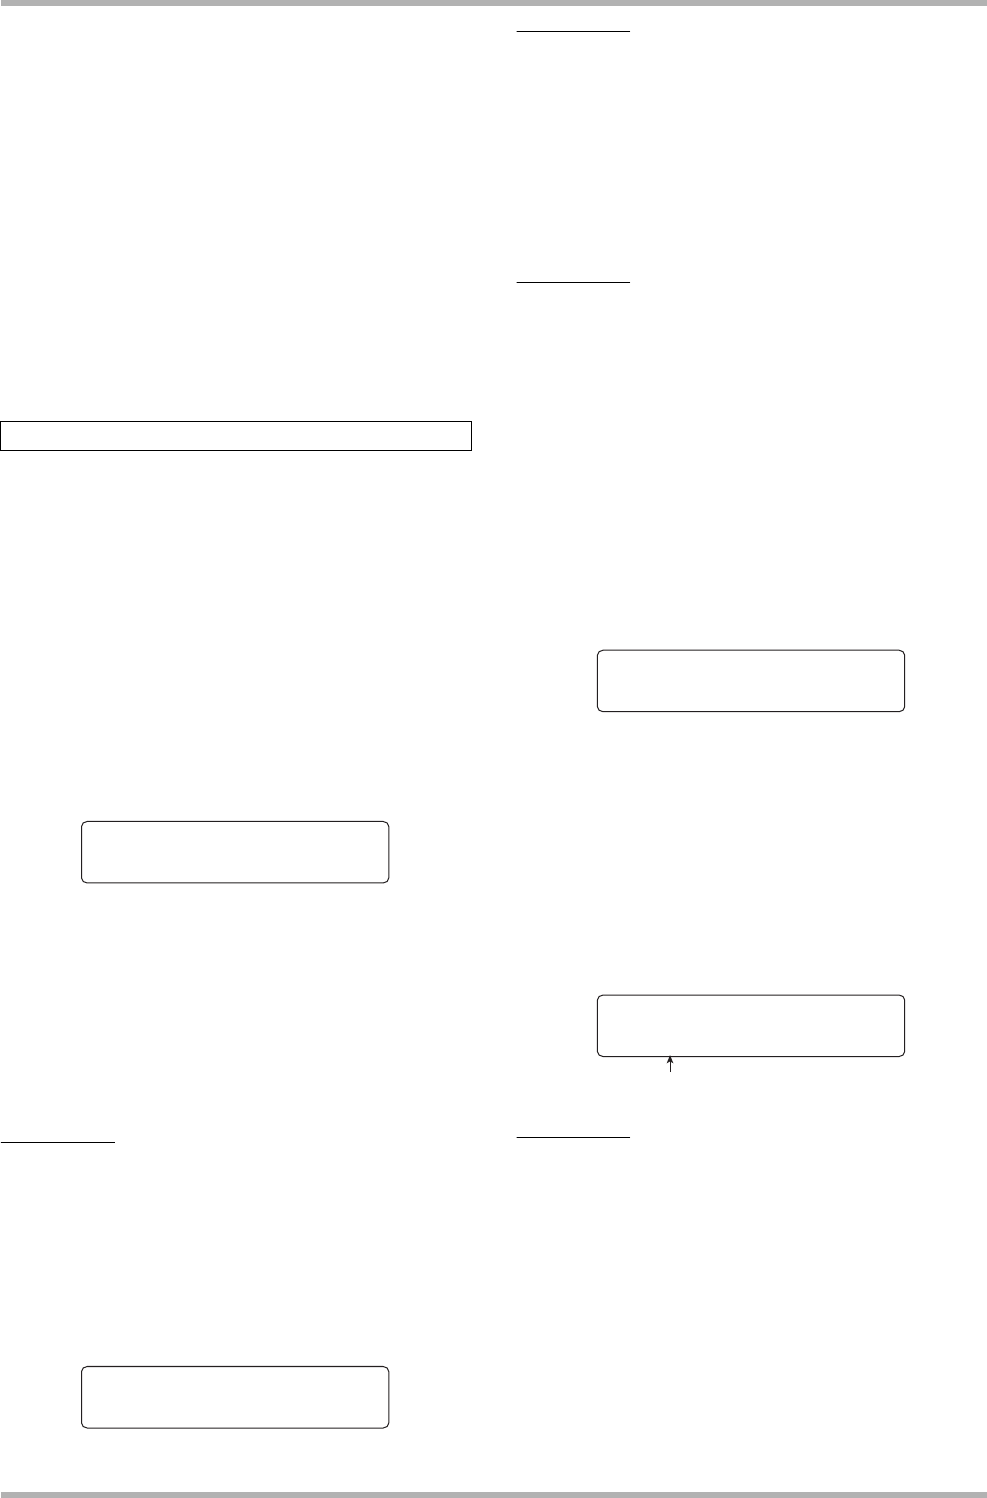
Importing a V-take
Import Source
Import Source
Track1-1
Track1-1
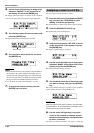
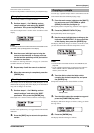
Start 000:00:000
Start 000:00:000
Start 000:00:000
Start 000:00:000
End 000:00:000
End 000:00:000
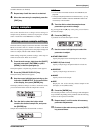
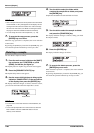
Sample name
Create Sample
Create Sample
*LONGKICK.SP
*LONGKICK.SP