


Reference [Creating a CD]
ZOOM HD8/HD16
145
HINT
A CD-RW disc can also be erased from the backup menu (→
p. 146). Bring up the indication “BACK UP” on the first line of
the display and the indication “CD-RW ERASE” on the second
line. Then press the [ENTER] key. The following steps for
erasing are the same.
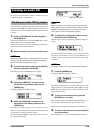
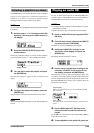
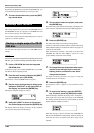
4. Use the cursor left/right keys to bring up the
indication “CD-RW ERASE” on the second
line of the display, and press the [ENTER] key.
The display indication changes as follows.
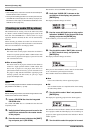
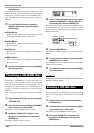
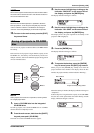
5. Use the cursor up/down keys to select one of
the following CD-RW disc erase methods.
● Normal (Default setting)
Information from all areas of the disc is erased. This takes
longer than the QUICK erase operation, but all contents of
the disc are reliably erased. This method is recommended.
(Required time is max. 74 minutes for a 650 MB disc and
80 minutes for a 700 MB disc.)
●
Quick
Only the track information on the CD-RW disc is erased.
This requires less time than the “Normal” erase operation.
6. Press the [ENTER] key.
The second line of the display now shows the indication
“Erase?”.
7. To carry out the erase process, press the
[ENTER] key once more.
The erasing operation starts. When the operation is finished,
the display shows “Complete!”.
By pressing the [EXIT] key instead of the [ENTER] key, you
can cancel the operation and back up one step at a time.
8. To return to the main screen, press the [EXIT]
key several times.
The HD8/HD16 can read audio data from an audio CD inserted
in the CD-R/RW drive and record these data on any track/V-
take of the internal recorder. The data can then be played and
edited in the same way as other tracks. This is convenient to
use drum or guitar phrases from a sampling CD.
Data can be read only as entire audio CD tracks. Specifying a
range is not possible. To use only a part of a track, perform
trimming of unwanted portions after loading (→ p. 53).
NOTE
• The audio data are written to the currently selected V-take of the
target track. If required, select the appropriate V-take
beforehand.
• Material subject to copyright (CD, analog record, tape, video,
broadcast, etc.) is subject to legal restrictions regarding
copying.
• Mixed-mode CDs or copy-controlled CDs cannot be loaded.
1. Insert the disc from which to load audio data
into the integrated CD-R/RW drive.
2. Perform steps 2 – 5 of “Playing an audio CD”
(→ p. 143) to bring up the CD player screen
and select the desired track of the CD.
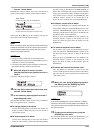
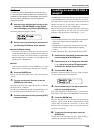
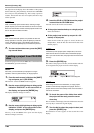
3. Press the REC [O] key.
The display indication changes as follows. In this condition,
you can select the target for the audio data.
4. Use the status keys or the dial to select the
track for recording the data.
Only odd-numbered/even-numbered pairs of mono tracks,
stereo tracks, or the master track (MASTER) can be selected.
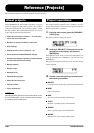
5. Press the [ENTER] key.
The recording destination is selected, and the indication
“Import?” appears on the display. When the track already
contains data, the indication “Overwrite?” is shown. This
indicates that existing data will be overwritten when the
operation is carried out.
6. To carry out the read process, press the
[ENTER] key.
Loading data from the audio CD starts. When loading is
complete, the unit returns to the CD player screen.
CD-RW Erase
CD-RW Erase
Normal
Normal
Loading an audio CD into a
project
Import to
Import to
Track1/2
Track1/2