Reference [Track Editing]
ZOOM HD8/HD16
51
editing target will also be a single track.
• When two tracks or the master track have been selected as
editing source, the editing target will also be two tracks or the
master track. The currently selected V-take for each track will be
the target.
6. Press the [ENTER] key.
The subsequent steps will differ, depending on which
command was selected in step 4. See the following sections for
the respective commands.
7. When the editing command has been
executed, repeatedly press the [EXIT] key to
return to the main screen.
NOTE
After executing an edit command for rewriting the audio data
on a track, the original data cannot be restored. To retain the
condition before editing, use the capture and swap functions
(
→ p. 65) for that track.
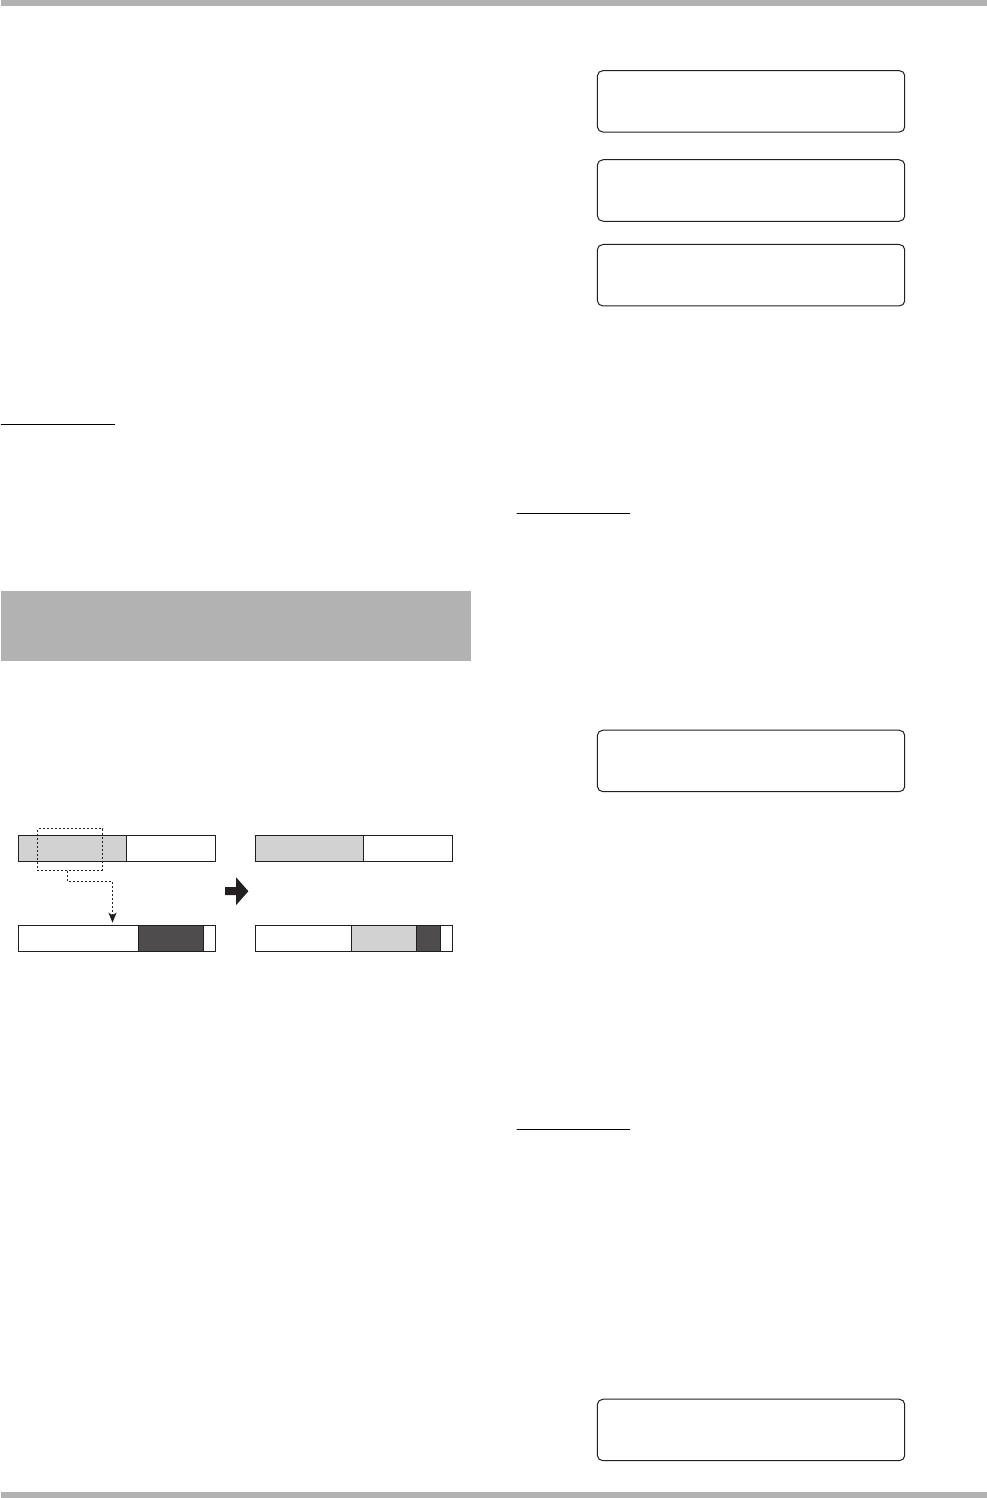
You can copy the audio data of a specified range to a specified
position on a specified track/V-take. This action will overwrite
the existing data at the destination location. The copy source
data will be unchanged.
1. Refer to steps 1 – 6 of “Basic steps for range
editing” and select the COPY command.
Select the copy source track/V-take, and
press the [ENTER] key.
The display for specifying the copy start point appears.
The range start point can be specified minutes/seconds/
milliseconds, or in measures/beats/ticks.
You can also specify the point using markers (
→ p. 47). Use the
cursor up/down keys to switch units.
2. Use the cursor left/right keys to move the
flashing section of the counter, and turn the
dial to specify the copy start point.
When a value is specified, the other units currently not shown
on the display also reflect the new location.
NOTE
If you specify a point where no audio data exist, the display
shows a “✽” symbol.
3. Press the [ENTER] key.
The second line of the display now lets you specify the copy
range end point.
4. Use the same procedure as in step 2 to
specify the copy range end point.
If you press the PLAY [R] key at this point, the specified
range will be played.
5. Press the [ENTER] key.
The first line of the display now shows “Copy Destination” and
the second line “Trackxx-yy” (where xx is the track number
and yy the V-take number). This display lets you specify the
copy destination.
HINT
You can select the same track as copy source and copy
destination. In this case, the copy source range and copy
destination range may overlap, but copying is still possible.
6. Specify the copy destination track/V-take in
the same way as when selecting the copy
source, and press the [ENTER] key.
The display shows the copy destination start point.
Copying a specified range of
data
Copy source track
Copy target track
Copy
Start 000:00:000
Start 001-01-00
Start
Ó00
Minutes/seconds/milliseconds
Measures/beats/ticks
Marker position
Start 000:00:000
End 003:15:000
Copy Destination
To 003:15:000
