140
Editing Songs
3. Use or to select the desired function, and press [8
(Select)].
A message like the following appears, prompting you to specify
the region that is to be affected by the track editing operation.
fig.11-12_50
4. Specify the region that you want to edit. Use [CURSOR] to
move the cursor to the measure of the track or pattern that
you want to edit. If you want to specify all tracks, press [7
(TrkAll)]. To specify a range of measures, hold down [SHIFT]
and press .
The region you specify here will be reflected in the editing
region setting in the window of the track edit function.
5. Once you’ve specified the region you intend to edit, press [8
(Select)].
A window with settings for the desired function appears. Verify
that the object of editing is as you specified earlier, and make
changes here if necessary.
6. Set the parameters for each function. Use [CURSOR] to
move the cursor to the desired parameter, and turn the
VALUE dial or press [INC]/[DEC] to set the value.
For details on the setting windows of each track editing function,
refer to the following explanations of each function.
7. Press [8 (Execute)] to execute the operation.
When the operation is completed, the display will briefly
indicate “Complete !”
• If you decide not to execute the operation, press [EXIT].
• If you are not satisfied with the results of executing the function,
you can press [MENU], and from the Menu window that
appears, select “Undo Track Edit” to return to the state prior to
executing the operation (Undo).
8. If you want to save the edited result, press [2 (Save)] to save
the song to disk (p. 135).
Aligning a Song’s Timing (Quantize)
In the chapter “Recording Songs” (p. 127), we explained
Recording Quantize, which lets you quantize during realtime
recording. Alternatively, it is also possible to quantize a song that
has already been recorded.
The Fantom has a Preview function that allows playing back the
results of a Quantize operation while you are still setting parameters
(before actual execution). This helps to make optimal Quantize
settings.
The Quantize operation will correct only the timing at which
notes were pressed (note-on) and released (note-off), and will
not correct any other sequencer data. This means that if you
record MIDI messages such as bend range or modulation along
with notes, quantization can cause the notes to go out of sync
with the MIDI messages, skewing timing. To avoid such
problems it is better to record non-keyboard data afterward,
using mix recording, etc.
1. Access the Song Edit screen, and then load the song you
want to edit (p. 136).
2. Press [8 (Track Edit)].
The Track Edit window appears.
3. Press or to select “Quantize,” and then press [8
(Select)].
A message of “QUANTIZE: Select target point.” appears.
4. Use [CURSOR] to move the cursor to the first measure of the
track or pattern that you want to quantize.
5. Hold down [SHIFT] and press to move the cursor to the
last measure of the track or pattern that you want to
quantize, and press [8 (Select)] to specify it.
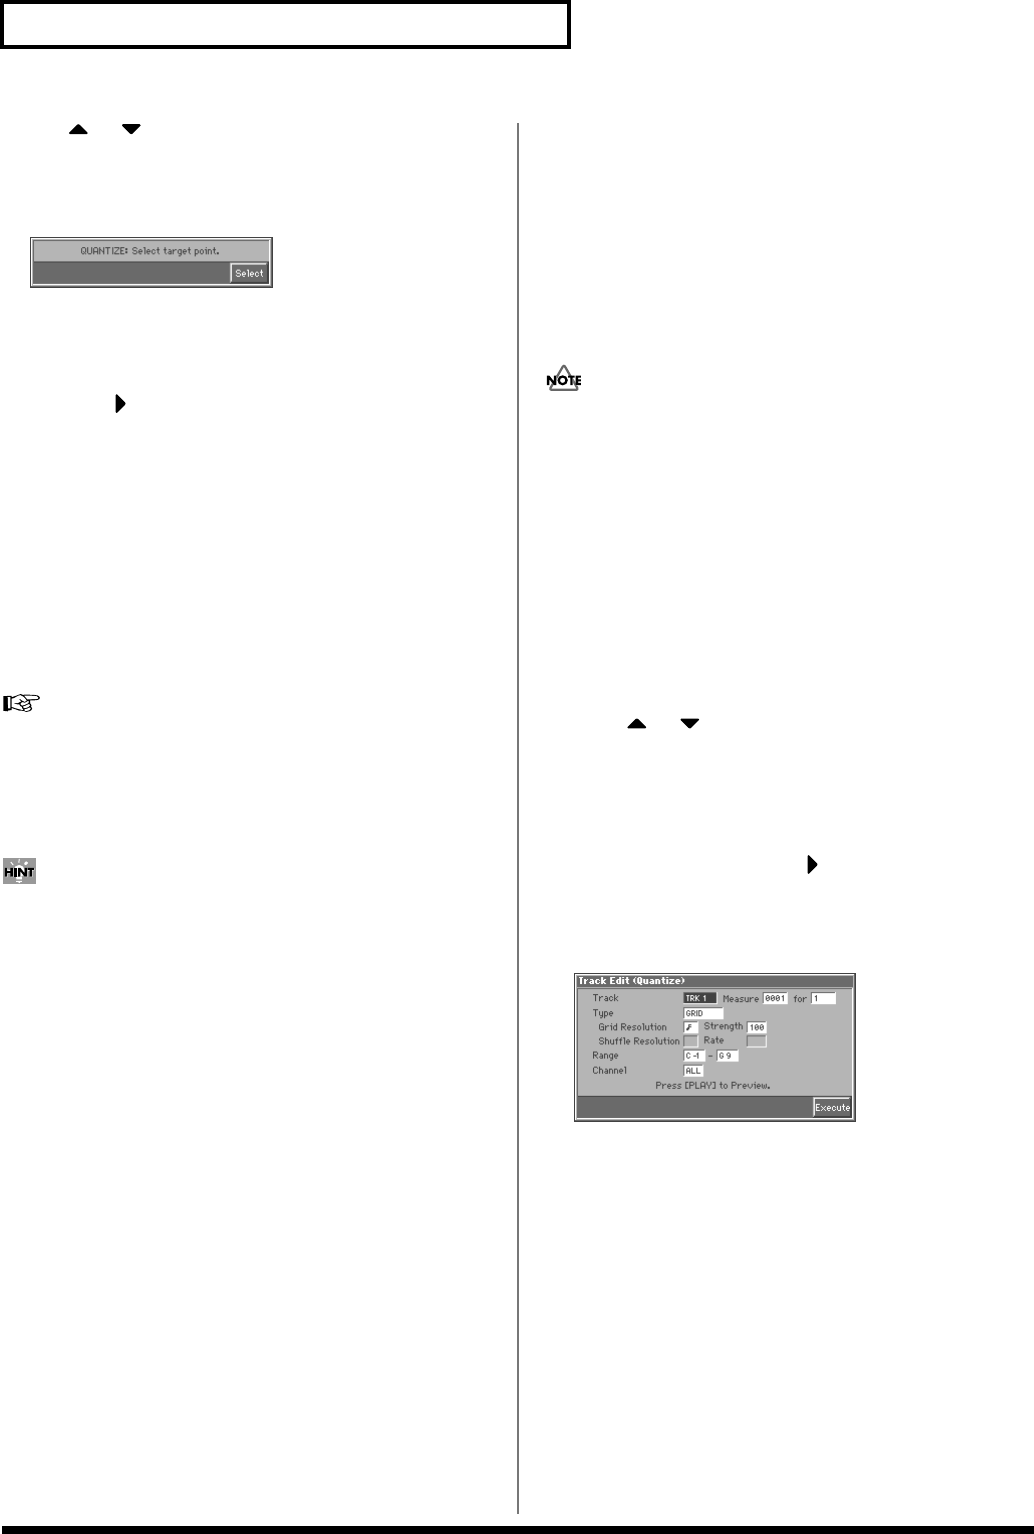
The Track Edit (Quantize) window appears.
fig.11-13_50
6. Use [CURSOR] to move the cursor to the desired parameter,
and turn the VALUE dial or press [INC]/[DEC] to make the
setting. First check the region that is to be affected by the
editing operation, and then make corrections if you want to
change it.
Track
Check/modify the phrase track(s) or pattern that is to be quantized.
Value
TRK 1–TRK 16: The specified phrase track
PTN001–PTN100: The specified pattern
