


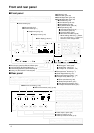
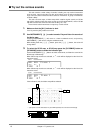

● Turning the power on or off
Once the connections have been completed , turn on power to your various devices
in the order specified. By turning on devices in the wrong order, you risk causing mal-
function and/or damage to speakers and other devices.
❍ Turning the power on
1. Before you turn the power on, check the following points.
Make sure that the power cables of each device are correctly plugged into an AC outlet.
Make sure that this unit is correctly connected to any peripheral devices you are using (p.8).
Make sure that the volume of your amp/speaker system and this unit is turned down.
2. Turn on the power of this unit and your MIDI equipment.
3. Turn on the power of your audio system.
Set your amplifier to an appropriate volume.
* This unit is equipped with a protection circuit. A brief interval (a few seconds) after power up is
required before the unit will operate normally.
* Excessive volumes can damage your speaker system. Please be aware that speakers used in
conventional stereo systems are more vulnerable to being damaged by high volume levels than
are speakers designed for musical instruments.
*
Is this unit is placed at an angle where the display is difficult to read, adjust the LCD Contrast (p.38).
* To restore the factory settings, refer to p.118.
❍ Turning the power off
1. Before you turn the power off, check the following points.
Make sure that the volume of your amp/speaker system and this unit is turned down.
2. Turn off each device in the following order.
Audio devices → this unit and MIDI devices
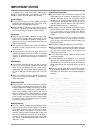
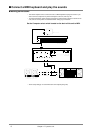
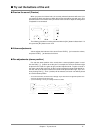
● Is there sound?
After making connections as explained in “Making connections”, turn the power on,
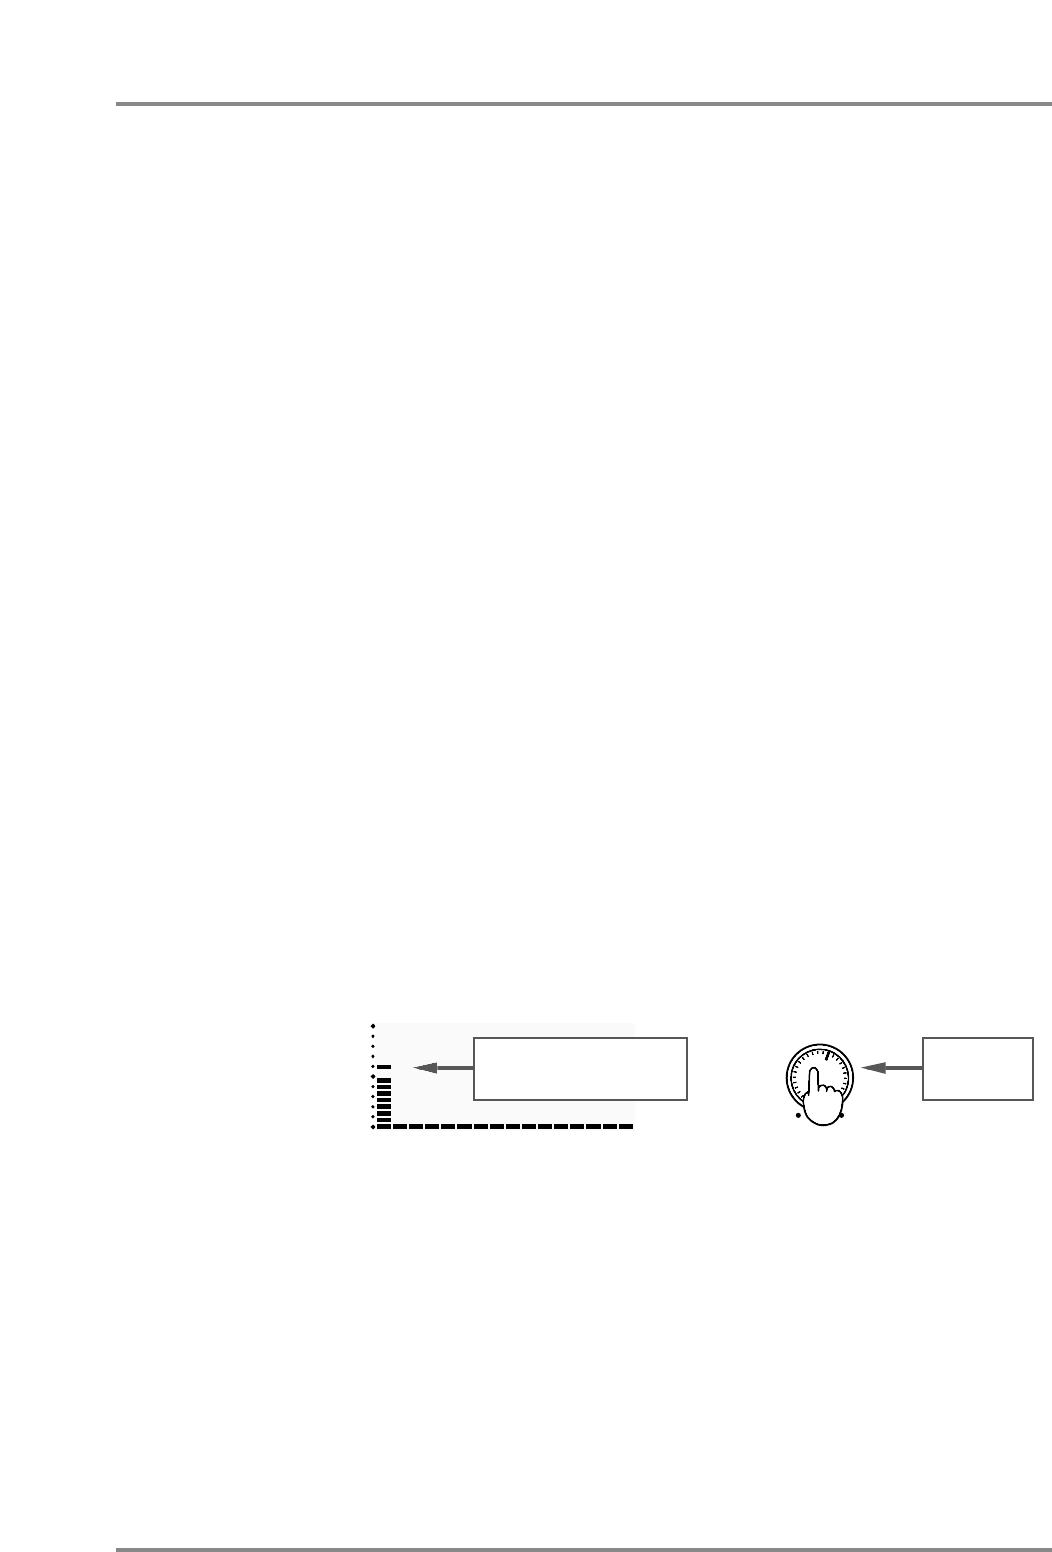
and gradually raise the volume while playing the keyboard. Does the bar indicator of this
unit move? If it does, this unit is receiving MIDI messages correctly.
Part Number
This unit will sound a note when the Volume knob is pressed (the Preview function). If
playing your keyboard produces no sound, you can use this function to see whether the
amp volume and speaker connections are correct.
If this unit bar indicator does not move, MIDI messages are not being received from
your MIDI keyboard. Check your MIDI keyboard settings and MIDI cable connections.
* With the factory settings, this unit will produce sound in response to any channel 1 — 16,
regardless of the transmit channel your keyboard is set to (p.130). This is because each Part is
assigned to the correspondingly numbered MIDI channel. The number below the bar indicator is
the Part number.
* If you hear sound but the bar indicator does not move, press the [ALL] button to make the [ALL]
indicator light. Now the volume levels of all the Parts of this unit will be indicated in the display
(p.23).
1 2 3 4 5 6 7 8 9 10 11 12 13 14 15 16
If this moves, MIDI messages
are being received.
VOLUME
PREVIEW
(
PUSH
)
Press this to
sound a note.
Chapter 1. Try out the unit
9