


Cutoff (Cutoff Frequency) 250 - 8 k [3]
Specify the cutoff frequency of the filter that is
applied after the sound passes through the Lo-Fi
effect.
+R.Detune (Radio Detune) 0 - 127 [4]
This simulates the tuning noise of a radio. As this
value is raised, the tuning will drift further.
R.Nz Lev (Radio Noise Level) 0 - 127 [5]
Adjust the volume of the radio noise.
W/P Sel (White/Pink Noise Select) White/Pink [6]
Select either white noise or pink noise.
W/P LPF (White/Pink Noise LPF)
250 - 6.3 k/Bypass [7]
Specify the cutoff frequency of the low pass filter
that is applied to the white noise or pink noise.
W/P Level (White/Pink Noise Level) 0 - 127 [8]
Specify the volume of the white noise or pink noise.
Disc Type (Disc Noise Type) LP/EP/SP/RND [9]
Select the type of record noise. The frequency at
which the noise is heard will depend on the select-
ed type.
Disc LPF (Disc Noise LPF)
250 - 6.3 k/Bypass [10]
Specify the cutoff frequency of the low pass filter
that is applied to the record noise.
Disc Nz Lev (Disc Noise Level) 0 - 127 [11]
Specify the volume of the record noise.
Hum Type (Hum Noise Type) 50/60 Hz [12]
Select the type of hum noise.
Hum LPF (Hum Noise LPF)
250 - 6.3 k/Bypass [13]
Specify the cutoff frequency of the low pass filter
that is applied to the hum noise.
Hum Level (Hum Noise Level) 0 - 127 [14]
Specify the volume of the hum noise.
M/S (Mono/Stereo Switch) Mono/Stereo [15]
Select whether the effect sound will be monaural or
stereo.
#Balance (Effect Balance) D> 0E - D 0 - 0<E [16]
Adjust the volume balance between the direct and
the effect sound.
“D” or “E” on the display respectively means
D(direct sound) or E(effect sound) values of 100.
Low Gain -12 - +12 [17]
Adjust the gain of the low frequency range.
Hi Gain (High gain) -12 - +12 [18]
Adjust the gain of the high frequency range.
Pan (Mono) (Output Pan (Mono))
L63 - 0 - R63 [19]
When Mono mode is used, adjust the stereo loca-
tion of the output sound. L63 is far left, 0 is center,
and R63 is far right.
Level (Output level) 0 - 127 [20]
Adjust the output level.
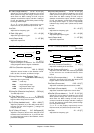
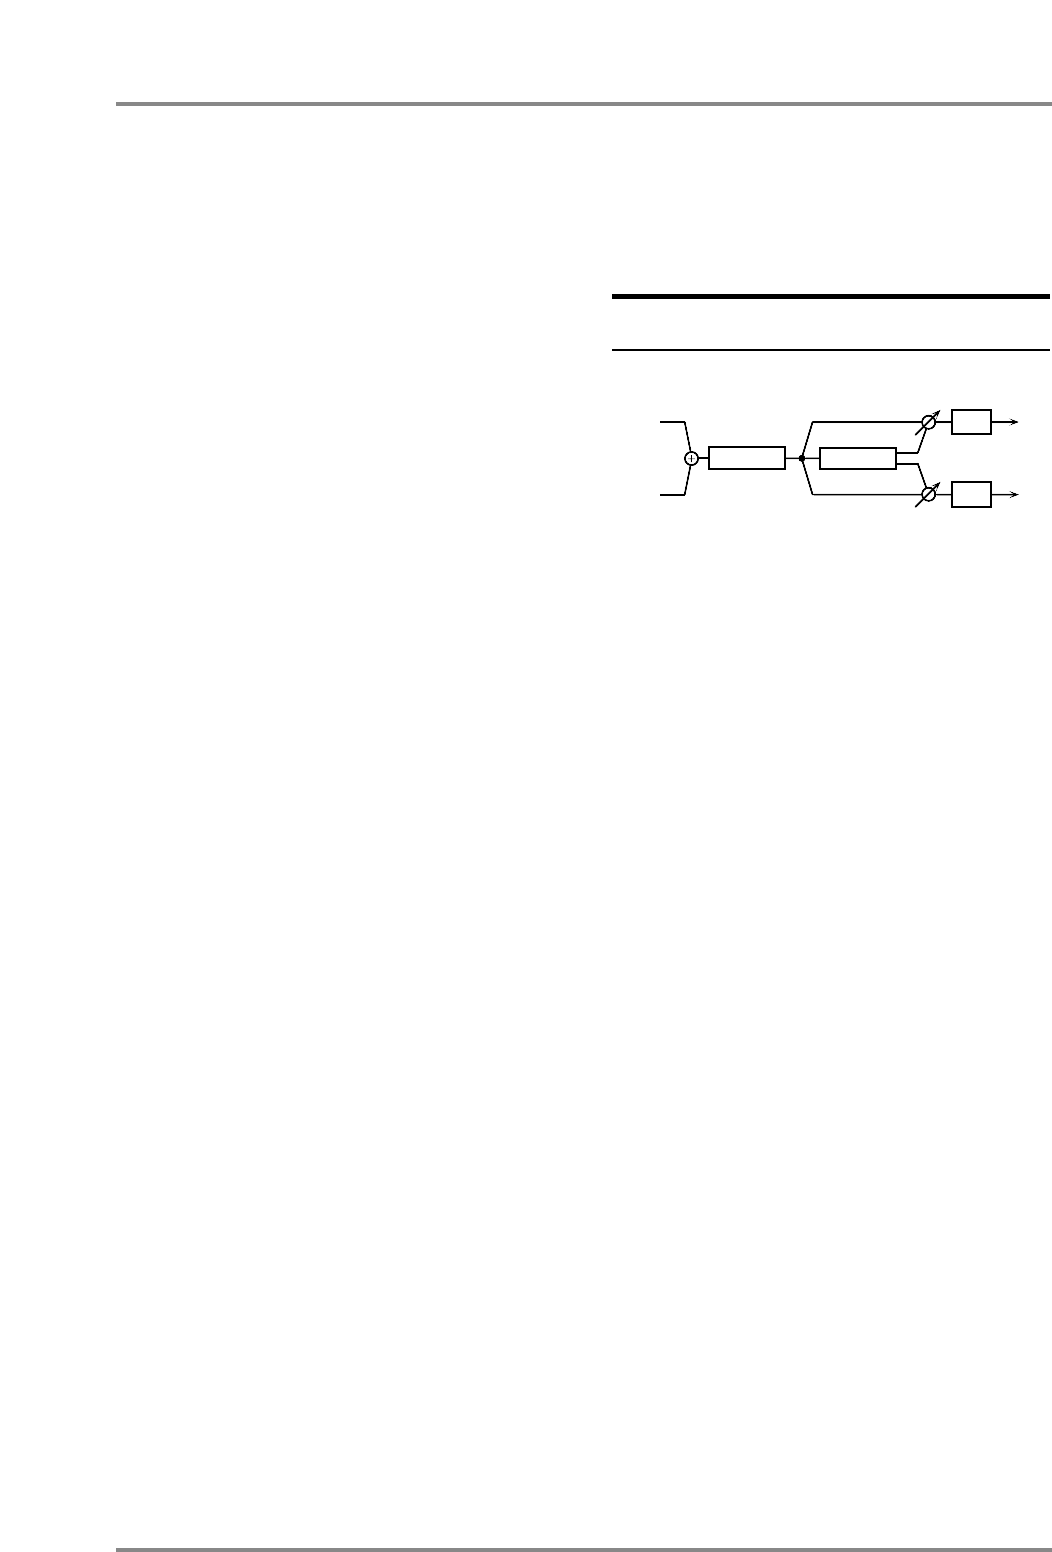
❍ Effects that connect two types of effect in
series (series 2)
35: OD
→ Chorus (Overdrive → Chorus)
[02H, 00H]
This effect connects an overdrive and a chorus in
series.
OD Drive (Overdrive drive ) 0 - 127 [1]
Adjust the degree of overdrive distortion. The vol-
ume will change together with the degree of distor-
tion.
+OD Pan (Overdrive drive output pan )
L63 - 0 - R63 [2]
Adjust the stereo location of the overdrive sound.
L63 is far left, 0 is center, and R63 is far right.
OD Amp (Overdrive Amp Simulator Type)
Small/BltIn/2-Stk/3-Stk [3]
Select the type of guitar amp.
Small : small amp
BltIn : single-unit type amp
2-Stk : large double stack amp
3-Stk : large triple stack amp
OD Amp Sw (Overdrive Amp switch) Off/On [4]
Turn OD Amp on/off.
Cho Dly (Chorus pre delay ) 0 - 100m [6]
Adjust the time delay from when the direct sound
begins until the chorus sound is heard.
Cho Rate (Chorus rate ) 0.05 - 10.0 [7]
Adjust the modulation speed of the chorus effect.
Cho Depth (Chorus depth ) 0 - 127 [8]
Adjust the modulation depth of the chorus effect.
#Cho Bal (Chorus balance ) D> 0E - D 0<E [10]
Adjust the volume balance between the sound
which passes through the chorus and the sound
which does not. With a setting of D>0E, only the
overdrive sound will be output, and with a setting of
D 0<E, the overdrive sound which passes through
the chorus will be output. “D” and “E” respectively
indicate D (dry sound) and E (effect sound) values
of 100.
Low Gain -12 - +12 [17]
Adjust the low frequency gain.
Hi Gain (High gain ) -12 - +12 [18]
Adjust the high frequency gain.
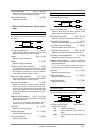
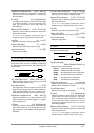
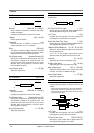
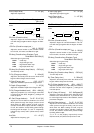
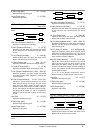
L
R
Chorus
Overdrive
EQ
EQ
Balance
Chapter 4. Insertion Effects
71