


Start Guide
Step 5: Creating a Pattern
MOTIF XS Owner’s Manual
42
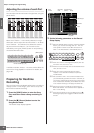
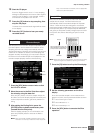
4 Press the keys to which the sliced sample are
assigned in order (from C1 for the MOTIF XS6,
E0 for the MOTIF XS7, and A-1 for the MOTIF
XS8) to confirm whether or not the Sample has
been sliced properly.
Listen carefully to the results. If you’re not satisfied,
press the [SF4] Apply button again to abort the Slice
operation and return the sample to the original status,
then try the operation again. Repeat steps 2 – 4 by
trying another Slice Type and adjusting the value of the
Sensitivity until you are satisfied with the sound.
5 Press the [ENTER] button to fix the Slice result
as Sample data.
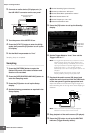
6 Press the [PATTERN] button to call up the
Pattern Play display then press the [F] (Play)
button to hear the sliced Sample.
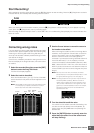
Storing the Pattern and Saving
the Sample
After the Sampling operation, store the created Pattern to
internal memory then save the Sample to a separate USB
storage device. For instructions on storing a Pattern, see
page 218. For instructions on saving a Sample, see
page 279.
Sample data will be lost when the power is turned off. Make sure to
save the Sample data to a USB storage device or to a computer
connected to the same network as the MOTIF XS in the File mode
after the Sampling operation.
n After creating several Patterns (Sections), use the Pattern
Chain feature (page 213) to string them together.
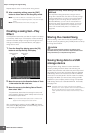
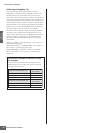
You can change the tempo of the sliced rhythm
pattern. Try changing the tempo in the Pattern Play
mode.
Tempo
CAUTION