


17
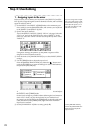
Step 2: OverdubbingStep 3. Mixing
Step 4. Mastering
Step 1: Quick recording
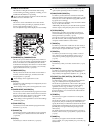
Quick Start Tutorial
This Quick Start Tutorial is designed to familiarize you with many of the
features of the D1200, as well as with the many recording procedures that
can be performed using the D1200. While the Operation and Reference
sections of this manual will explain every feature and control in great de-
tail, this step-by-step tutorial will allow you to “learn by doing” as we
take you through the entire process, from recording your first track to
mastering a CD.
Step 1: Quick recording
Connect your guitar, record your performance on tracks 1 and 2, and play
it back.
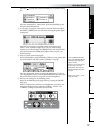
Step 2: Overdubbing
While listening to the guitar performance that you recorded in step 1,
connect a keyboard and record (overdub) your performance on tracks 9
and 10. Then record a vocal on track 3.
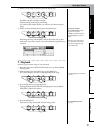
Step 3. Mixing
Apply effects to each track, and adjust the volume and EQ. Use the mas-
ter effects to apply effects to the entire song while you mix.
Step 4. Mastering
Create a two-track master track from the song that you mixed-down in
Step 3. Write the master track to CD-R to create your own original CD.
Step 1: Quick recording
1. Getting ready
If you will be using the separately sold CDRW-1, refer to “About
the CDRW-1” (→p.149) and install the CDRW-1 before you con-
tinue with the steps below.
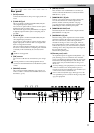
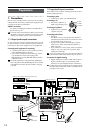
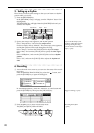
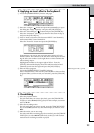
1 Connect your guitar.
Set the INPUT 1 [TRIM] knob to the minimum position, and connect
your guitar to the [GUITAR IN] jack.
2 Connect your headphones to the [PHONES] jack.
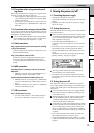
2. Turning on the power
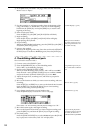
1 Connect the AC/DC power supply.
Connect the included AC/DC power supply to the [DC IN] jack.
Connect the included power cable to the AC/DC power supply.
Connect the power cable to an electrical outlet.
2 Set the [MASTER] fader to the “–∞” position.
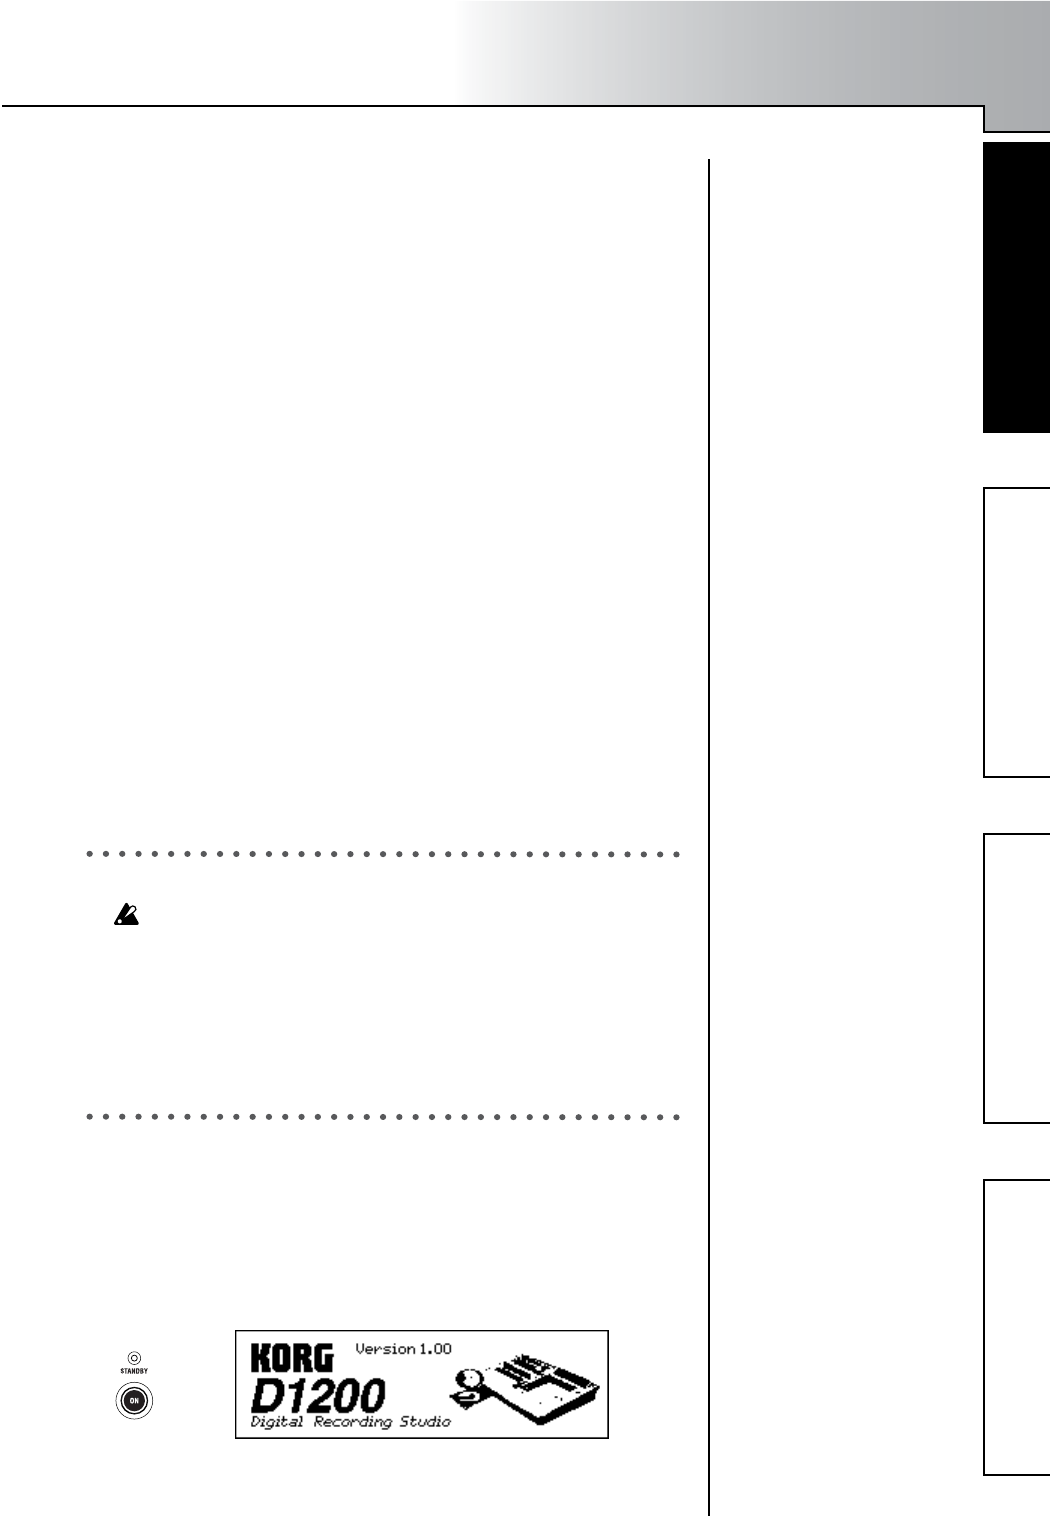
3 Press the [POWER] key to turn on the power.
Connection diagram (→p.14)
Turning the power on (→p.15)