92
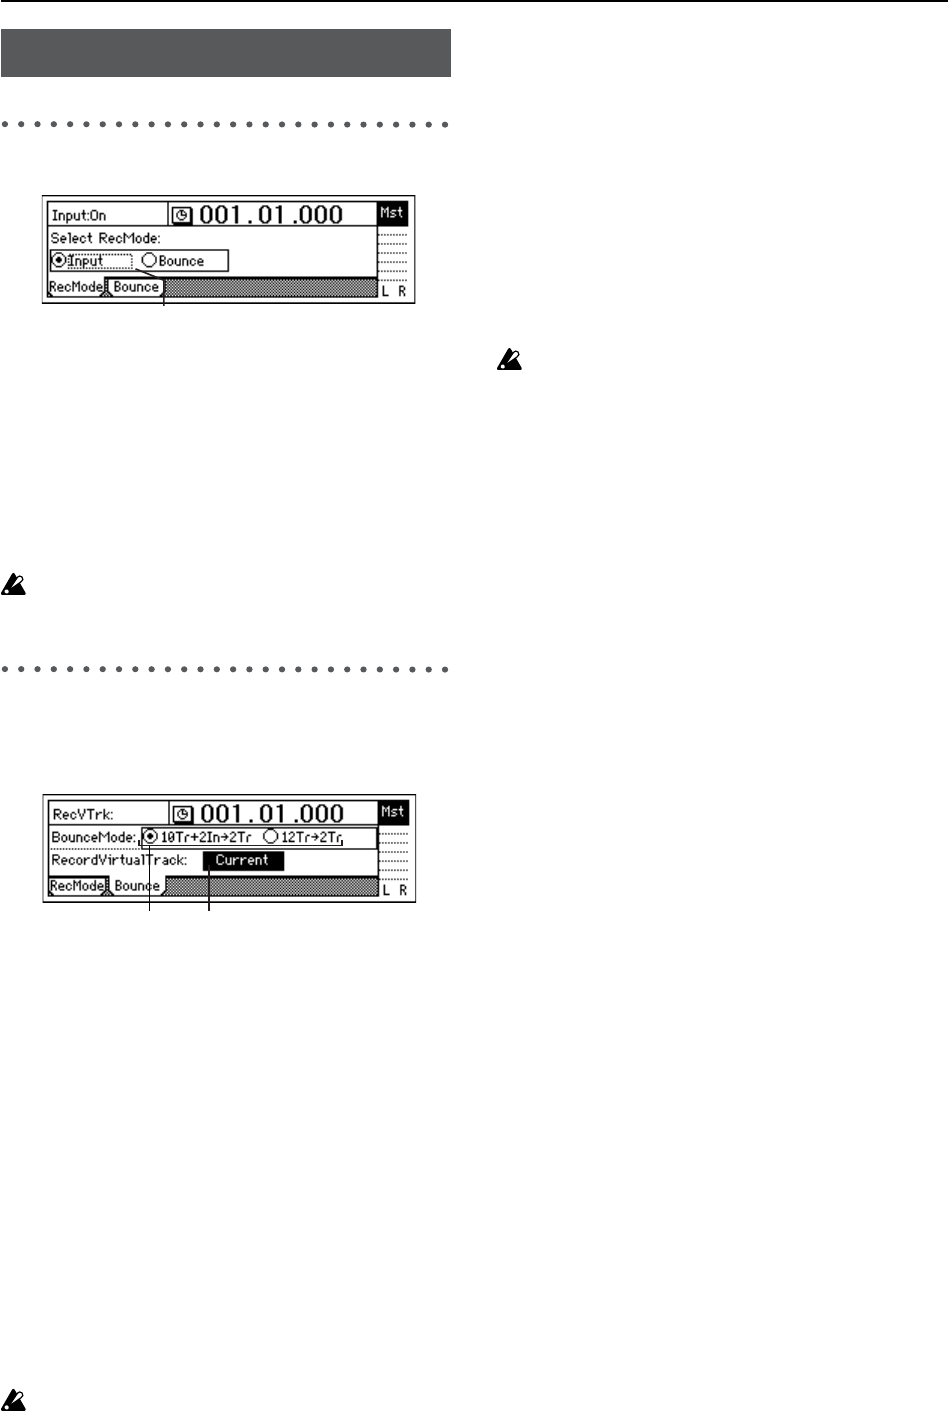
RecMode: Select the recording mode
1. Select RecMode........................... [Input, Bounce]
Selects the recording mode.
Input: Normal recording. The input (analog, digital,
internal rhythm pattern, CD-R/RW drive) will be
recorded. The channel faders will adjust the recording
level of each track.
Bounce: Bounce-recording. The master LR bus will be
recorded. The channel faders will adjust the playback
level of each track, and the master fader, final effect will
adjust the recording level.
If you select “Bounce,” two tracks will always be re-
corded simultaneously.
Bounce: Parameters for bounce-
recording
For the bounce-recording procedure, refer to p.28, 29, 64.
1. Select BounceMode ....[10Tr+2In→2Tr, 12Tr→2Tr]
Specifies the bounce-recording mode.
10Tr+2In→2Tr: Select this when you want to combine
ten tracks of playback with two inputs, and record the
combined result on two tracks.
The input signals you specify in the [INPUT/OUTPUT/
SOLO] “Ch1–6” tab page and “Ch7–12” tab page will be
valid for channels whose [TRACK STATUS] keys you
set to REC (LED lit red), and will be recorded together
with the playback tracks.
12Tr→2Tr: Select this when you want to combine twelve
tracks of playback and record the result on two tracks.
The track playback for channels whose [TRACK STA-
TUS] key is set to REC (LED lit red) will also be valid,
and will be recorded along with the other playback
tracks.
You can apply a master effect to multiple tracks as you
combine them to two tracks. When creating an audio
CD, perform bounce-recording as a mastering opera-
tion.
If you turn “Rhythm” “On” while using bounce-record-
ing, the rhythm will also be recorded. (→p.48)
2. RecordVirtualTrack...................... [Current, a...h]
Selects the virtual track on which recording will occur.
This setting specifies which virtual track (of the record-
ing tracks selected by the [TRACK STATUS] key) will be
used for bounce-recording.
Current: The currently selected virtual track will be
used for recording.
a...h: The specified virtual track will be used for record-
ing. By using a virtual track “a”–“h” other that “Cur-
rent,” you can bounce-record to two virtual tracks
without erasing any of the tracks 1–12.
However if the virtual track you select here is the same
as the virtual track that has already been selected in
[TRACK] “Vtr1–6” or “Vtr7–12,” the result will be the
same as if you had selected “Current.”
To avoid accidentally recording over a track that has al-
ready been recorded, you should use the [TRACK]
“Vtr1–6” and “Vtr7–12” tab pages to check on the virtu-
al tracks that are currently selected and to see which vir-
tual tracks already contain data.
BOUNCE
1
1
2


