24
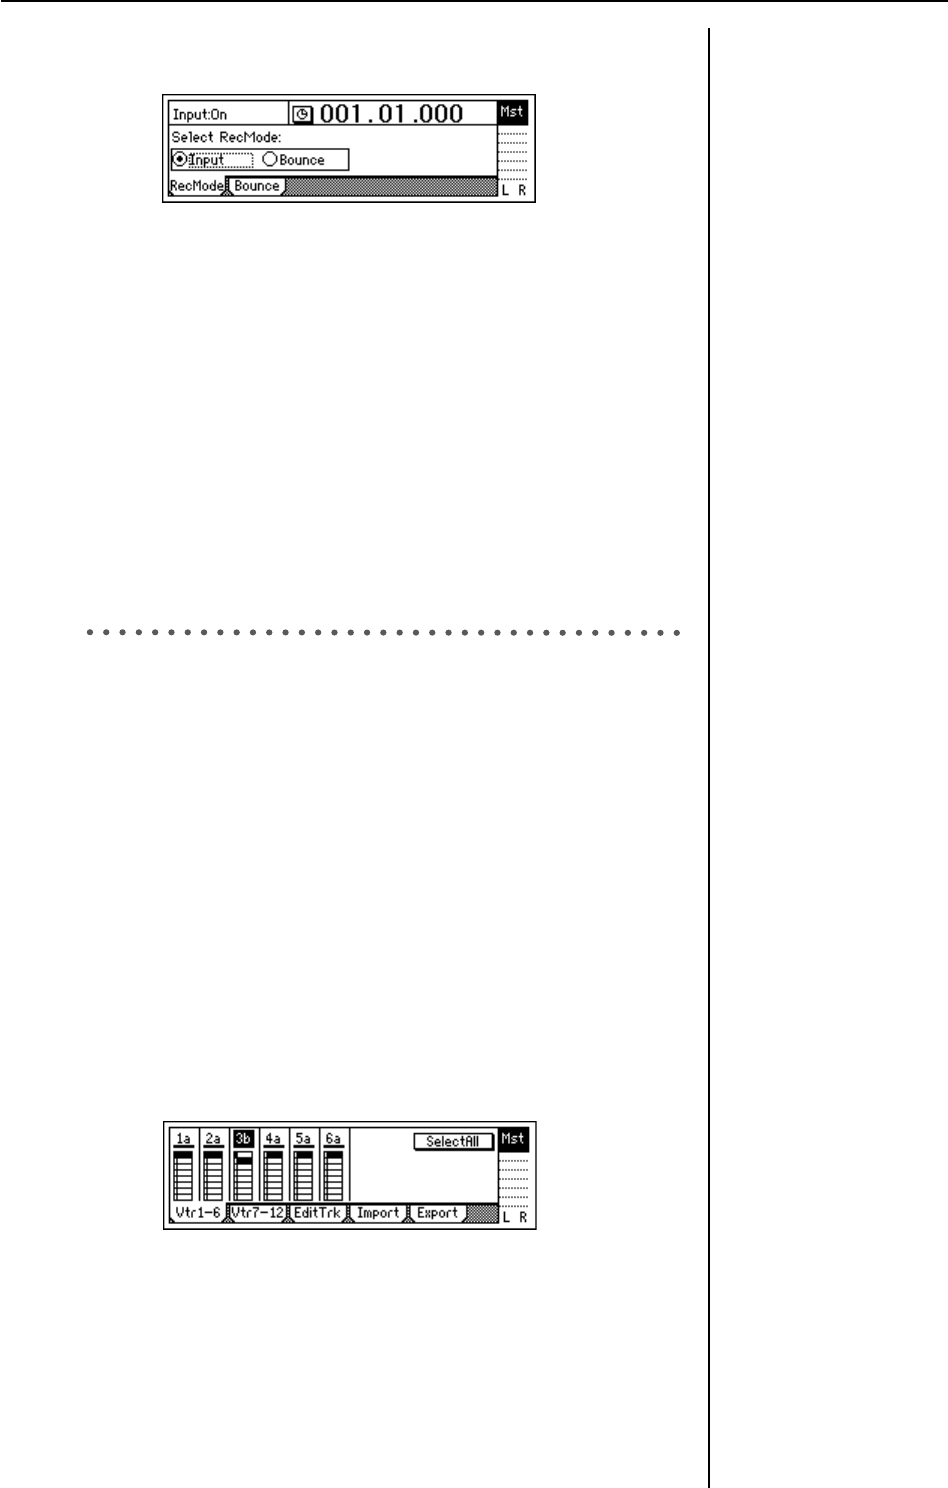
4 In the [BOUNCE] “RecMode” tab page, make sure that “Select Rec
Mode” is set to “Input.”
5 For this example, we will start recording from the beginning of the
song (“001.01.000” or “000:00.000”). If you are not at the begining,
hold down the [STOP] key and tap the [REW] key to return to the
begining of the song.
6 Enter record-ready mode.
Press the [REC] key (the [REC] and [PLAY] LEDs will blink).
7 Begin recording.
Press the [PLAY] key (the [REC] and [PLAY] LEDs will light).
Begin playing the keyboard.
8 Stop recording.
When you have finished performing, press the [STOP] key (the [REC]
and [PLAY] LEDs will go dark).
9 Listen to the overdub.
Return to the begining of the song. Press the track 9 and 10 [TRACK
STATUS] keys to set them to PLAY (lit green). Press the [PLAY] key.
4. Overdubbing additional parts
Next we’ll add a vocal on track 3.
1 Connect a mic to the [INPUT 1] jack.
2 Press the [MODELING] key to enter Modeling mode.
Select “MIC” as the Modeling Category.
3 Set the track 3 [TRACK STATUS] to REC.
When you enter Modeling mode, tracks 1 and 2 will be set to REC.
Press the track 1 and 2 [TRACK STATUS] keys to set them to PLAY,
and press the track 3 [TRACK STATUS] key to set it to REC.
4 Adjust the input level, recording level, and effects to prepare for
recording.
5 Move to the location at which you want to start recording, and start
recording.
Press the [FF] key or [REW] key to move to the desired time location.
Press the [REC] key and then the [PLAY] key to start recording.
When you are done, press the [STOP] key.
6 Let’s change virtual tracks to record another take.
Press the [TRACK] key to access the “Vtr1–6” tab page.
Select track “3a” and turn the [VALUE] dial to change it to “3b.”
7 Move the location again, and begin recording.
Move to the location from which you want to begin recording, and
press the [REC] key and then the [PLAY] key to begin recording.
8 Play back track 3.
Press the [TRACK STATUS] key to select PLAY, and press the [PLAY]
key to play back. At this time, track “3b” will play back.
Counter display (→p.32)
When you have finished
recording, check to be sure
that your performance was
recorded correctly.
Use phantom power if you
have connected a condenser
mic.
Move to time (→p.32)
Virtual tracks (→p.53)
If you want to play back a
track that you have already
recorded, set that track’s
[TRACK STATUS] to PLAY.


