Operation
35
Song and Locate
MixerEffects
Modeling mode
Rhythm
The Recorder
MasteringDataDriveUSBMIDIUpgrading
the system
5 Select the “Exec.” button and press the [ENTER] key.
When “AreYouSure?” appears, press the [YES/OK] key
to execute the operation.
When the operation is completed, the display will indi-
cate “Completed.” Press the [YES/OK] key to close the
dialog box.
Deleting a song: “DeleteSong”
This operation deletes the selected song.
To delete a song
1 Select the song that you want to delete. (→p.31)
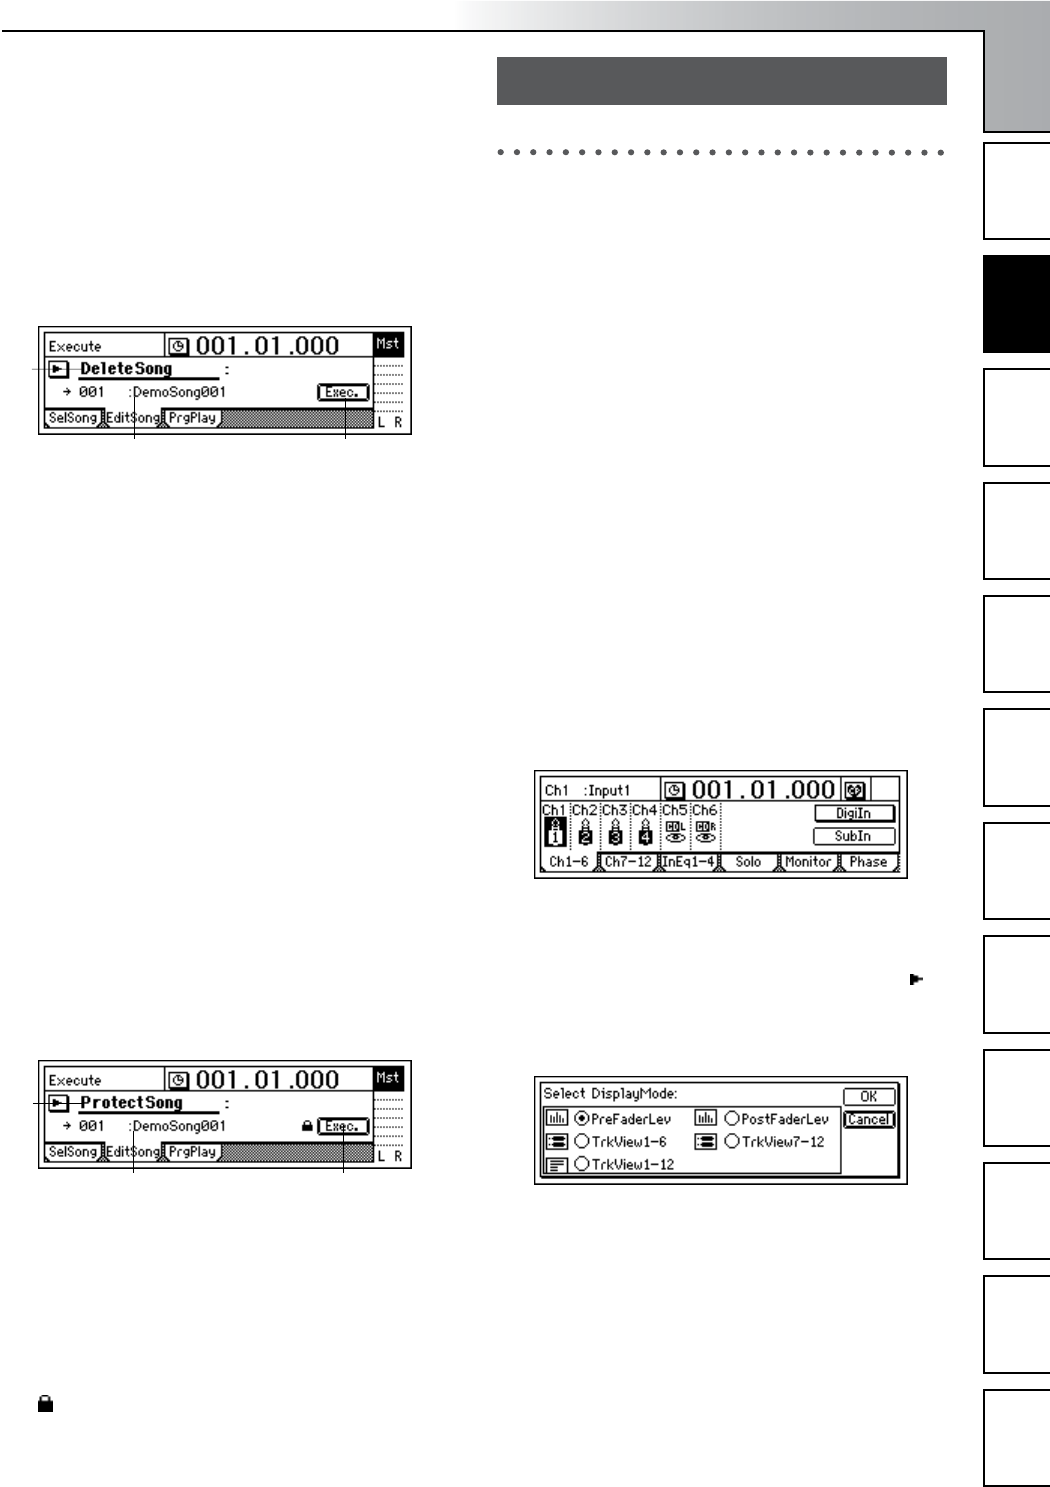
2 In the [SONG] “EditSong” tab page, move the cursor to
“EditType” and turn the [VALUE] dial to select
“DeleteSong.”
3 Verify the song that you want to delete.
Make sure that “DestSong” indicates the song you want
to delete.
4 Select the “Exec.” button and press the [ENTER] key.
When “AreYouSure?” appears, press the [YES/OK] key
to execute the operation.
When the operation is completed, the display will indi-
cate “Completed.” Press the [YES/OK] key to close the
dialog box
Protecting a song: “ProtectSong”
This operation protects the selected song, preventing it from
being edited, rewritten or deleted.
If this Protect setting is turned on, it will not be possible to
write any parameters of that song; for example, an error will
be displayed if you attempt to record, and recording will
stop.
• When you have completed a song, you can use this to
prevent it from being accidentally rewritten or deleted.
To protect a song
1 Select the song that you want to protect. (→p.31)
2 In the [SONG] “EditSong” tab page, move the cursor to
“EditType” and turn the [VALUE] dial to select “Protect-
Song.”
3 Make sure that “DestSong” indicates the song you want
to protect.
4 Switch the Protect setting on/off.
Select the “Exec.” button and press the [ENTER] key. A
“” symbol will be displayed to indicate the song is
protected. The on/off setting will alternate each time
you select the “Exec.” button and press the [ENTER]
key.
1. Inputting audio to the mixer
The D1200 has four channels of analog input and one (two-
channel) digital input. Audio from devices connected to
these input jacks can be assigned to the mixer channels, mon-
itored and recorded. If the CDRW-1 CD-R/RW drive option
(sold separately) is installed, you can also assign the audio
from an audio CD to the mixer channels.
This section explains how to assign the various inputs to the
mixer channels.
1-1. Analog input
Create a new song before you proceed with the following
steps.
Connecting a guitar to the [GUITAR IN] jack, assigning it to
mixer channel 1, and adjusting the levels
1 Set the INPUT 1 [TRIM] knob to the minimum position
(+4 dB) and lower the [MASTER] fader. Then connect
your guitar to the [GUITAR IN] jack jack on the front
edge of the D1200.
2 Access the [INPUT/OUTPUT/SOLO] “Ch1–6” tab
page, select the “Ch1” icon, and turn the [VALUE] dial
to select “INPUT1.”
The [GUITAR IN] input jack is now assigned to mixer
channel 1.
3 Press the track 1 [TRACK STATUS] key to set it to
INPUT (LED lit orange).
4 Press the [METER/TRACK VIEW] key. Select the “ ”
button and press the [ENTER] key to open the dialog
box.
Select the “PreFaderLev” radio button, press the
[ENTER] key, and press the [YES/OK] key.
When you play your guitar, the track 1 level meter will
move accordingly. While you watch the level meter,
adjust the INPUT 1 [TRIM] knob. Raise the [TRIM] knob
as far as possible without allowing the level meter to
reach the CLP level when you play your guitar at its
loudest level.
2
1,3 4
2
1,3 4
Mixer
Mixer
