


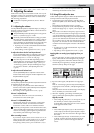
Operation
37
Song and Locate
MixerEffects
Modeling mode
Rhythm
The Recorder
MasteringDataDriveUSBMIDIUpgrading
the system
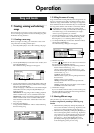
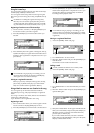
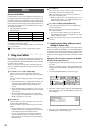
2. Adjusting the mixer
In the mixer section you can create the overall “mix” by ad-
justing the volume, tone, and panning of the inputs that are
assigned to each mixer channel, or to the recorded sounds
that are being played back.
For details on adjusting the effects, refer to “Effects”
(→p.42).
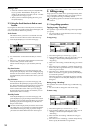
2-1. Adjusting the volume
Use the [CHANNEL] faders to adjust the input, recording, or
playback volume of each channel. Raise or lower the fader to
set the appropriate volume.
The [CHANNEL] faders adjust the gain in a range from
silence (–∞) all the way up to +12 dB.
Normally you should set the faders to unity gain (0 dB -
the input signal is output at the same volume), and low-
er the faders of channels that are too loud rather than
raising the faders of channels that are too quiet. This will
make it less likely that the sound will clip (distort).
• If pairing is on, use the odd-numbered channel fader
to adjust the volume. (→p.37)
• Fader settings can be registered in a scene. (→p.39)
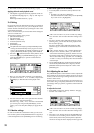
To adjust the volume level of each input channel
Use the [CHANNEL] faders to adjust the volume level
of each mixer channel assigned in the [INPUT/OUT-
PUT/SOLO] “Ch1–6” or “Ch7–12” tab page.
Since the output level will differ depending on the
equipment that is connected, use the [TRIM] knobs to
make adjustments as described in steps 3 and 4 of
“Connecting a guitar to the [GUITAR IN] jack, assign-
ing it to mixer channel 1, and adjusting the levels”
(→p.35).
To adjust the overall volume level
Use the [MASTER] fader to adjust the volume of the
master LR bus that is output from the headphones and
the [MASTER OUT] jacks.
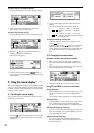
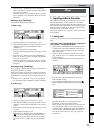
2-2. Adjusting the pan
Use the [PAN] or [BALANCE] knobs to adjust the location of
each channel in the stero field.
• When pairing is on, the knob of the odd-numbered
channel can be used as a [BALANCE] knob to adjust the
position of the sound. (→p.38)
• Pan settings can be registered in a scene. (→p.39)
Channel 1–6 [PAN] knobs
Turn the knob toward L to move the sound left, or
toward R to move the sound right.
Channel 7–12 [BALANCE] knobs
Turn the knob toward L to increase the volume of the
odd-numbered channel. Turn the knob toward R to
increase the volume of the even-numbered channel.
Normally you will pan the vocals and bass to the center,
and spread the other instruments out across the stereo
field. As an example, guitar might be to panned to the
left, with the piano balancing it on the right.
When recording in stereo
If you want to input a stereo source to tracks 7/8–11/12
and record it in stereo, set the channel 7/8–11/12 [BAL-
ANCE] knobs to the center. Similarly, if you want to
turn pairing (=PAN) on for a pair of channels 1/2–5/6
and record in stereo, set the [PAN] knob of the odd-
numbered paired channel to the center.
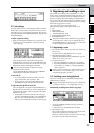
2-3. Using EQ to adjust the tone
A three-band equalizer (EQ) is available to adjust the tone of
each input channel and each playback channel.
•To adjust the input sound (analog), make EQ adjust-
ments in the [INPUT/OUTPUT/SOLO] “InEq1–4” tab
page.
These settings will affect the tone for recording.
•To adjust the track playback sound, make EQ adjust-
ments in the [EQ] “Eq1–4,” “Eq5–8,” and “Eq9–12” tab
pages.
EQ is used to cut obtrusive frequency regions such as
hiss, or to cut or boost the low or high ranges. Normally,
you should adjust EQ so that the tone is clear and well-
defined. Excessive EQ settings such as boosting the EQ
gain of each channel to the maximum value will make
the overall mix uneven, and cause listening fatigue. Use
EQ in the “cut” direction as well. It is best to use the
minimum amount of EQ that will achieve the desired
result.
• If pairing is on, use the odd-numbered “Eq” to make
adjustments. (→p.38)
• EQ settings can be registered in a scene. (→p.39)
Applying EQ to an analog input/Applying EQ as you
record
You can apply EQ to an analog input (not to the digital
input), and record the sound using these EQ settings.
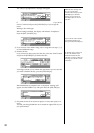
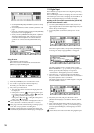
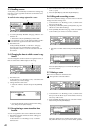
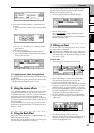
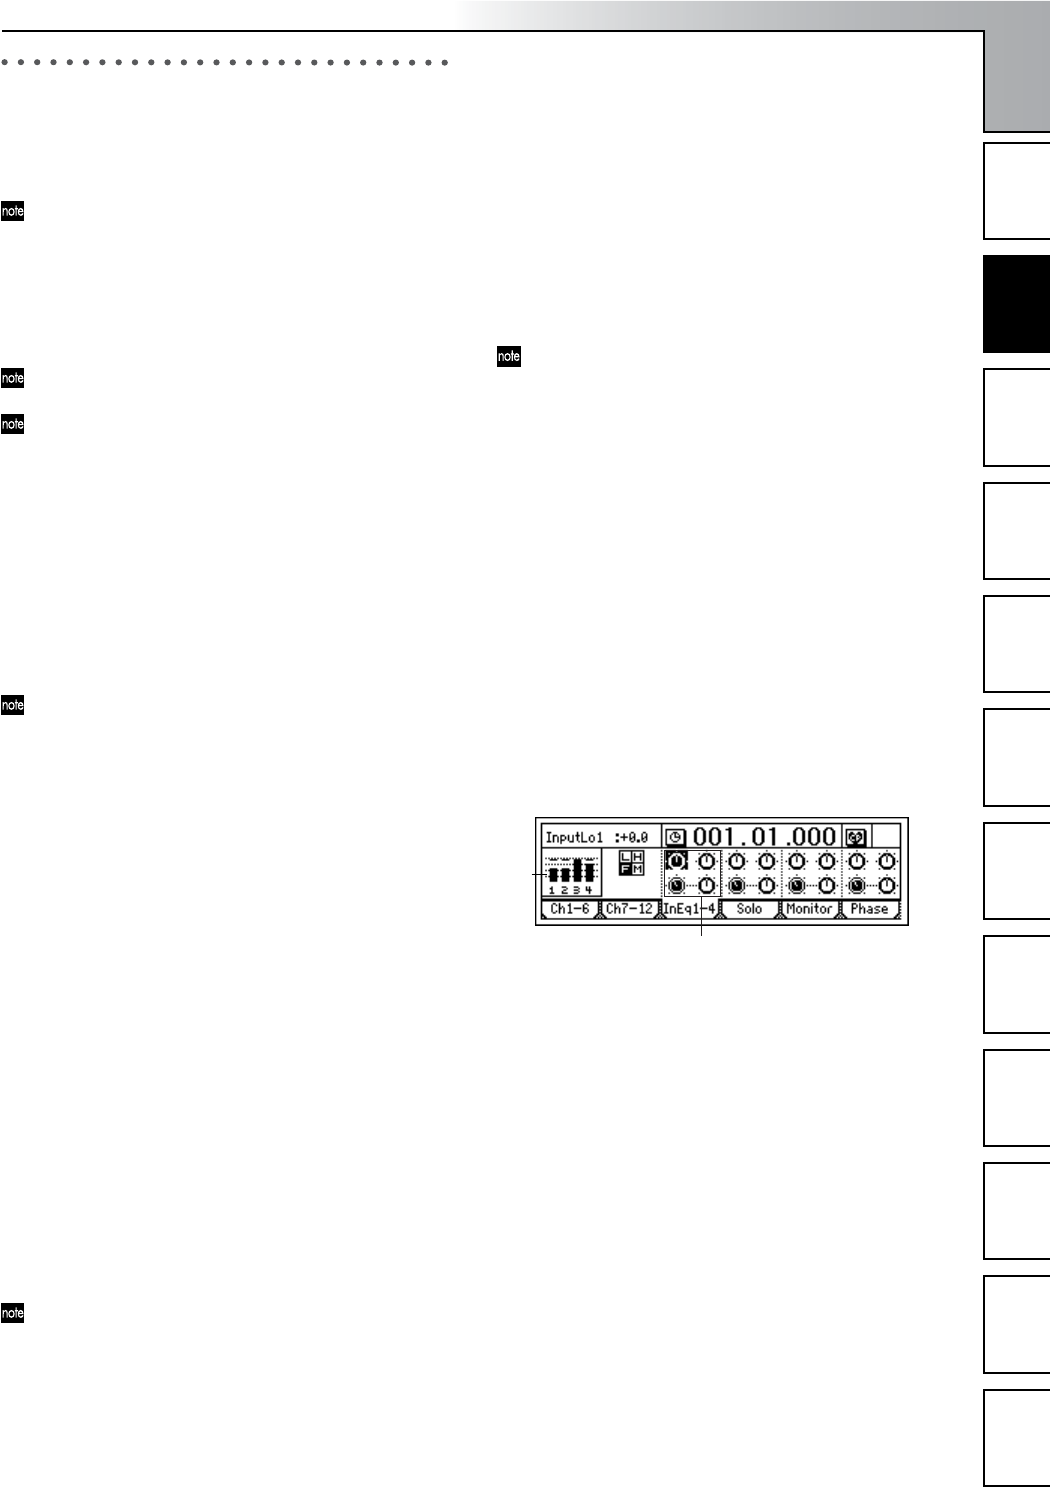
1 Access the page that contains the channel where you
want the EQ to be applied, by selecting the [INPUT/
OUTPUT/SOLO] “InEq1–4” tab page.
2 Input an audio signal, and adjust the level appropri-
ately.
Refer to “Connecting a guitar to the [GUITAR IN] jack,
assigning it to mixer channel 1, and adjusting the levels”
(→p.35).
Verify that the level meter at the left edge of the display
moves, and that you can hear the sound.
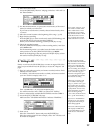
3 Select the “InputEQ” gain settings and mid EQ fre-
quency, and turn the [VALUE] dial to adjust them.
High EQ, Low EQ
• Select “High EQ Gain (H)” or “Low EQ Gain (L)” for
the channel you want to adjust, and turn the
[VALUE] dial to adjust the gain. The value is shown
in the upper left of the screen.
Mid EQ
• Select “Mid EQ Frequency (F)” for the channel you
want to adjust, and turn the [VALUE] dial to adjust
the frequency. The value is shown in the upper left of
the screen.
• Select “Mid EQ Gain (M)” for the channel you want
to adjust, and turn the [VALUE] dial to adjust the
gain. The value is shown in the upper left of the
screen.
2
3
Mixer